
I think it helps to understand fading audio cues by thinking through a physical, tangible environment rather than the purely digital world of QLab.
Let’s say I have my Walkman and want to play my favorite Michael Jackson song, Billie Jean, through the sound system of my high school auditorium during prom. These scenarios are all just ones I’ve made up. Not real ones. I’m not that old …
With my trusty Sony WM-501 plugged into my sound board I would …

The same steps are necessary in QLab to fade audio in. You need to 1) have your audio file, 2) start the cue at an inaudible volume, and 3) raise the volume over time.
So here I have my workspace with an audio cue already created. If you want to play along, you can use the audio from the chapter workspace or use your own music.
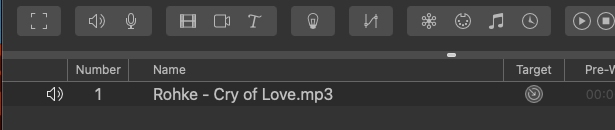
If I select the file and hit GO it starts at full volume right out of the gate. This isn’t what we want. We would rather have the song sneak in. So my next step is to ensure that it starts at a low volume. This is simply done by selecting the cue and lowering the master volume to negative infinity, nothing, nada.
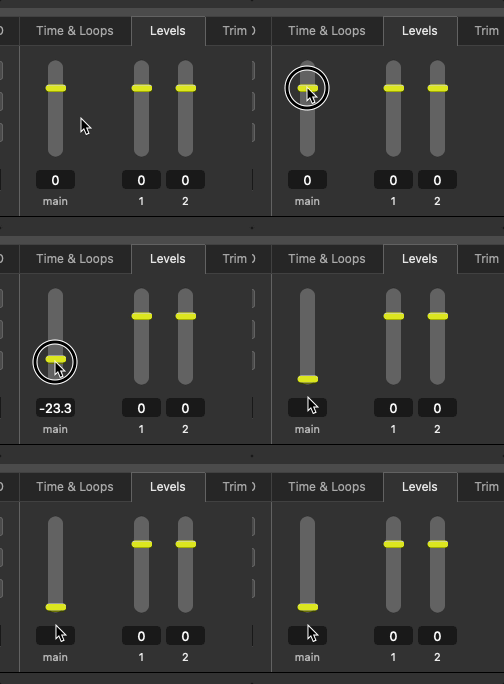
If I play the cue now we here … nothing … nada. I’m going to leave this cue playing.
So, to fade the cue in I’ll add a fade cue! This is simply done by dragging and dropping the cue from the tool bar. Since it’s the next action to take after starting the song, I’ll drag the fade cue to occur after the audio cue.
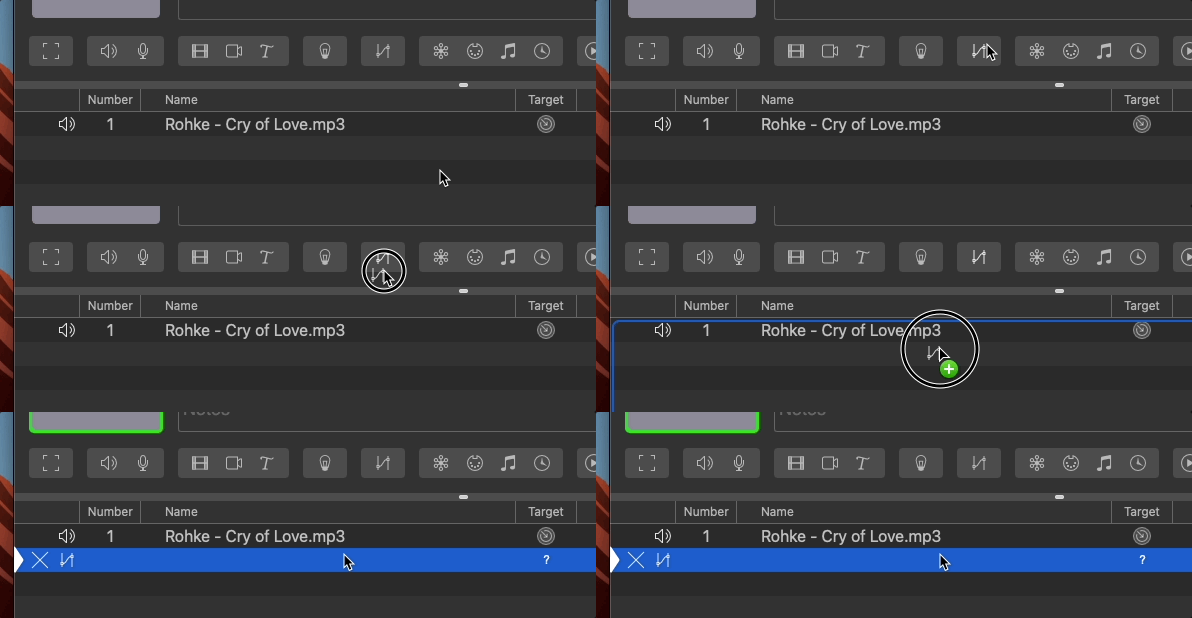
You’ll notice after adding the cue that it’s broken, something’s wrong with it.
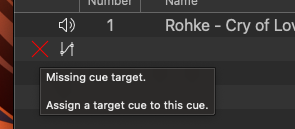
If I hover over the red X it tells me that it has “No Target Cue”. Which makes sense, we need to tell the Fade Cue who or what to fade. To do this, I’ll select the audio cue and drag the that cue onto the Target of the Fade Cue. You’ll notice the blue box around the Target that tells you it’s about to have the target applied. Let go and you’ll notice that the name of the fade cue adopts the name of the audio cue. (By the way, you could also drag the fade cue onto the audio cue, two ways to do the same thing).
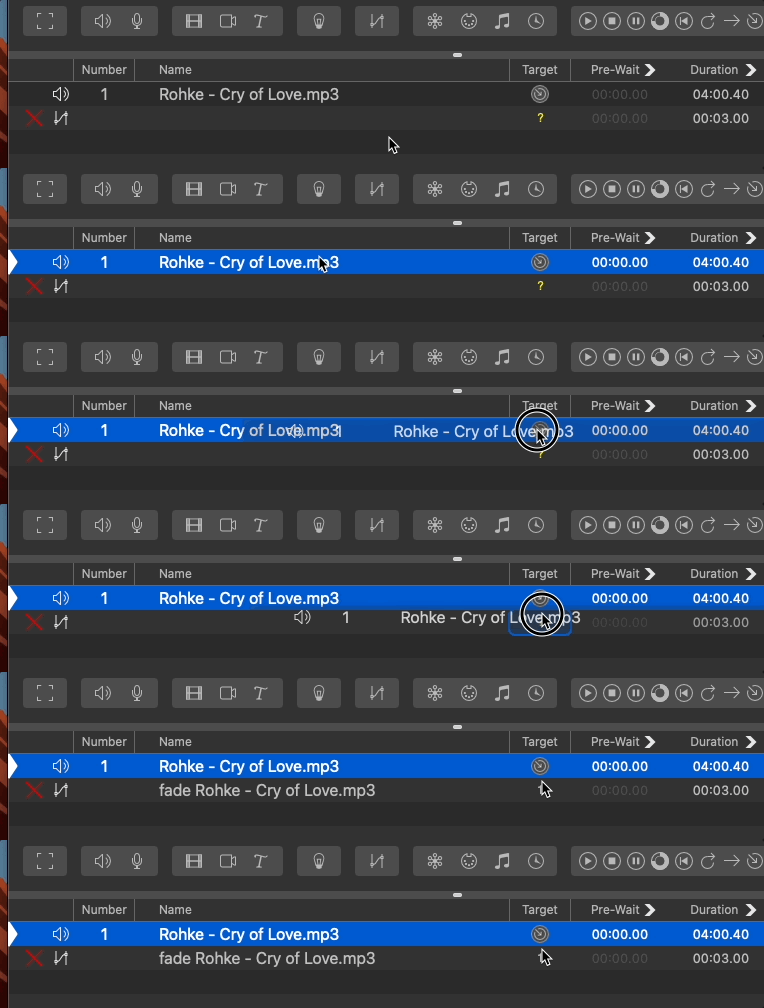
But we still have a problem, that pesky red X.
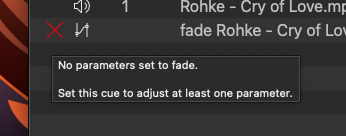
Now when I hover it says “No fade parameters set to fade”. I guess that makes sense, we should actually fade something – make the cue actually do something. If I select the Fade Cue, you’ll see an Audio Levels tab, just like in the Audio Cue.
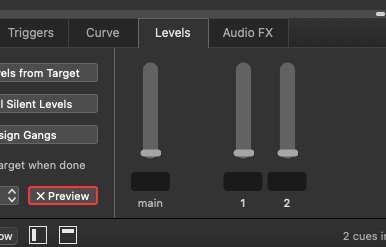
Here however all the faders are gray, which means “No change”, “Nothing”, “Skip Me”. If I change the Main or Master fader, this will be the volume that we’ll fade to – and the audio cue’s volume is where we’ll fade from. So here, I’ve set the Fade Cue to fade from -INF (the level of the audio cue) to -10dB.
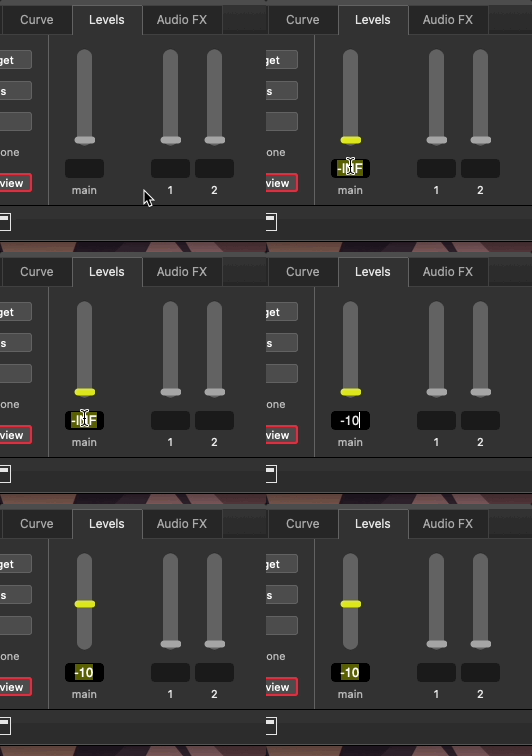
Quick note. You’ll notice that the fader turned yellow, “Change”, “Something”, “Pay attention to me”. If I click the fader again, it’ll turn back to gray – It’ll retain the value but be disabled. Click again, yellow – enabled.
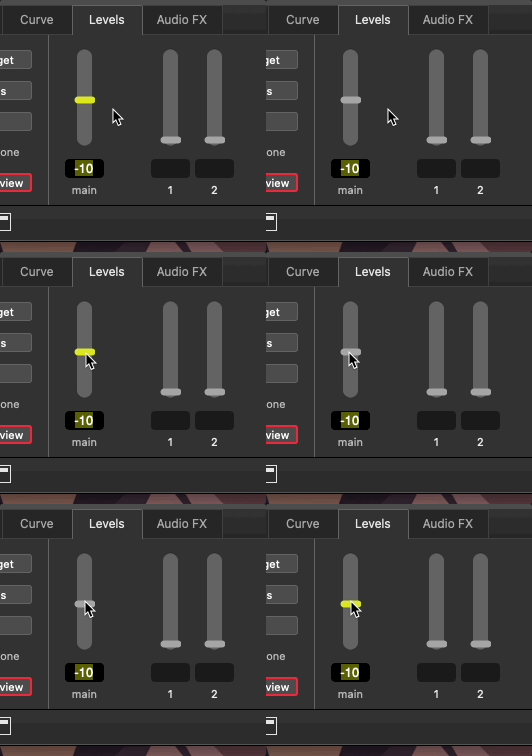
Knowing the exact value or volume you want to use is wonderful. But you don’t always just know, you have to explore, move the fader, find out. If the target Audio Cue is currently playing – you can enable Live Preview and any adjustments of the Fade Cue’s faders will be heard live.
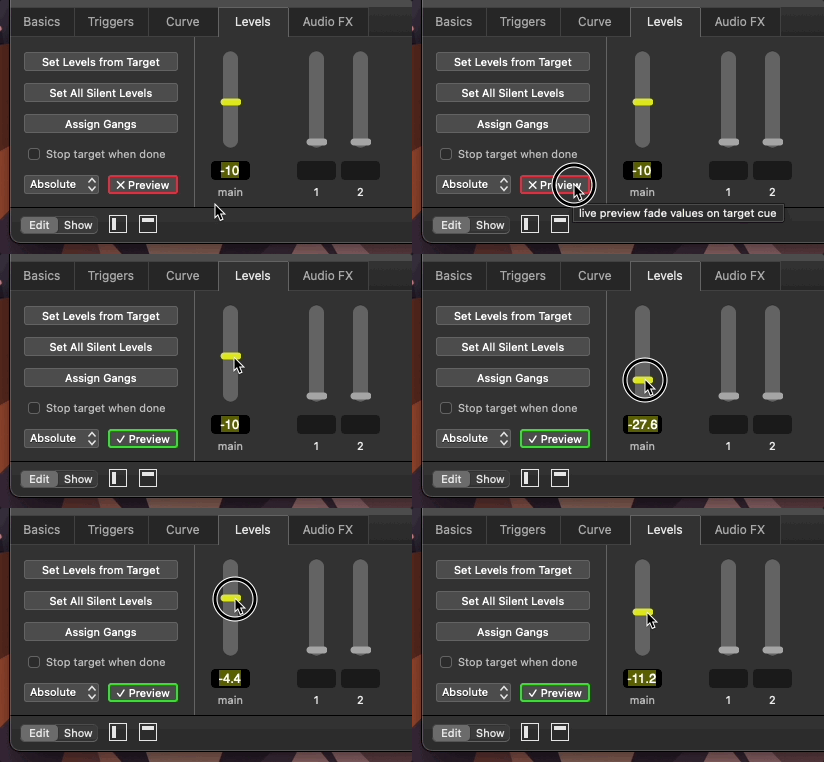
Once you’ve changed the volume and you’re happy, press Escape to Panic the workspace.
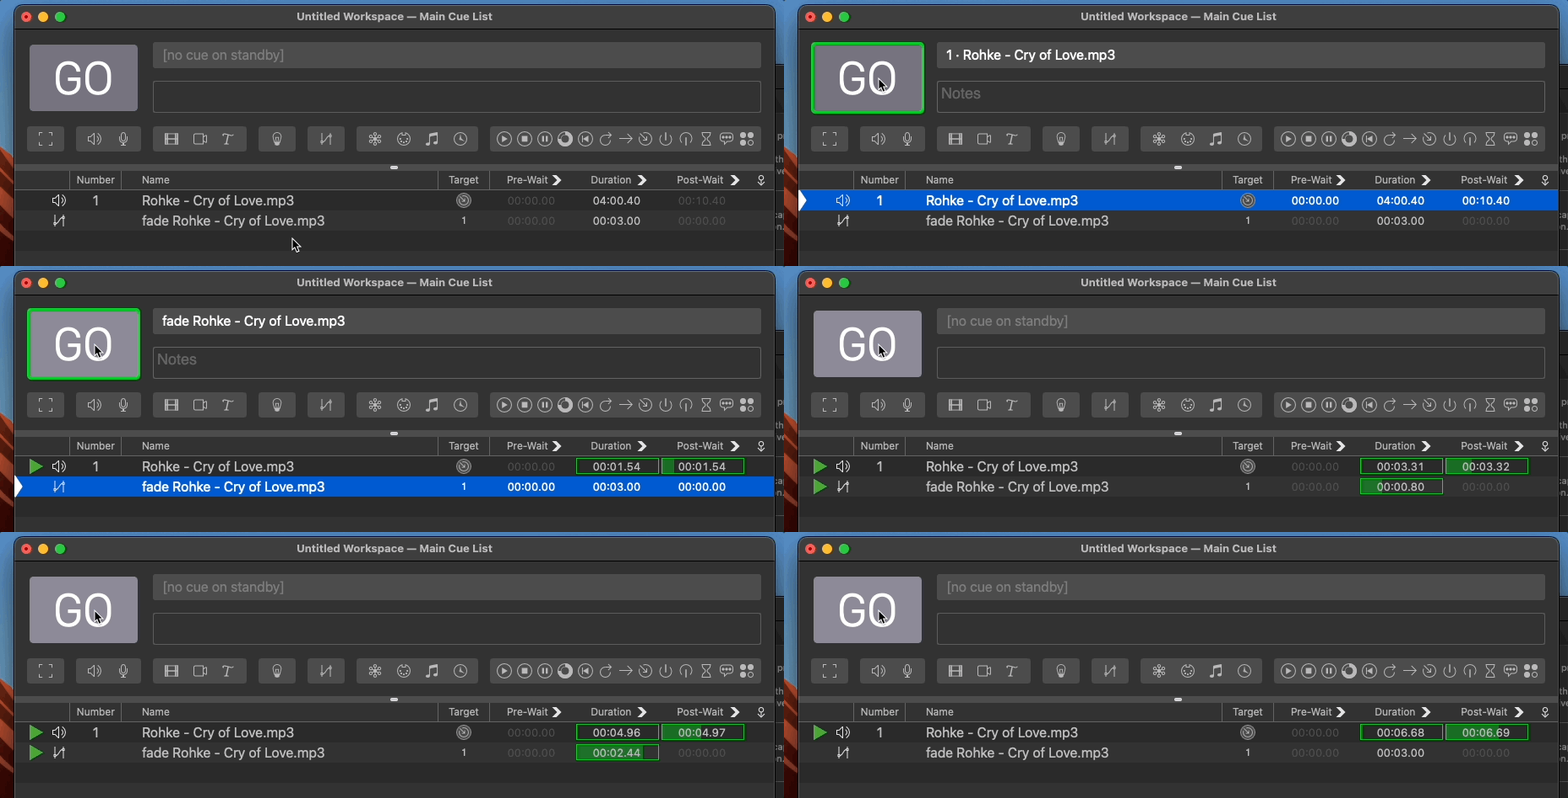
Alright; putting this all together … To execute the sequence, select the Audio Cue and press GO to play the song. The cue will begin to play silently and QLab will automatically select the Fade Cue. Press GO again to hear the song fade in.
Add the song “Cry of Love” from the attached music. Using a fade cue, make the song fade in rather than abruptly start.
In general should you have your sound effects start at an audible or inaudible level?
An inaudible level.