
Here’s a feature that I’m often asked about. In the audio world, if you’re mixing a band and you want to listen just one single musician you would press the SOLO button. This would turn off all the other musicians in the board operators headphones and playback only the channel (or channels) with solo turned on.
In the lighting world, we might want to do the same thing. Why? Well, for example, if I’m trying to take a moving light and focus it to a specific area of stage or a certain actor, it might be difficult to discern which light is which. Wouldn’t it be nice if all the other lights would just go away for a hot second so I could focus on this light?
The Rem Dim button is one of two ways to accomplish our task. I would suggest that this is more of a programming technique than a temporary check. I’ll show you why in a second.
To use this feature, you start by keep, the ones you want to stay on while all others turn off. For this example, I’ve returned to our Concept Project file, am in Cue 105, and have selected our front lights. This will let me pop a quick cue in which the two characters on stage have a private soliloquy to the audience which would warrant a stylistic dismissal of the rest of the world around them.
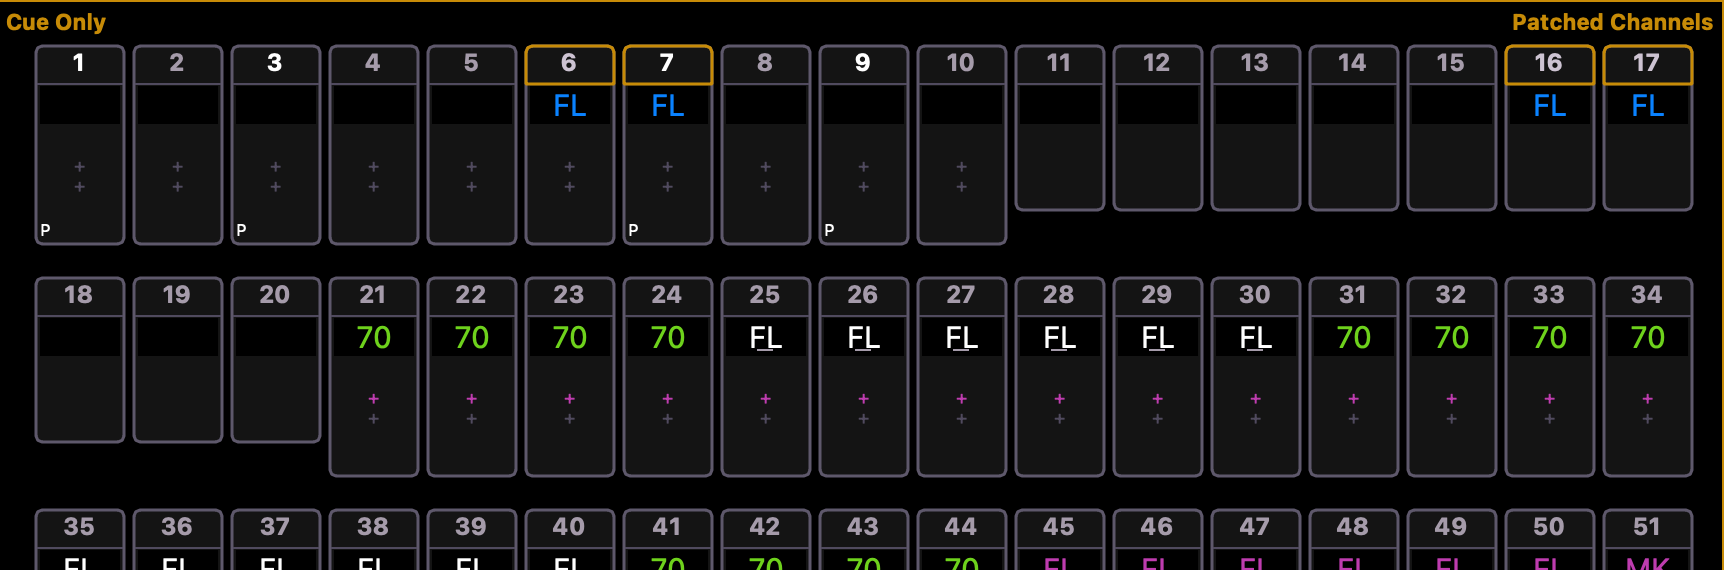
Now if I press the [Rem Dim] button or the letter [H] on my keyboard, we’ll see this added to the command line.

If I press [Enter] to commit the command, we’ll see that all channels that were not selected are now red, or in manual mode, and were taken down to zero intensity.
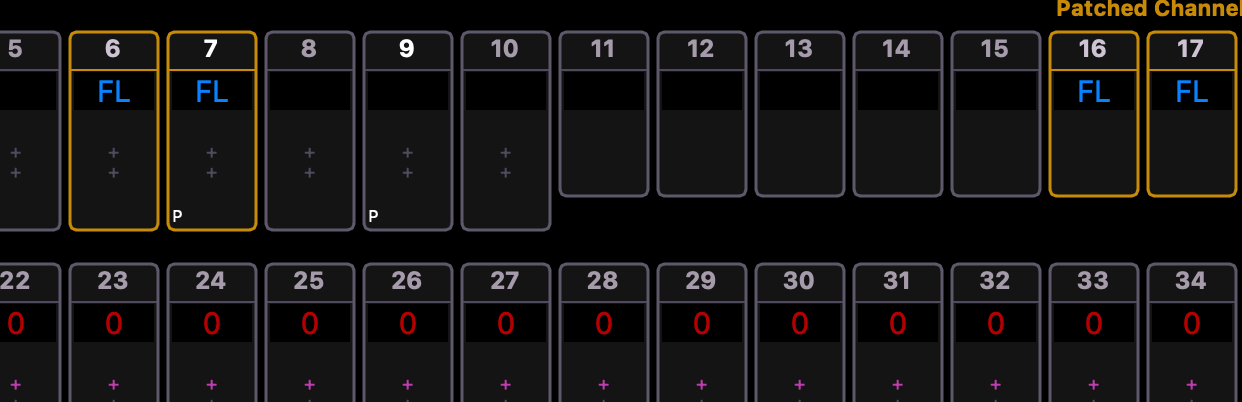
Because all the other channels were captured, set in manual mode, this is less of a temporary switch and more of a move toward an artistic change. So let’s imagine that this is the situation, an additional request for that soliloquy by the director, so I’ll record this as a quick cue, 105.1.

And then copy 105 to 105.2 as a restore to the previous look.

The Rem Dim button is one of two
The Rem Dim button is one of two