One of the most advantageous things about an intelligent fixture is that it can often serve several purposes. A moving light, for example, can often replace the need to hang several single purpose special lights. Illuminate this actor in one scene, another actor in the next. It’s amazing! However, it takes an amount of preparation and care to ensure the movement from one special location to the next happens while the light is off – that we don’t accidentally see the light move from one position to another. Seeing this type of movement, seeing the “mechanics of the theatre” as we might say, ruins the illusion and takes us out of the moment. It’s a distraction and we end up thinking about the lights rather than what’s being lit.
The biggest technique to help ensure we don’t see unwanted shifts in the light is you. You are the one creating a cue list, so you are the one to make sure that there is at least one cue with the light off between the two cues in which they are on. If you were an actor on stage, and you had to do a costume quick change, you would need a section where someone else was speaking and you had no lines in order to get backstage and change. If you’re building a set, you need to stop using the drill to switch from a Phillips bit to a Robertson bit.
Ahh. Let’s stop trying to explain this with words and just show it to you on the light board.
In the EOS file for this lesson (please make sure you open the file for this lesson) you’ll find a Cue 1 and a Cue 3. Both cues use the exact same set of lights, but the purpose switches.
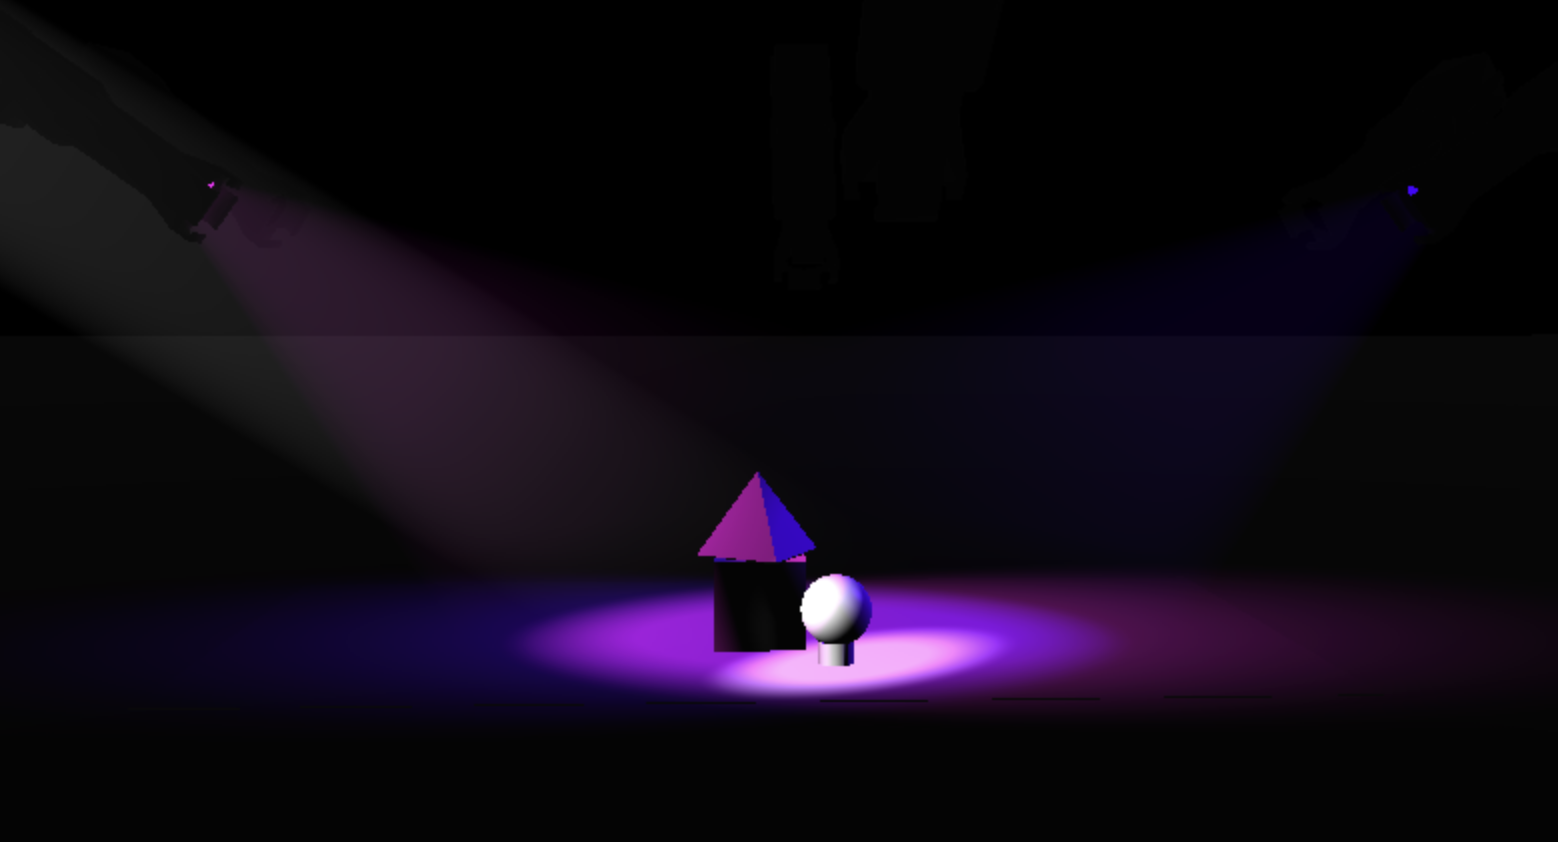
In Cue 1, we begin with a cold look and a special highlighting the ball.
In Cue 3 we switch over to a warm look and a gobo wash on the floor.
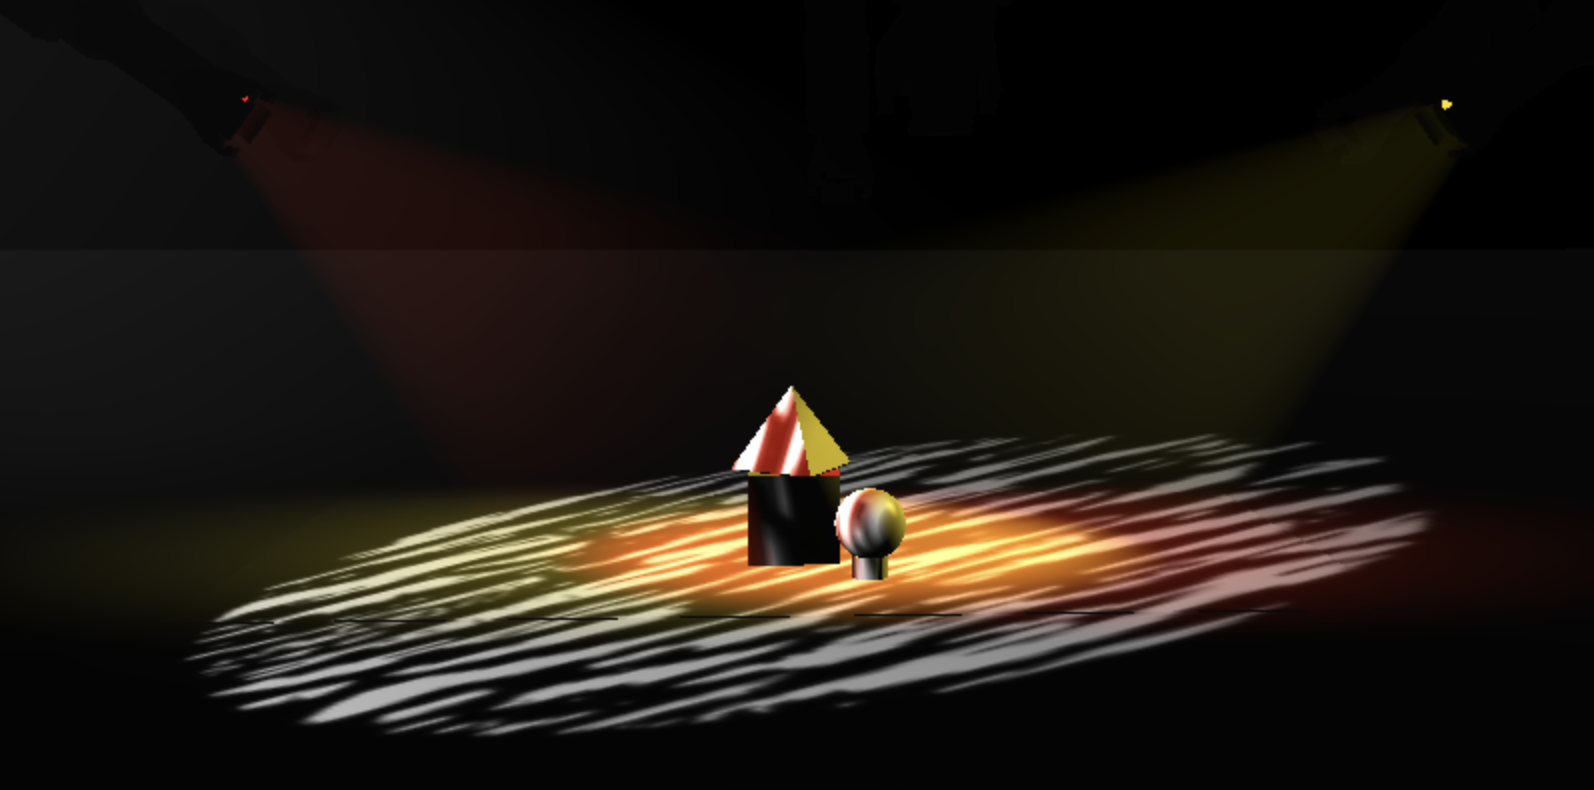
No problems, right? Except that if you step from one cue to the other we see the movement of the lights. Arg! No! Problems! I don’t mind the shift in color, but the moving light switching gobos is awful!
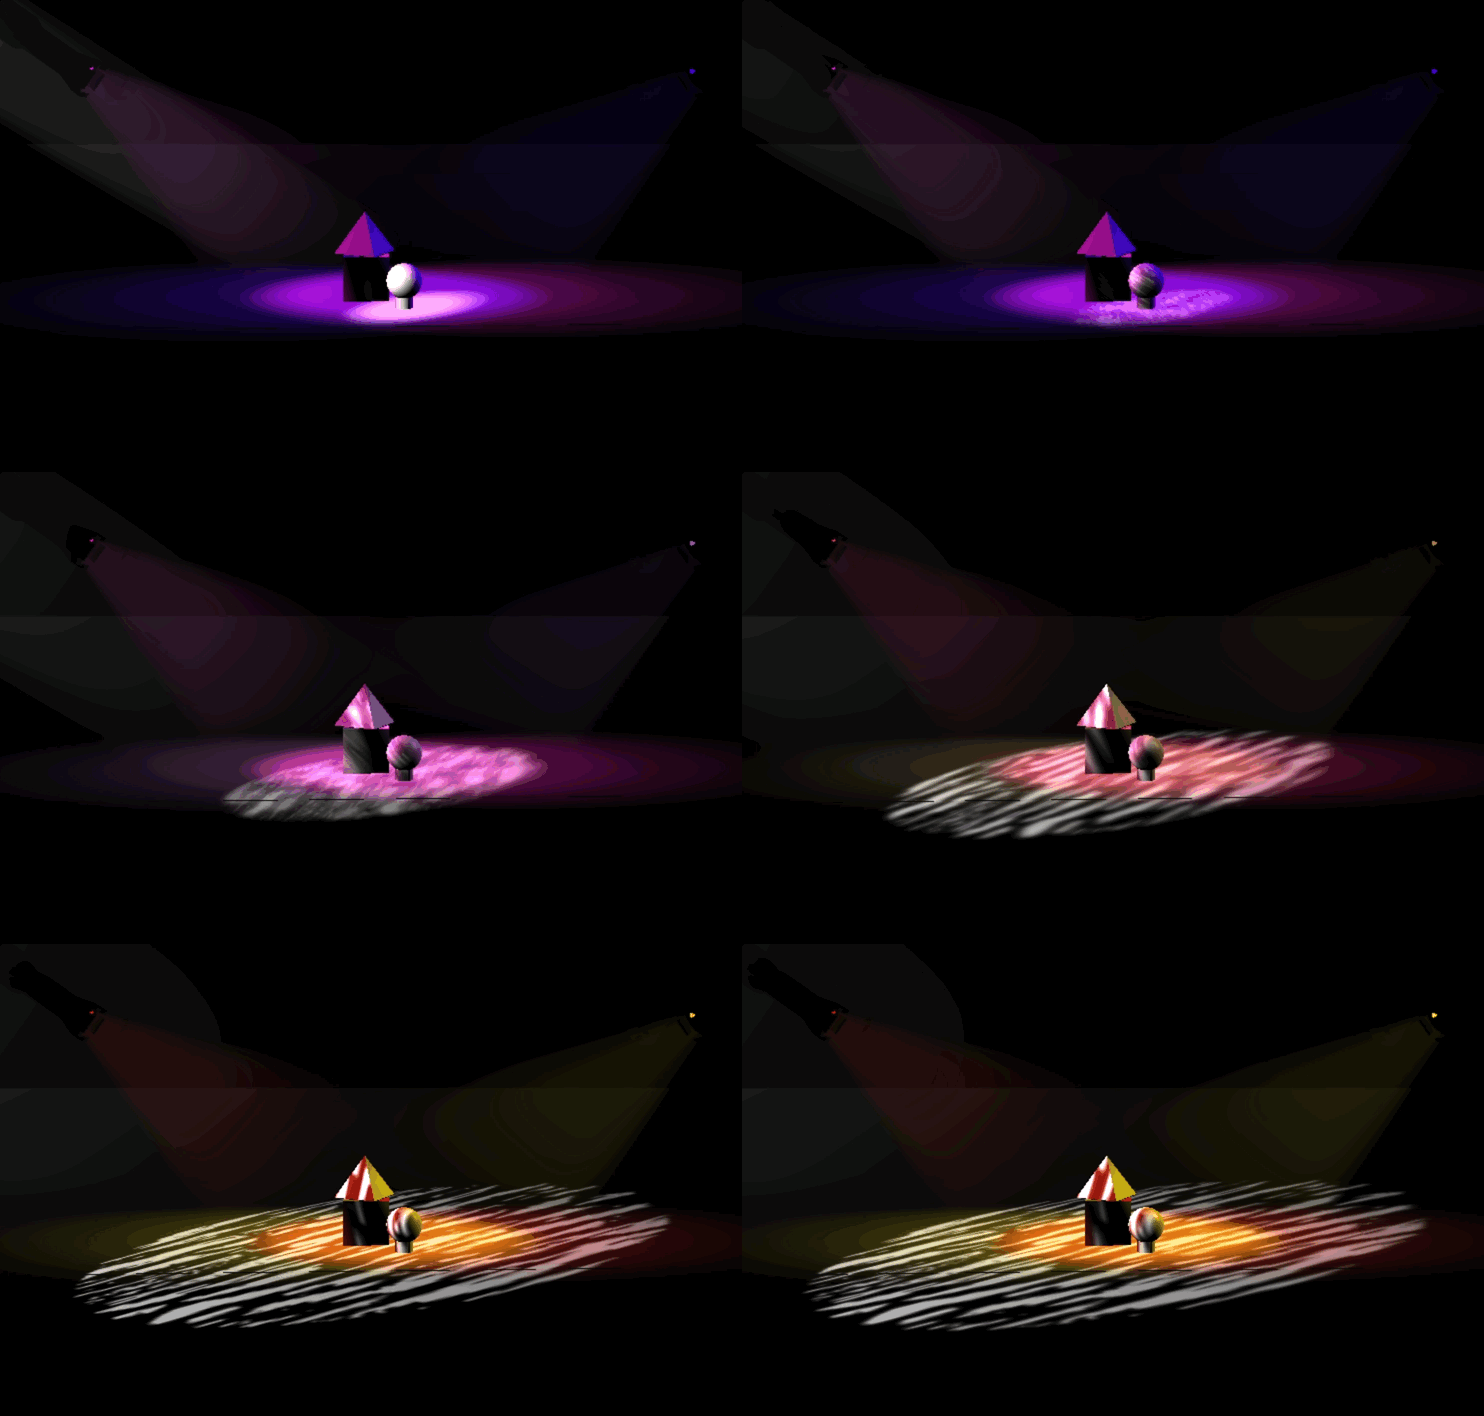
There are a handful of ways to combat this problem.
First, you could simply make a different choice.
Second, you could use a different light, ideally you’ll have two moving lights that can trade off turns for special moments like this.
Third, we could put a cue in between Cues 1 and 3 that allows the moving light to make adjustments while the light is off – this is called “Marking”.
Marking is a technique in which a light will look ahead in the cue list, see that it’s about to be used in the next cue, and prepare all of its “non-intensity” parameters before the intensity turns on. EOS even has a feature that will handle that for you called “Auto Mark”. Let’s start by enabling that feature.
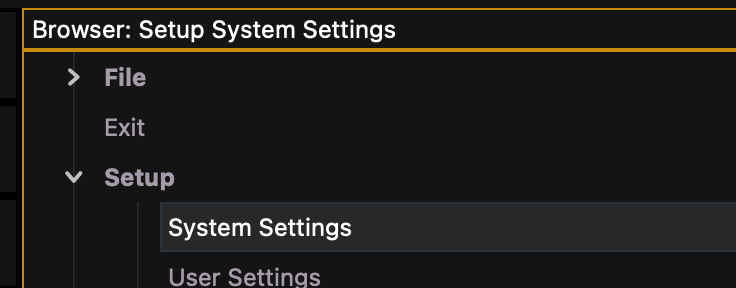
In the CIA, open the Setup menu and double click on System Settings.
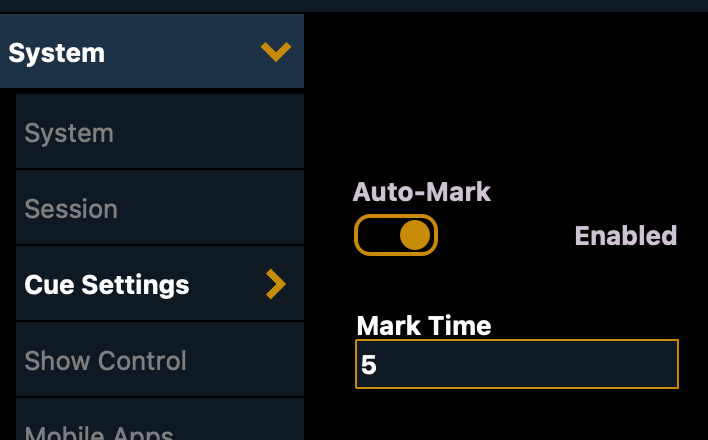
In this window, you’ll see a number of tabs – we care about the Cue Settings tab. In this screen we can enable Auto-Mark which will tell EOS that we want the software to handle all this movement automatically. Sometimes we like seeing moving lights (i.e. concerts or musicals) so might want to keep that feature off. In addition, we can set a default mark time – meaning the time over which a light will move when it’s out. I like to set this at a 5. If a light changes too fast, sometimes you can hear it in the audience. A slower movement ensure that changes are done subtly and quietly.
Okay. Once you’re finished, you can press Live or F1 to return to the stage. If you step through the cues again, this didn’t fix anything. Why? Well, we need a cue in between the cues.
So start by going to Cue 3. Let’s record this as Cue 2 – because we like the warm look. But in Cue 2, we don’t want the front light, so take Channel 1 out and update the cue.
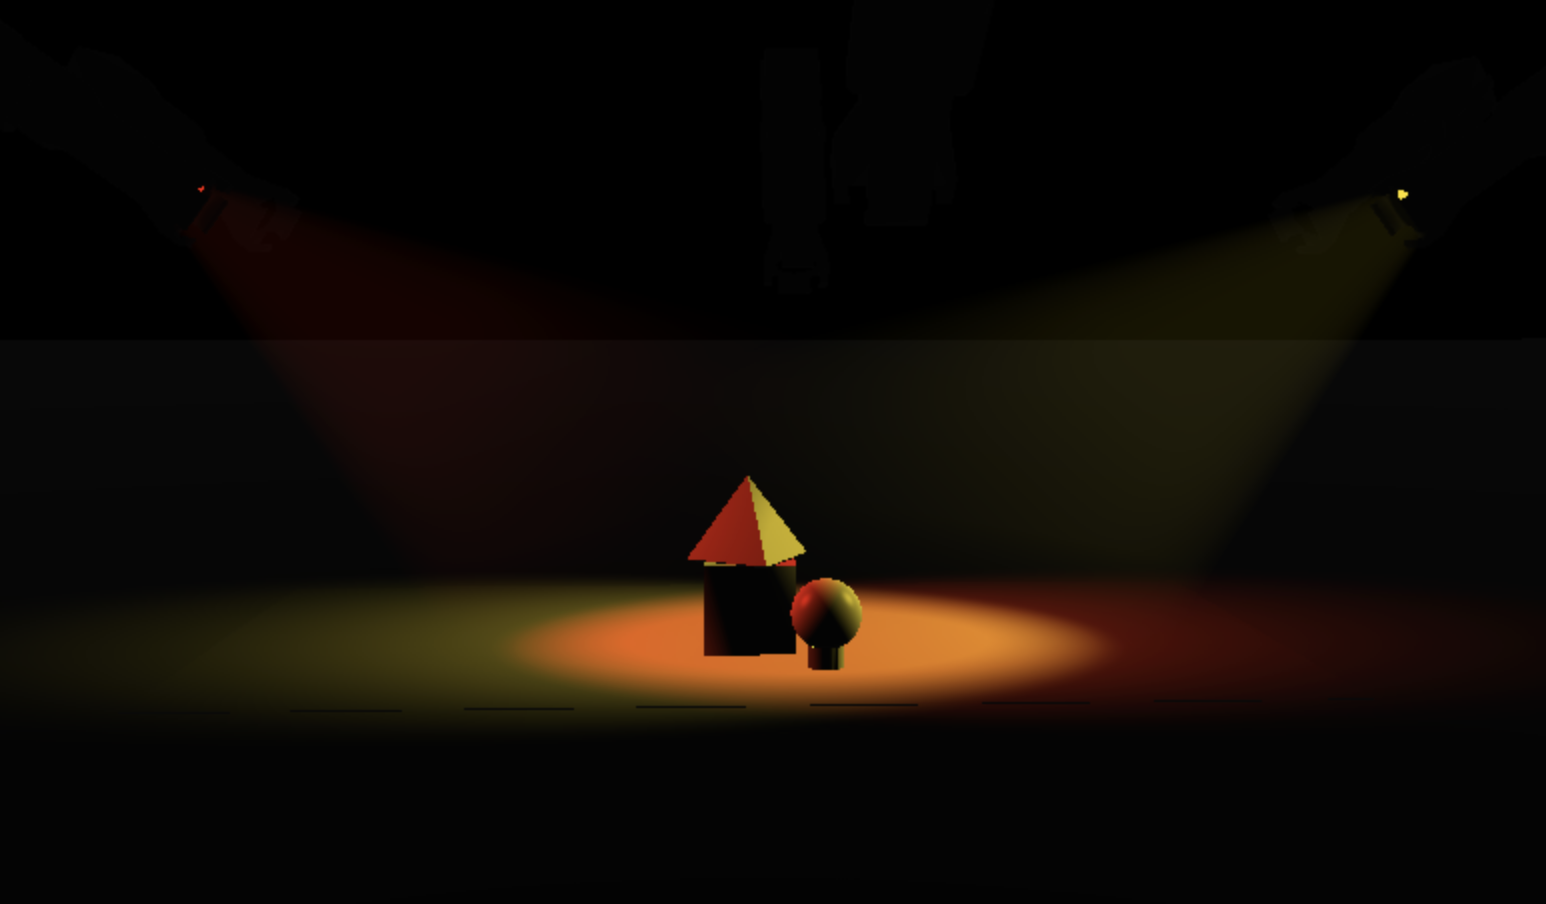
Good. Now if we step from Cue 1 to Cue 2 to Cue 3 – we should see Channel 1 go out, it’ll change, then come back up in our second look, right? Well … no … not exactly. As the light goes out from Cue 1 to 2 – we see the light begin to change. Bummer.
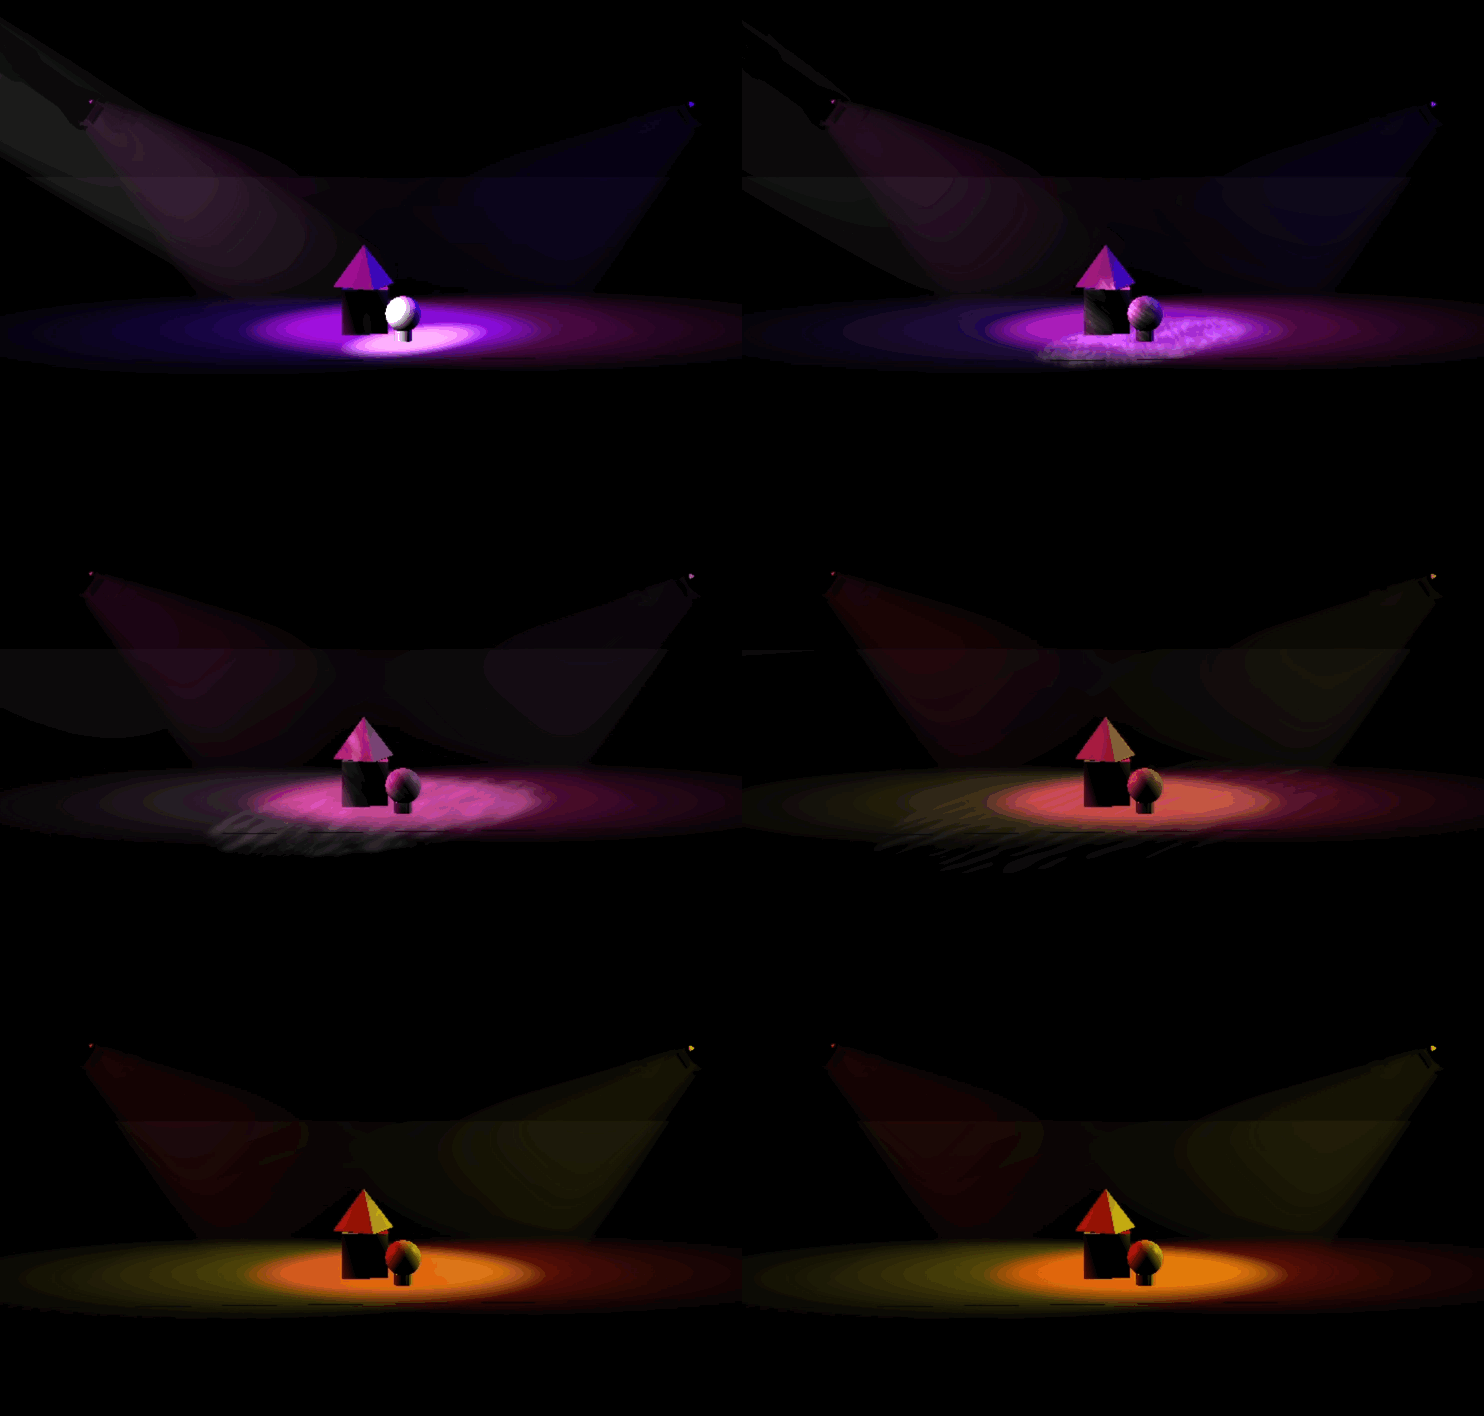
This is because the light is still being told specifically to change for Cue 2 – so we need to tell the light to do nothing in Cue 2, and then change for Cue 3. To do this, we’ll go to Cue 2, select Channel 1 and give it a “Null” value or a “Nothing” value by saying [1] [@] [Enter].

You’ll notice that the light actually came back on because EOS is all like “What? Okay, I’ll just do the same thing as the cue before”. But we don’t want that, so take Channel 1 out and update Cue 2.
Step through the Cues 1, 2, and 3 again and now you’ll see everything working perfectly.
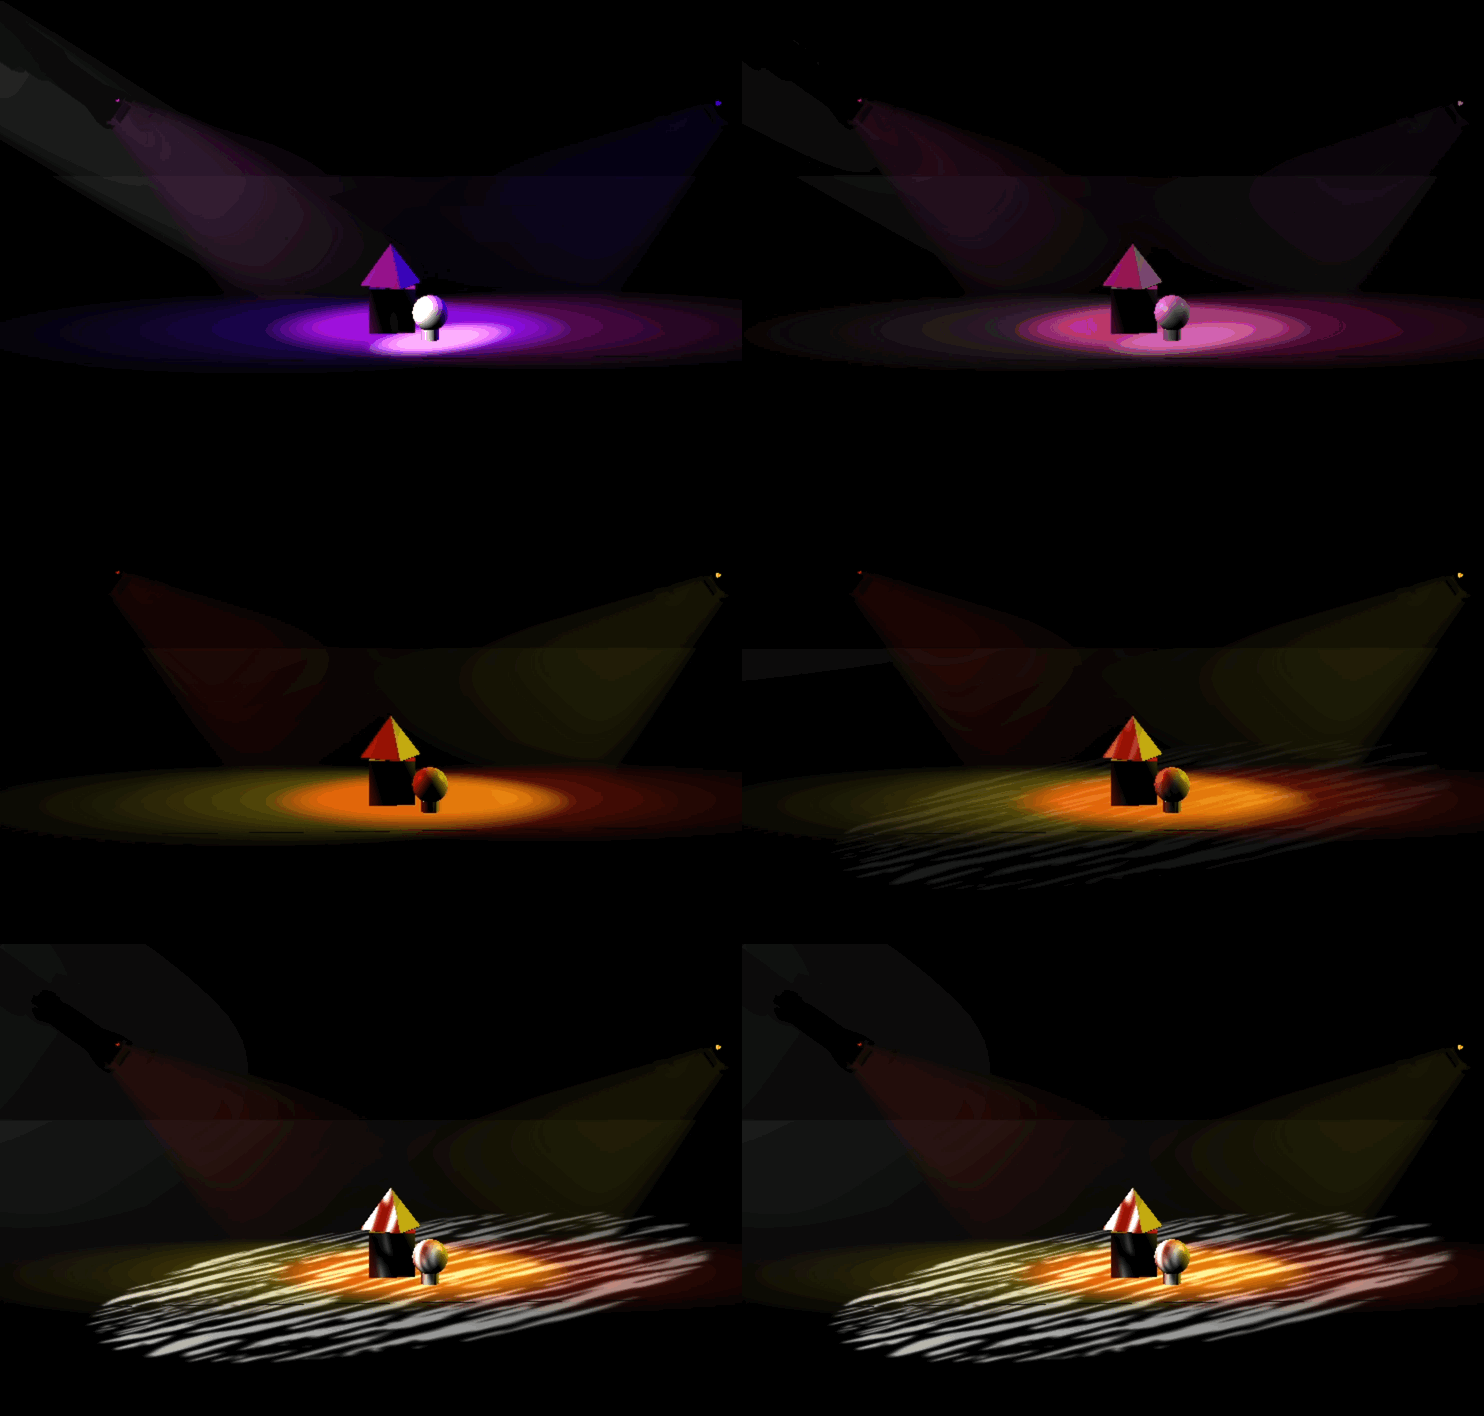
I find that watching the numbers during transitions helps though. In the following screen you’ll see the transition from Cue 1 to 2 to 3. Note the following…
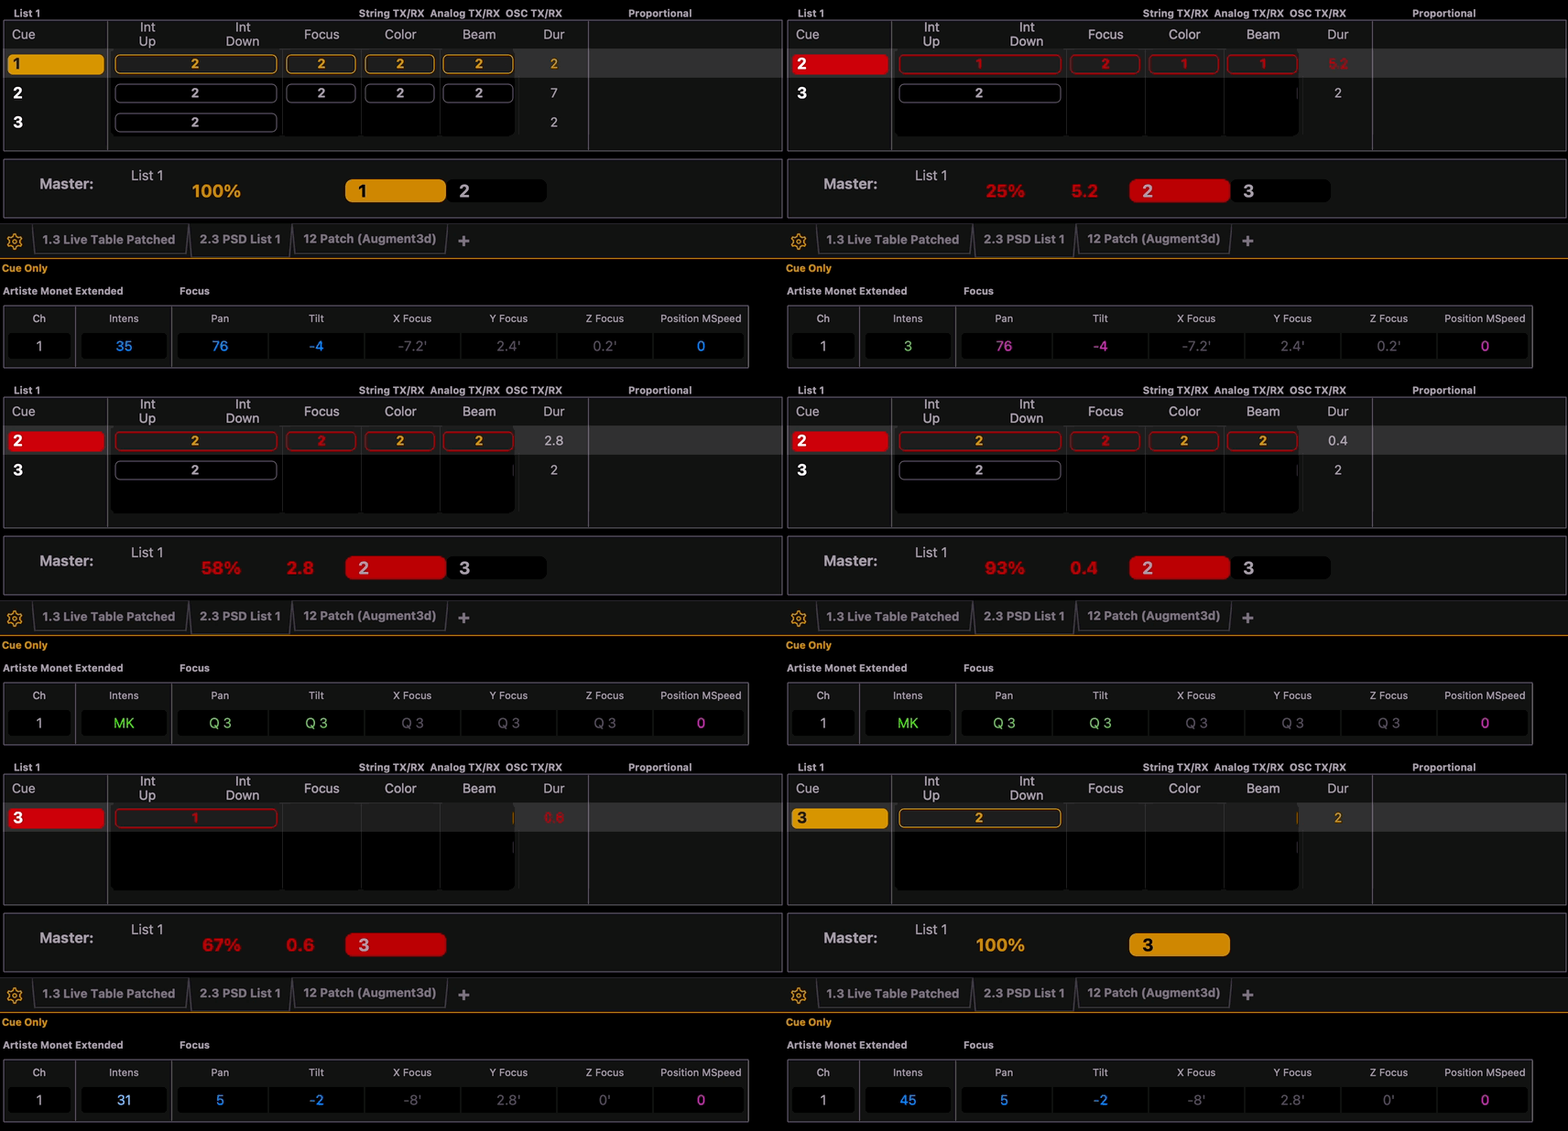
I know this concept can be somewhat confusing. This is really one that drives home when you find the problem and when you need the solution. And to be fair, it’s a technical concept more than an artistic concept. It asks you to think beyond the look on stage, but to also think about the looks that were and will be. So if you’re a wee bit lost in the lesson, give yourself a bit of grace, remember that it exists, and come back to it when you see the unwanted movement of lights.
Okay. This is all a little confusing still, but I do know this … that if I want a light to move without being seen, then in between the two cues I need to do this to the light …
Make sure that there is a cue in between the two cues, that the light is off, and that the other channel parameters aren’t being told to do anything — or the nerdy version, that they have “null” values.