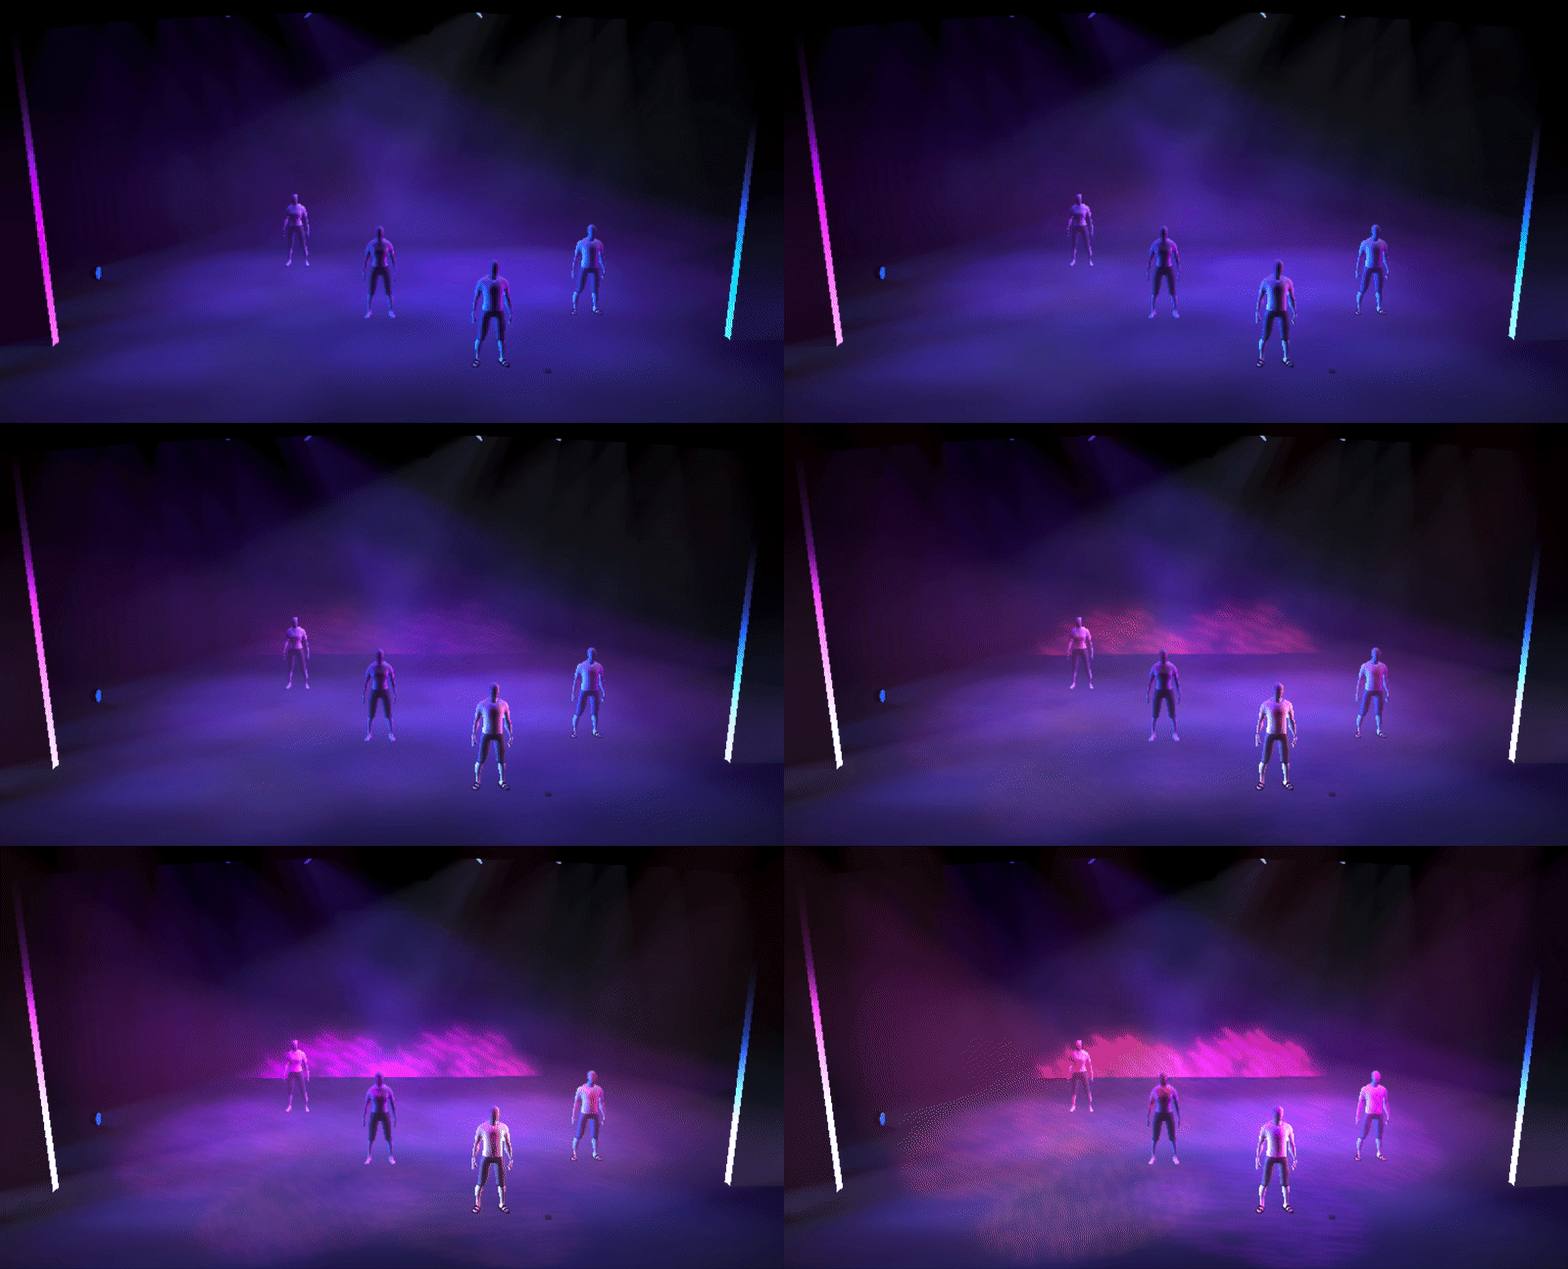
For this Follow Along lesson, we’ll adjust the timings from the looks we made in the last chapter. Good news, they’re already in your current worksheet.
As a reminder, our cues are …
So go back to Cue 1 and we’ll adjust the timings on these first 8 cues. And this will mean that the whole design is finished, polished, ready to show to an audience!!
Ready?
Start by ensuring that Worksheet 4 is open.
See? That was easy. We’re gonna be just fine.
Well. Since this is the beginning of our piece; we don’t really need to worry about how we’re getting into this cue. However, since this might come after another set of cues – let’s ensure a fast fade.
Give Cue 1 a Time of 3 / 3 to make sure it ignores any default timings. The Intensity Down time should now be a grayed out “3”.

If you step into the first look; it feels a little long. We don’t want the main dancer to grab focus too quickly – but everything seems to just take forever. This is a great example of when to use a Part cue. As I said before, it helps to think bout what we want before we start constructing a part cue. The idea is …
This might seem backwards, but what we’re really trying to do is to pull the special parts out of the existing cue and place them into their own parts. And remember, the order doesn’t really matter … the timing does. So to do this we would …
Cue 2.1 is meant to follow Cue 2 automatically. This would be a great chance to use a Hang. So let’s give Cue 2 a Hang time of 1 second; giving it a beat to finish then letting the new dancers enter.
Here’s what your PSD and Augment3d should now look like.

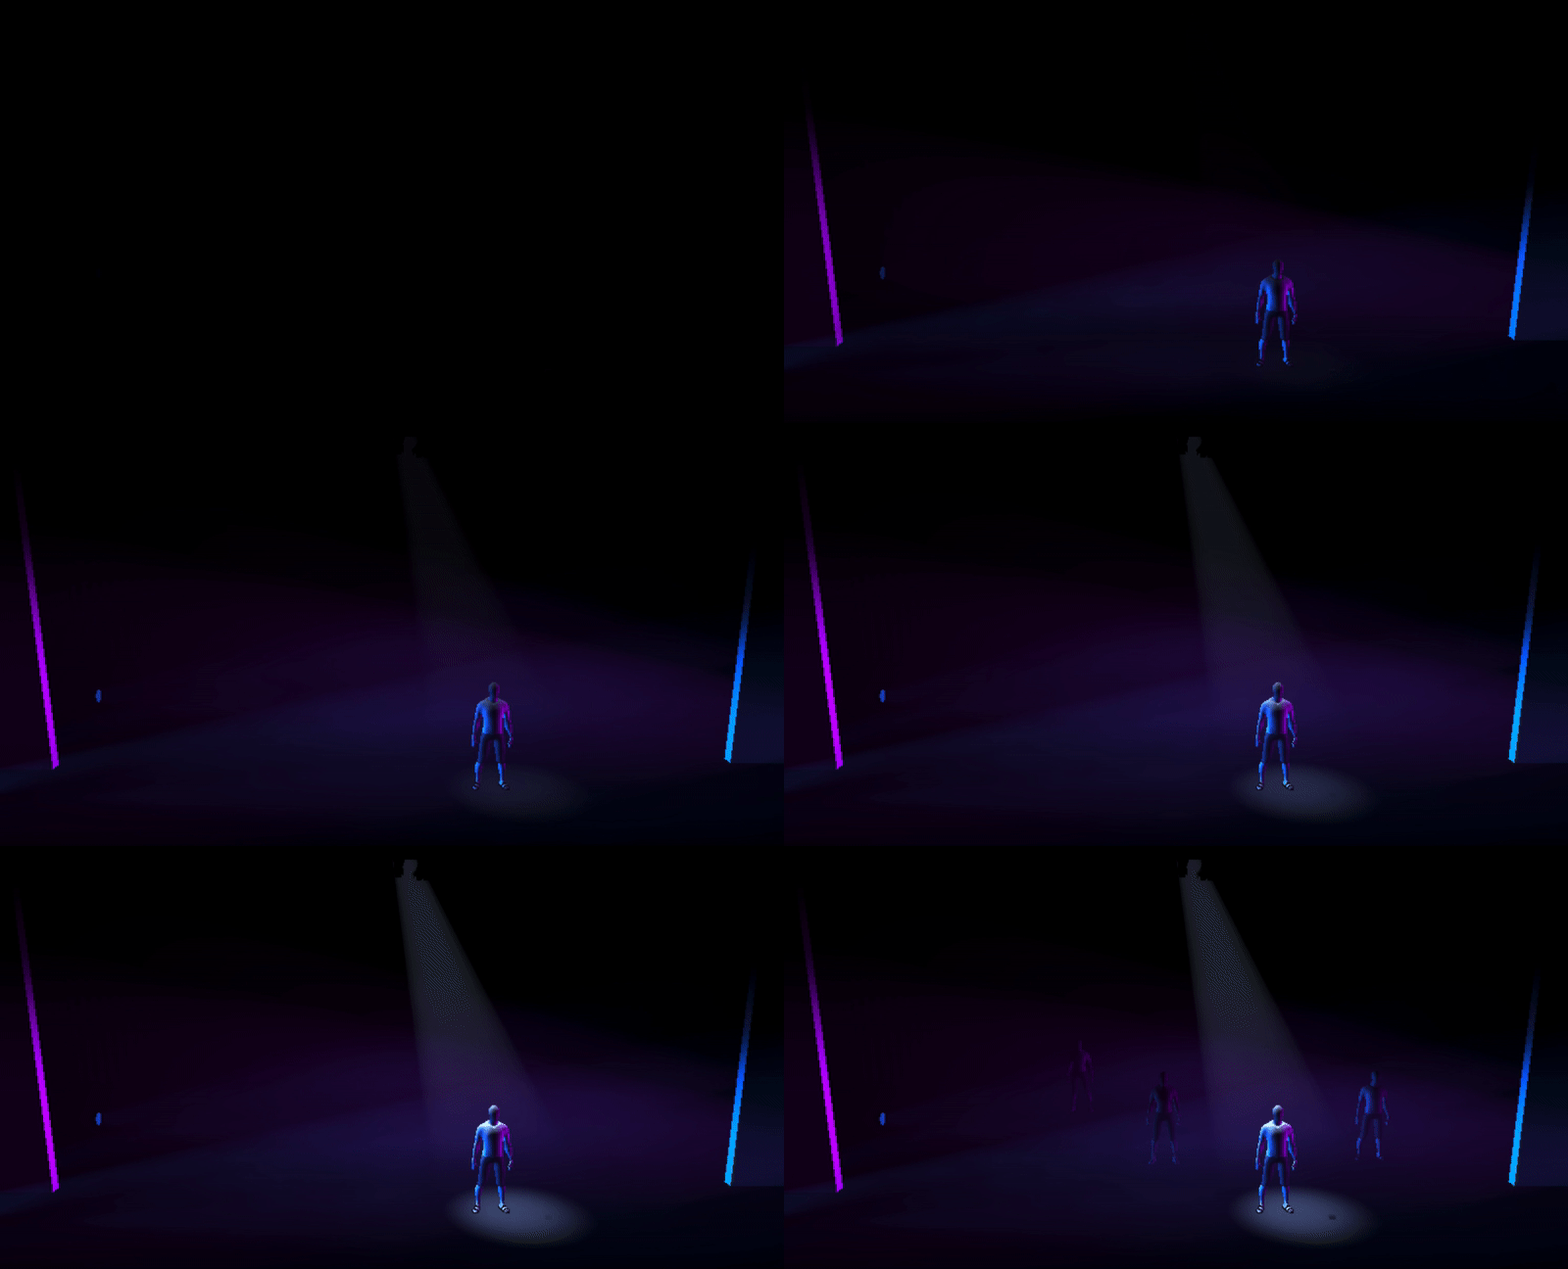
Step from Cue 2.1 into Cue 3. This is a nice fast transition into the full ensemble dancing. In a song; this would likely be a fast moment, a pulse, a beat. So let’s shorten the up time to 2 seconds. And to make the shift of focus from the single dancer to all the dancers a little less overt, let’s slow down the down time to 10 seconds. So set Cue 3’s time to 2 / 10.
Stepping into this cue again, I still find the main back light going out distracting. Let’s wait until the higher intensity lights have come up before taking this one out. To do that, we’ll need to set a delay of 2 seconds on the down time.
Here’s what your PSD and Augment3d should now look like.

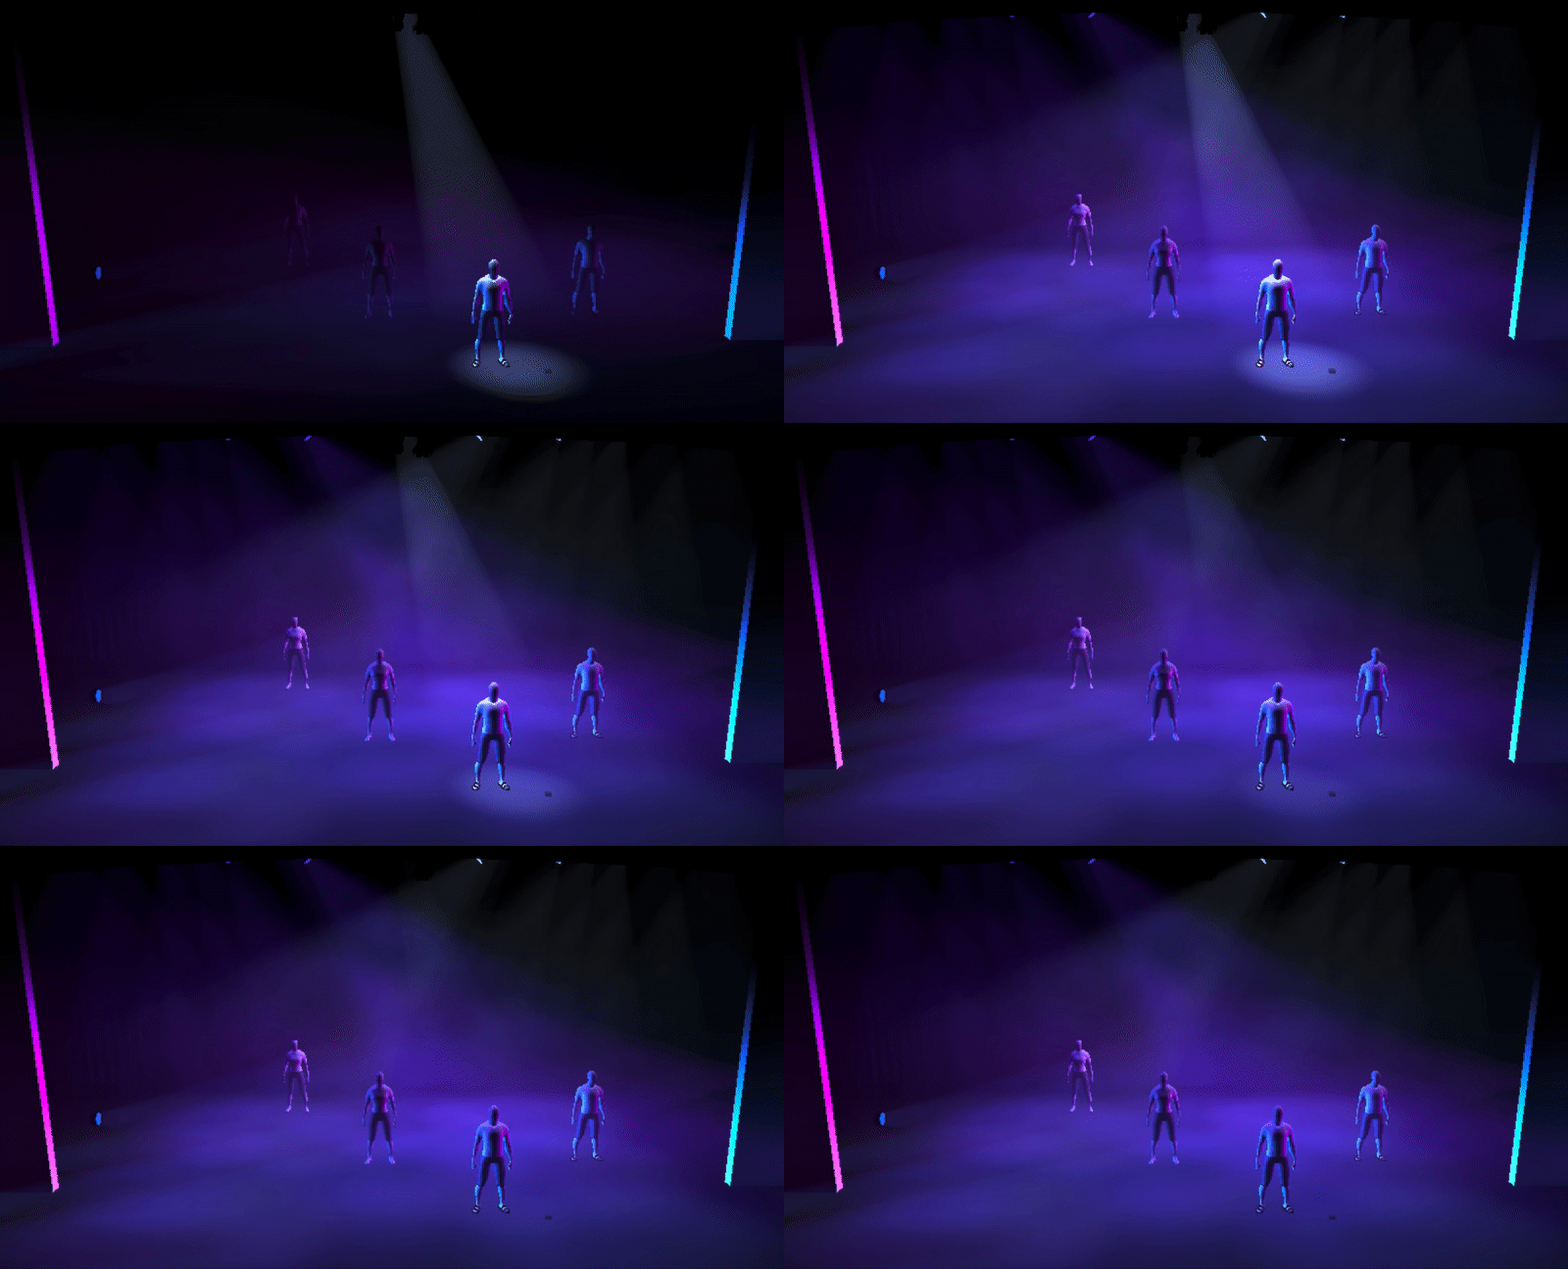
Transition from Cue 3 to Cue 4. This change is about adding a layer of complexity and would likely come with a musical build. So let’s slow down the time to 10 seconds. I also noticed that there’s a Color time of 2. This can’t be the moving lights, because those Auto-marked in this previous cue – so looking closer I see that it’s the boom lights changing color to a less saturated version of the previous look. So let’s slow this intensity shift down too and set the Color time to 7.
Here’s what your PSD and Augment3d should now look like.

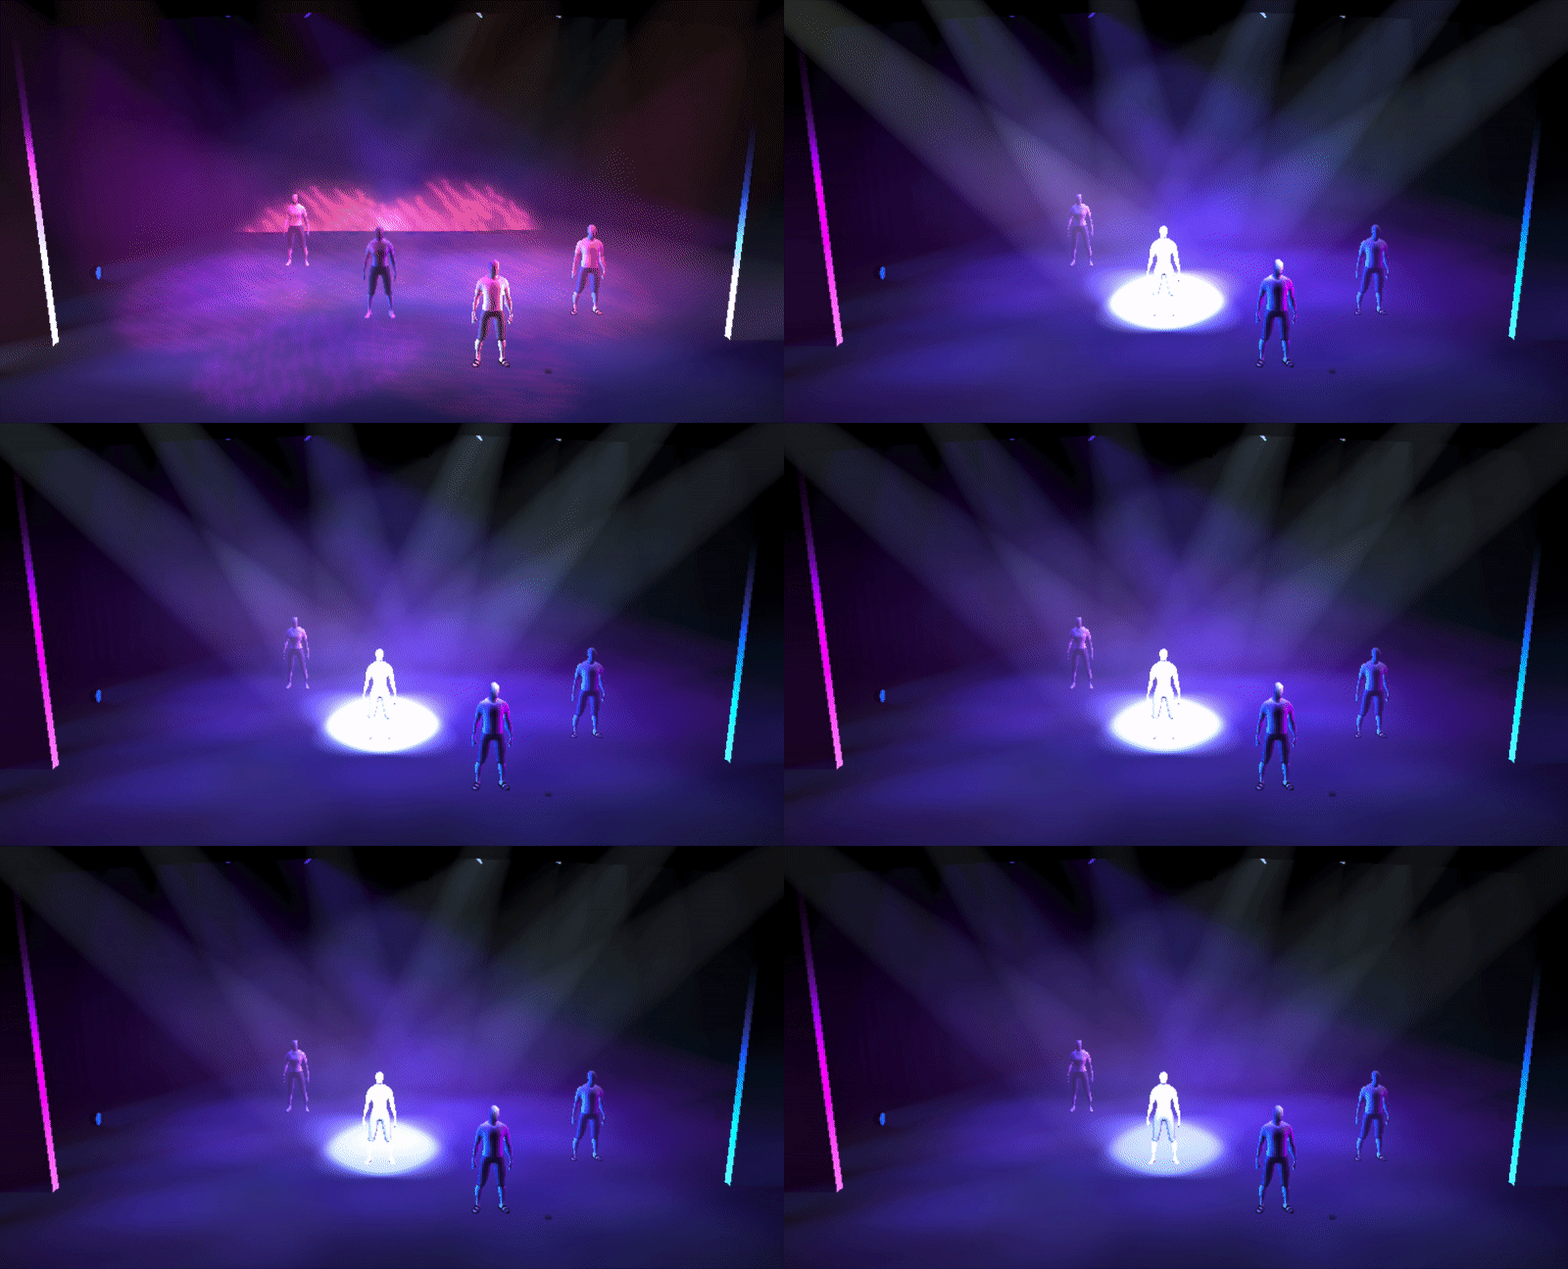
Now step from Cue 4 to Cue 5. This is a distracting movement. I like this shift in focus, but the transition is just too slow – and it’s all about the Focus, Color, and Beam movement. So …
Alright! Now that drives focus like we want
Here’s what your PSD and Augment3d should now look like.

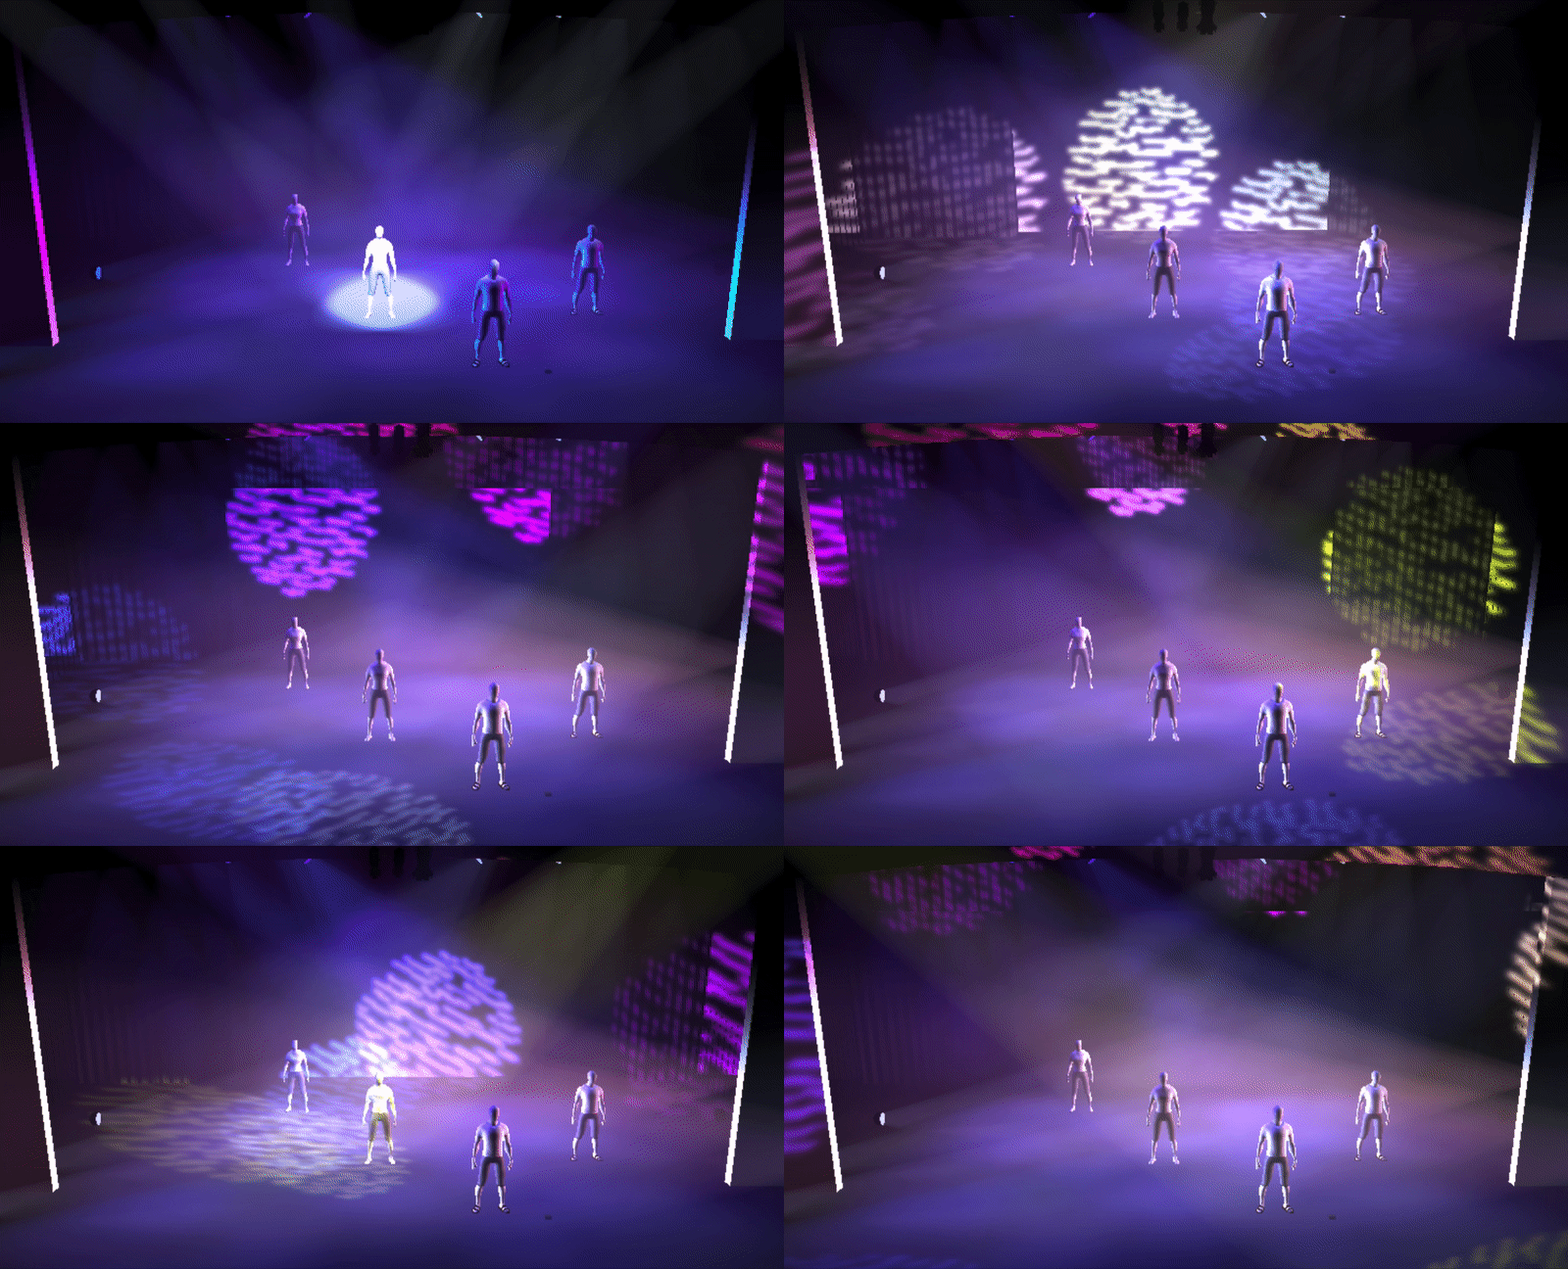
Stepping into Cue 6 from Cue 5; all I want is a different timing for the Focus, Color, and Beam. It seems like a 1 second fade will be appropriate (but we’ll keep the intensity timing at 3 seconds).
Go ahead. Try it out.
When I did it, I’m not terribly happy with the way the circle effect pulses. So I’m going to try a 2 second fade, just on the focus and see if it allows the effect to grow in the transition.
Yup! That’s it.
Here’s what your PSD and Augment3d should now look like.

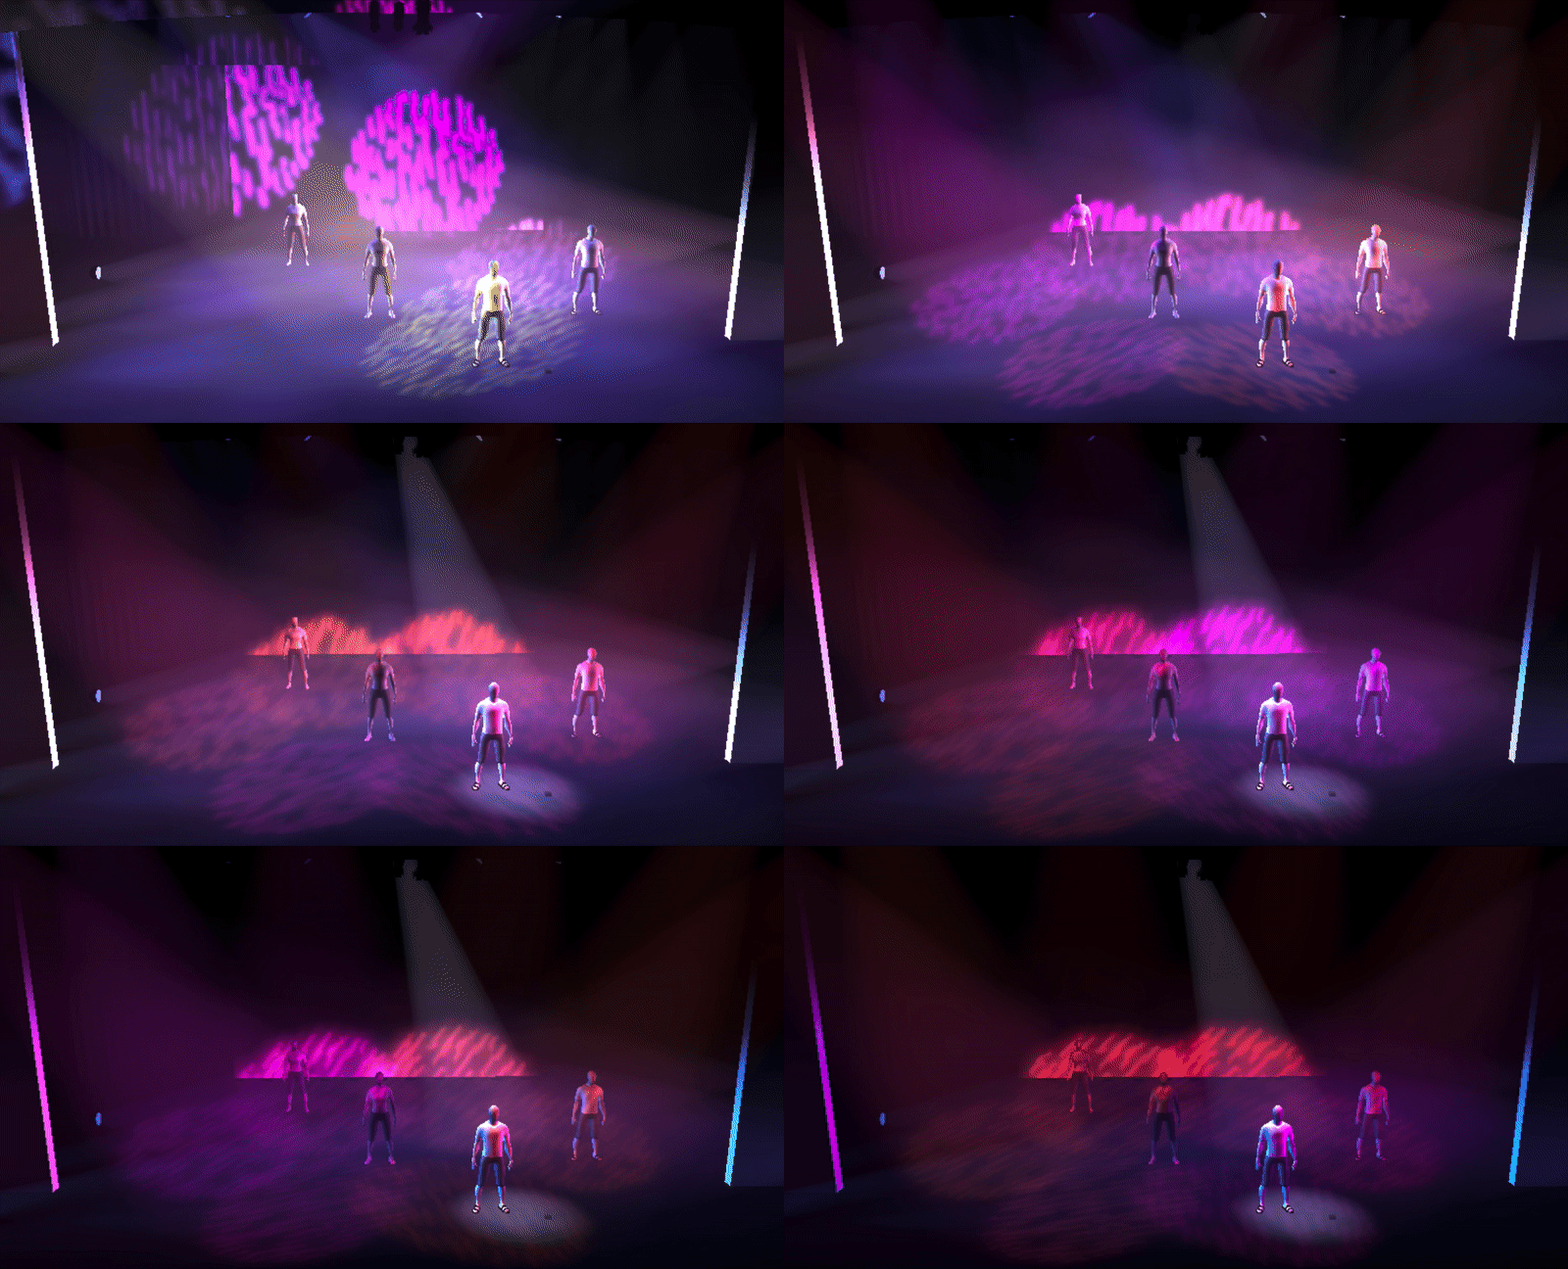
Alright. The next transition is just … a little much. There’s so much going on, it’s a little overwhelming, and I’d like to parse out a few pieces to help draw our eyes from the large stage back to the front dancer. Making that happen is going to a bit more complex – but we’ll get exactly what we want. This one will require four parts.
So follow along with these instructions …

I took it a step further and labeled each part to help me remember which part is which.

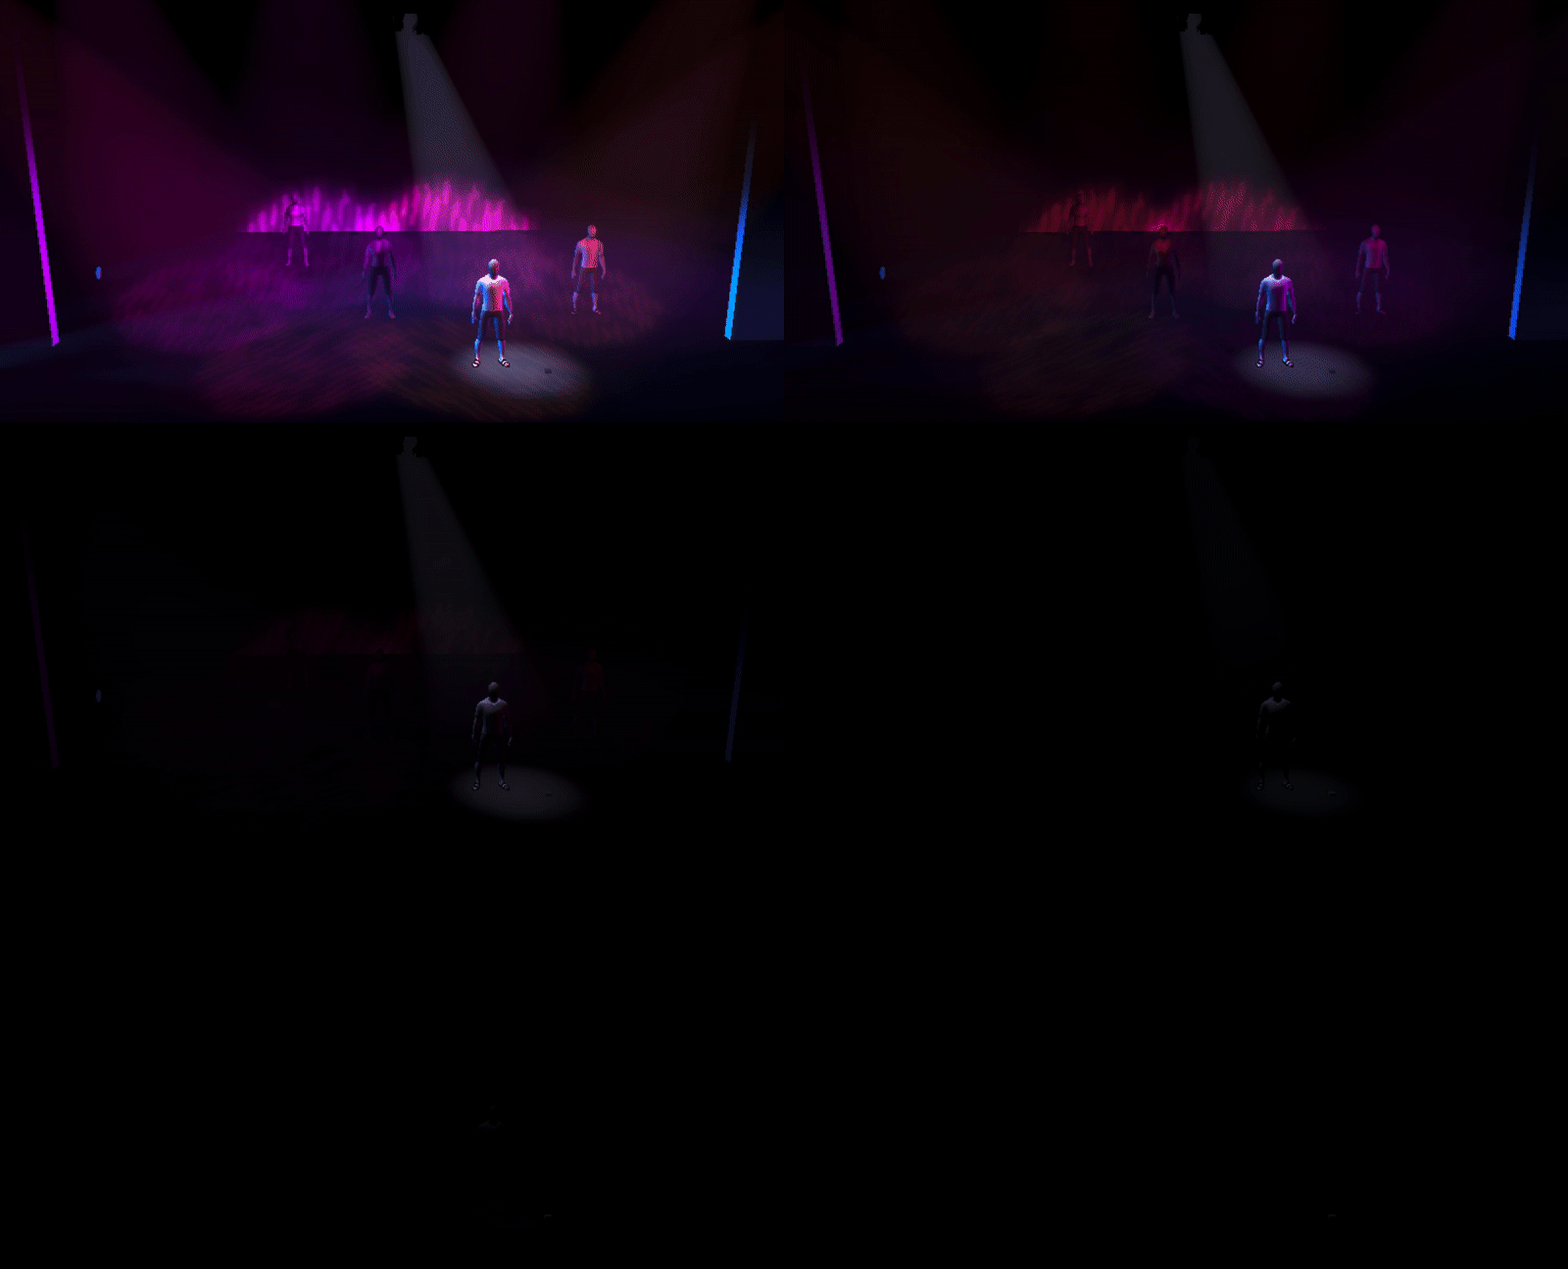
And our final blackout. It works. Now. As is. But let’s try moving Channel 721 into Part 2. And change the time of Part 2 to 3 seconds, so it fade out before the rest of the stage.
Hmmm. I don’t like it. Let’s do the opposite idea. Set Part 1’s time to 5 seconds and Part 2’s time to 10 seconds.
Good. This will make the front focus hang just a little longer.
And we’re finished!

As always … SAVE
And again, just line case; here’s a link to my finished Worksheet 4 file.