Waveform View Recording
Waveform View recording is the simplest version. There aren’t a bunch of extra buttons and features, you just record.
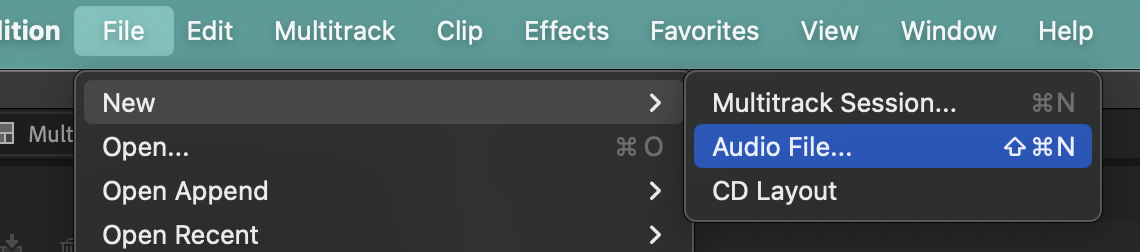
- Start by creating a new audio file … File > New > Audio File
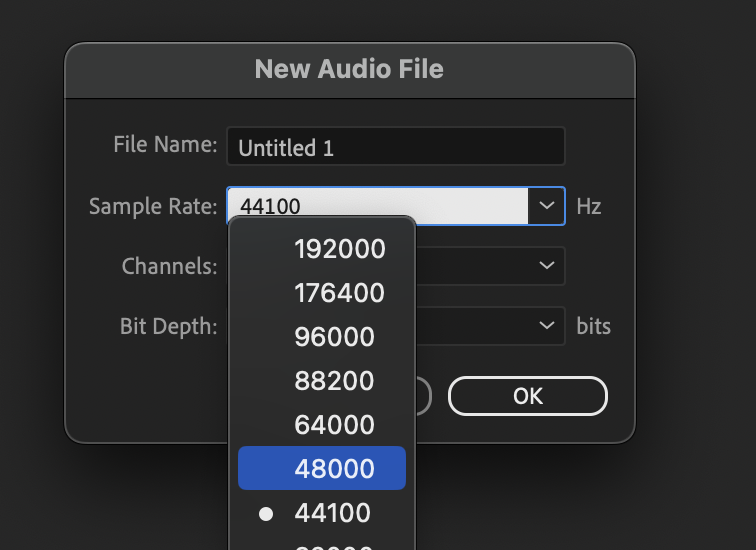
- In the popup window, be sure to match your Sample Rate with your Hardware’s Sample Rate. Audition can translate rates, but everyone is happier when it’s the same. It would be like musicians playing in different time signatures. They can do it, but let’s not ask them to.
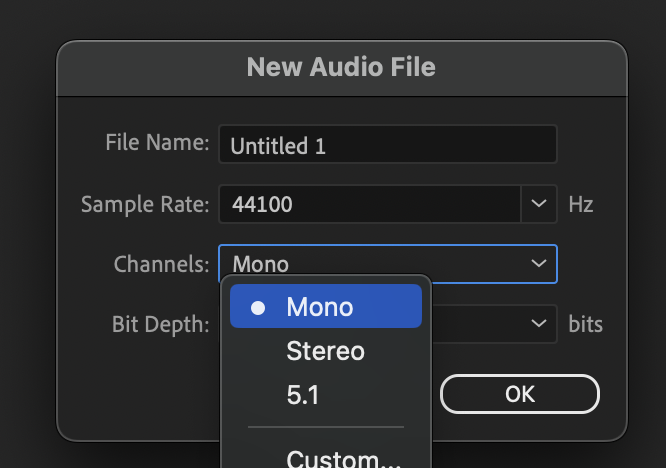
- Channels should be determined by how many microphones / sources you’re using.
One microphone? One source. Choose mono.
Stereo source? Go stereo.
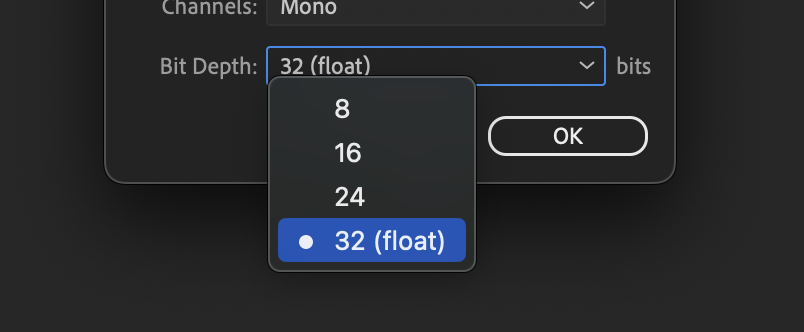
- For Bit Depth, try to match your hardware’s settings; but again, Audition should be able to figure out how to translate. Otherwise, higher Bit Depth = higher quality.
- Once you’re ready to record, press the red record button [Shift + Space]

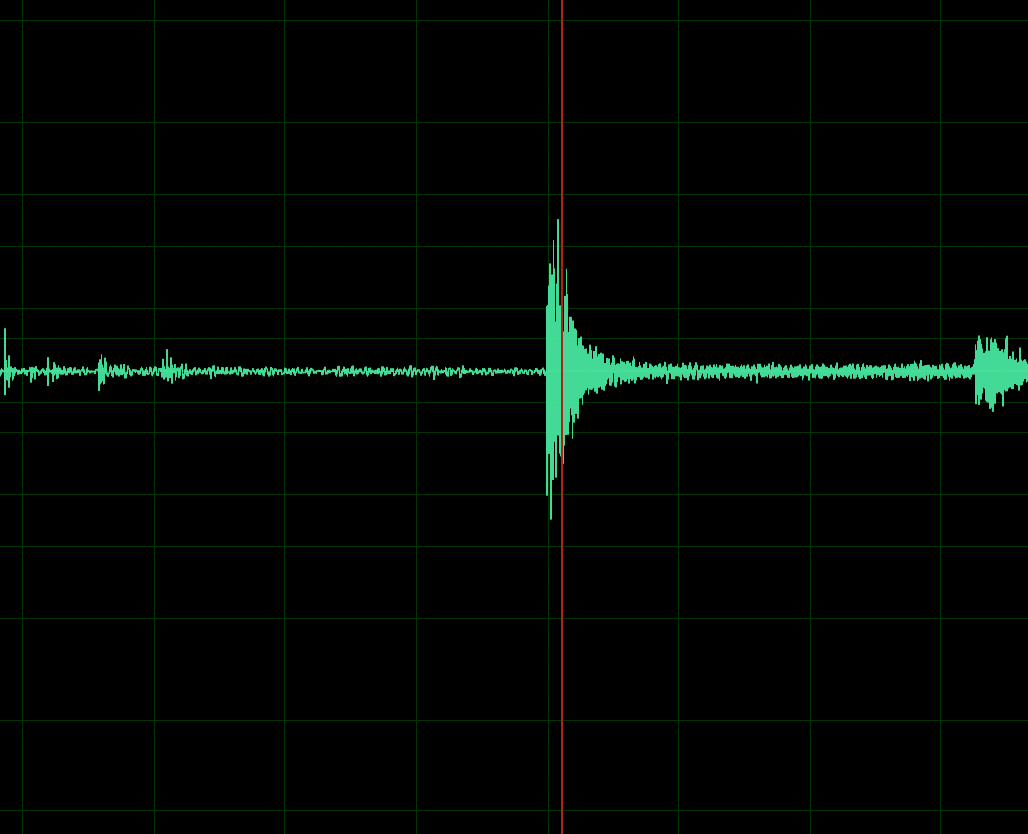
- You’ll see the recorded waveform live …
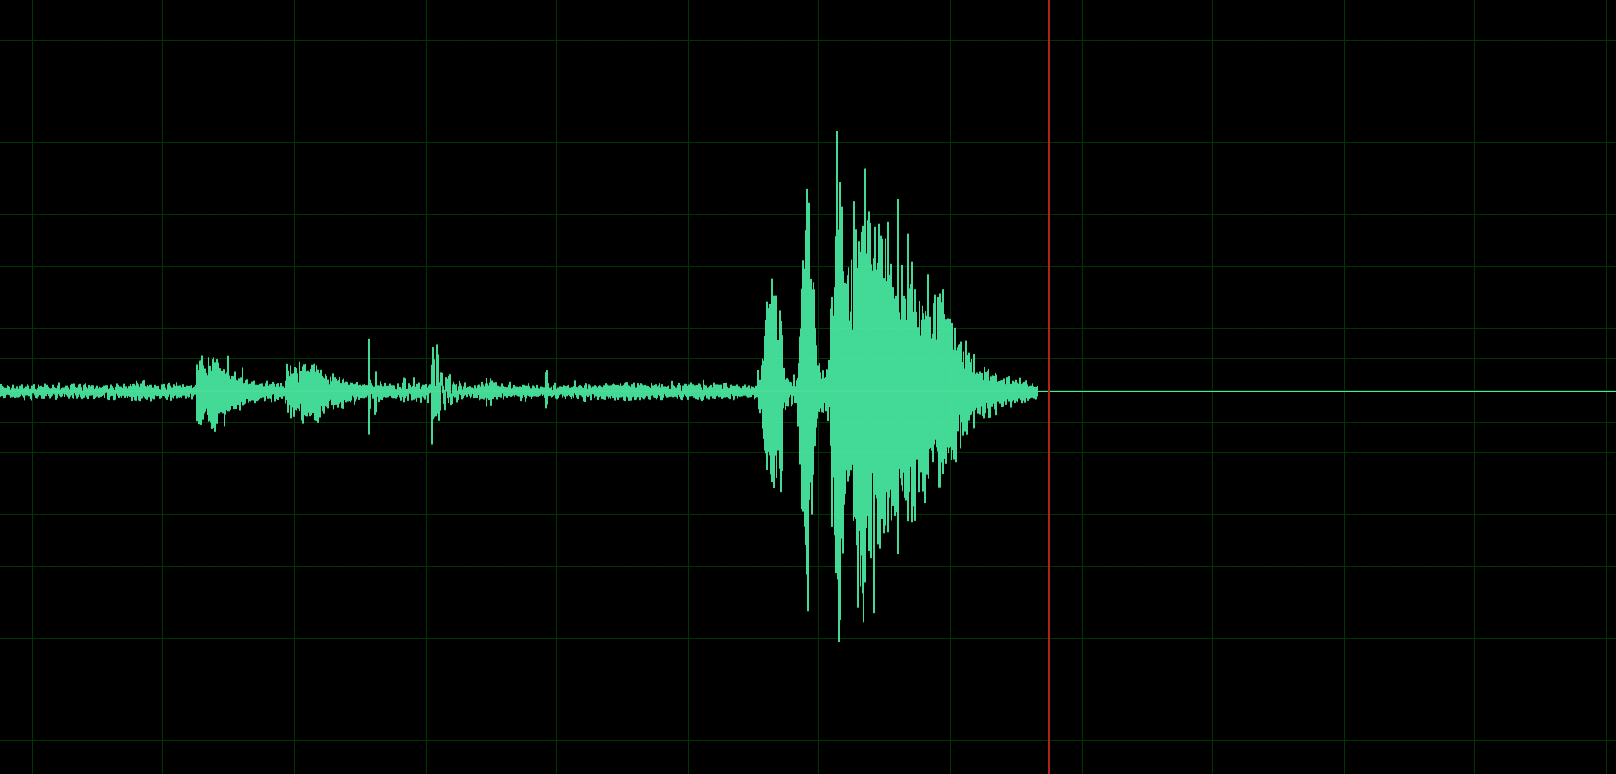
- Press Space or the red record button again to stop. And you did it!
It’s important to save your file now. If you were to close the file or if Audition were to crash, this recording would be lost.Now you try recording the narration for this worksheet. All the parts. We’ll treat this as a “Master Track” recording.
The boy spoke in spurts as he gasped for air. “The wall … I found a … hole. It’s a big opening, sir.” The boy’s hands stretched to show the size. “Someone could crawl through it.”
- If you needed to re-record, you can either delete everything or replace by putting your cursor in a given time and hitting record. Audition will overwrite your previous recording.