
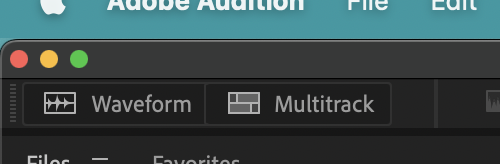
Let’s start by opening Audition and going to Waveform View by pressing Waveform in the top left corner.
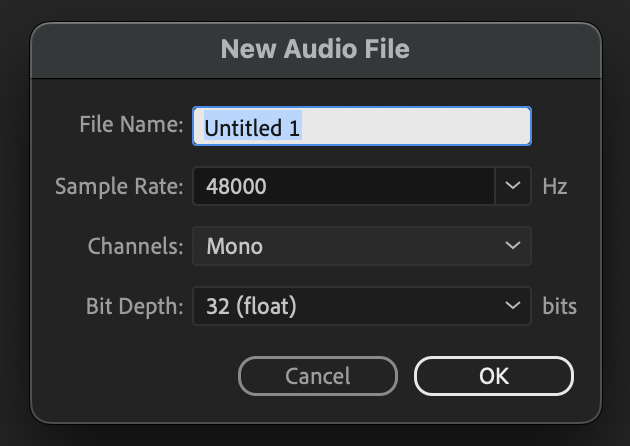
You’ll be asked to create a new audio file; for now, just press OK.
Now that we’ve fully entered Waveform view, let’s explore the screen.

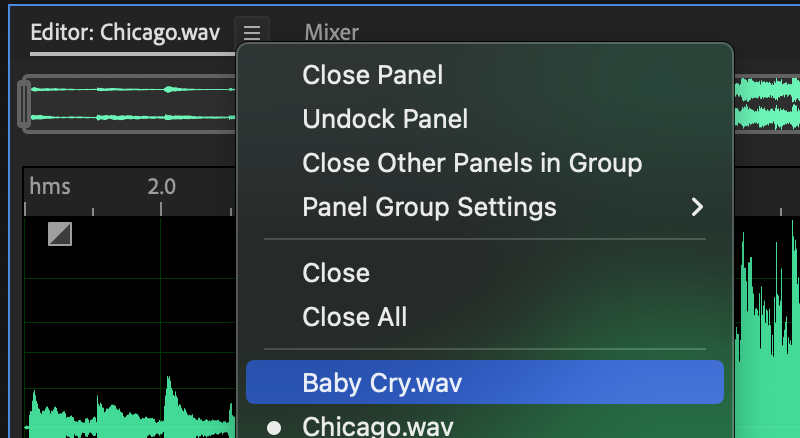
Why don’t we start off by opening all the files for this worksheet. So download the the worksheet files if you haven’t already, then go File > Open and browse to the files.

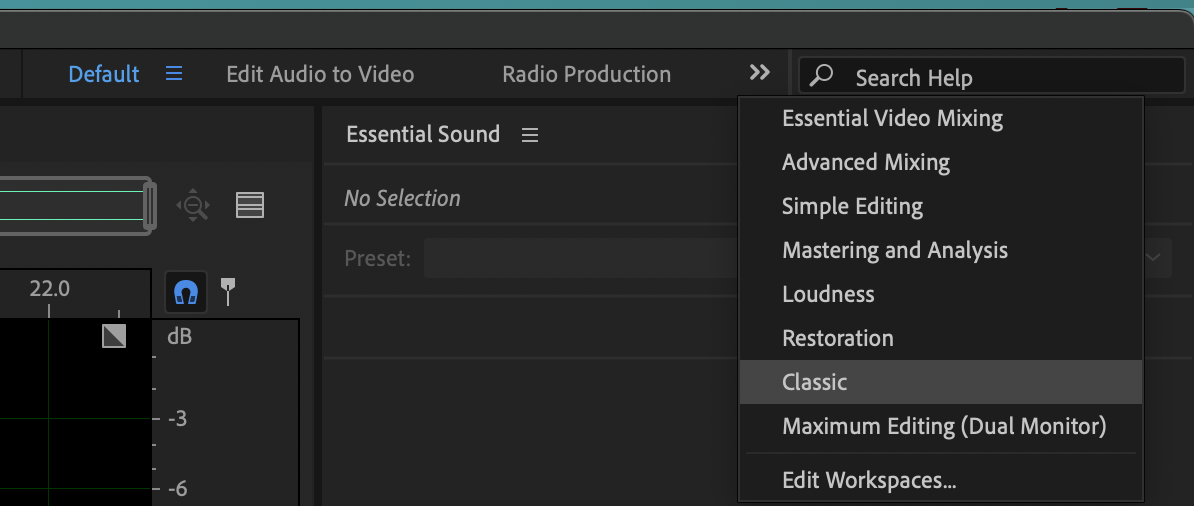
For the sake this class, the “Classic” workspace fits our needs best, switch to that one
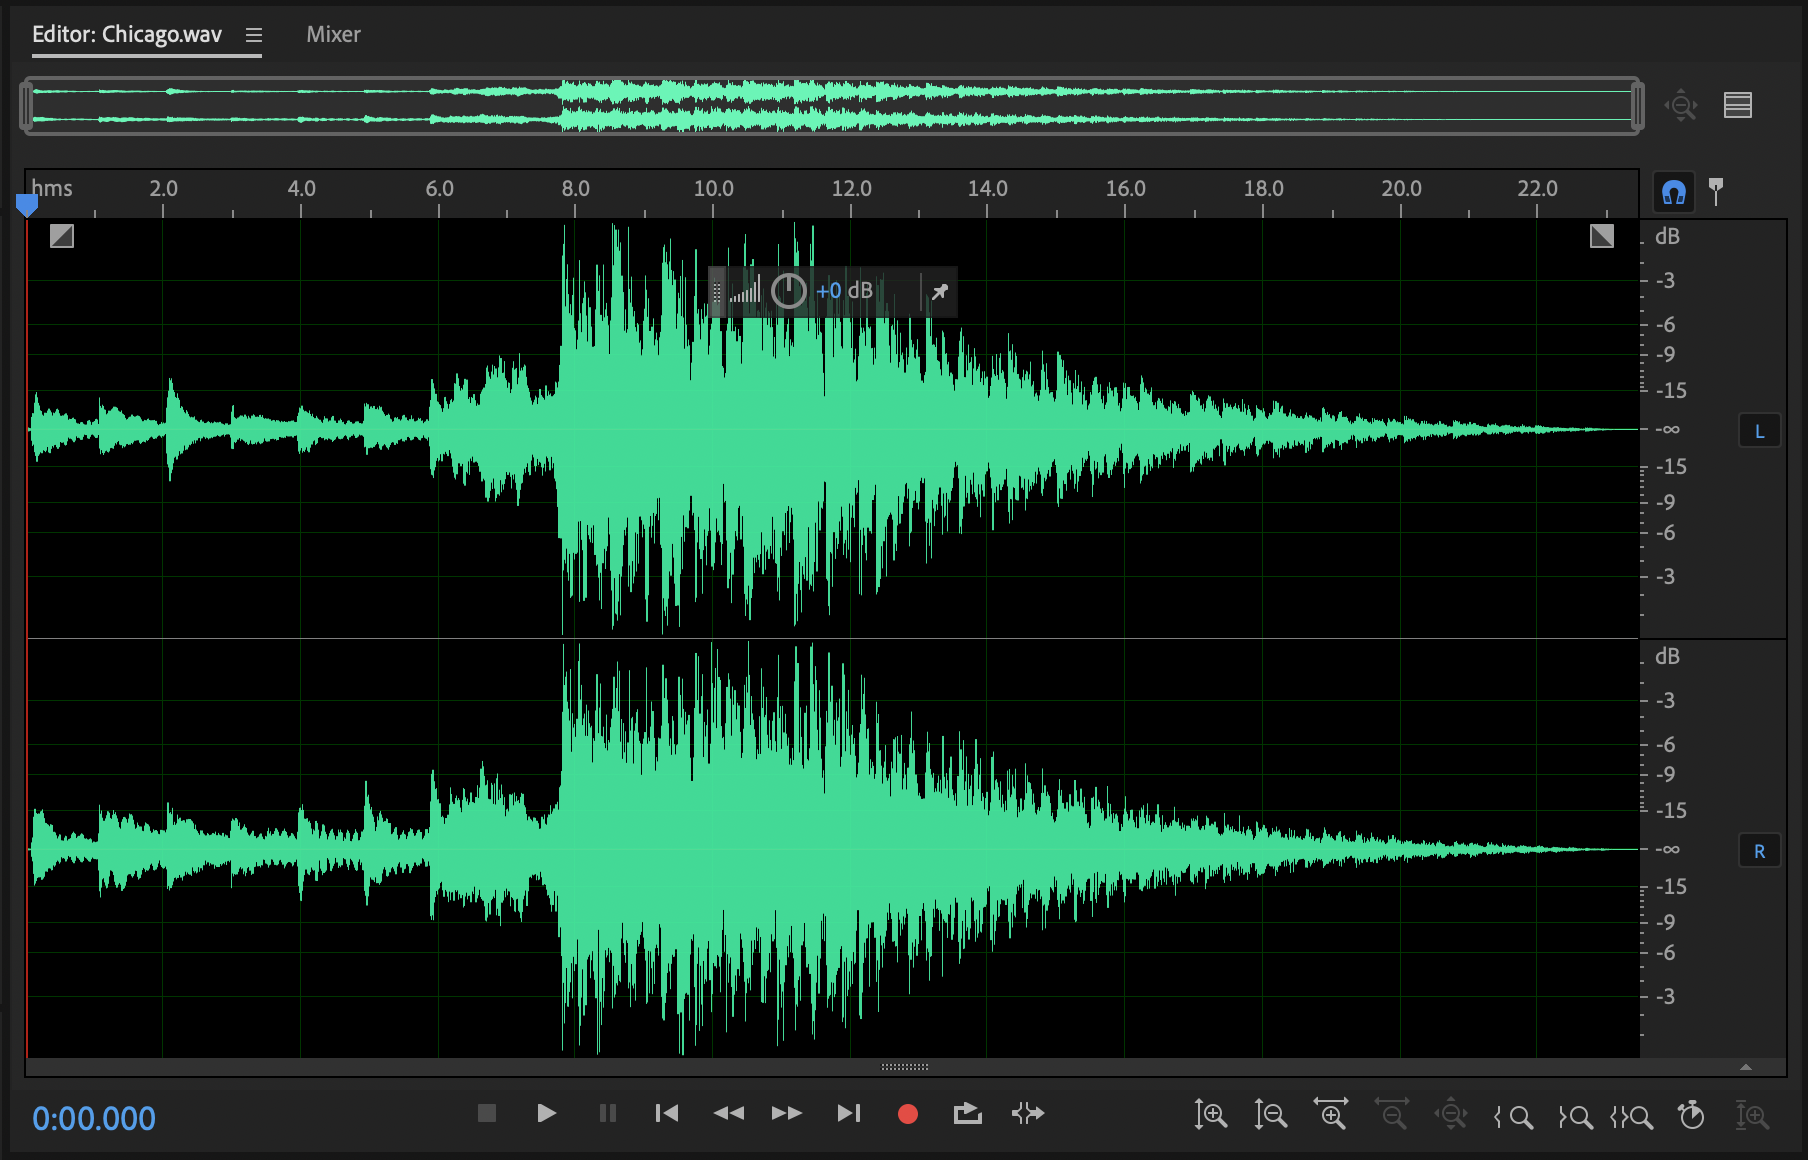


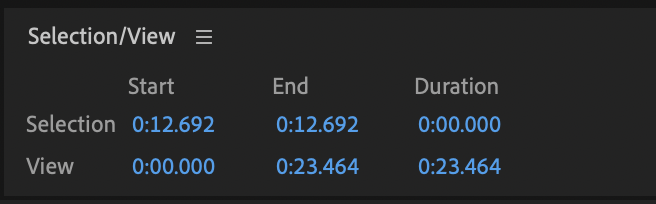

The Transport panel holds controls to play your file while the Time panel displays the current play position.
The following are the shortcut keys to help you in playback.
If you forget, hover your mouse over the transport buttons.
Here you can watch the volume at the current position of the file

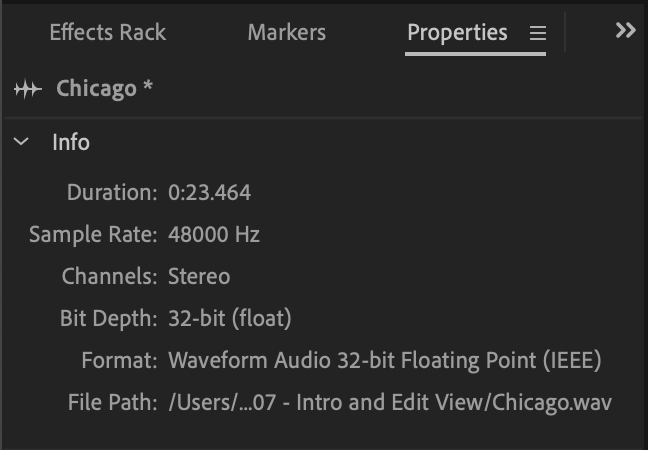
This portion displays some of the most important information about the current file.
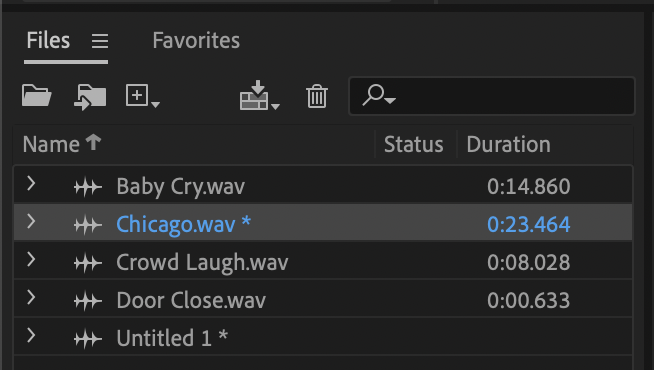
A list of currently open files and multitrack sessions
This panel allows you to add or remove effects you might want to apply to your audio file.
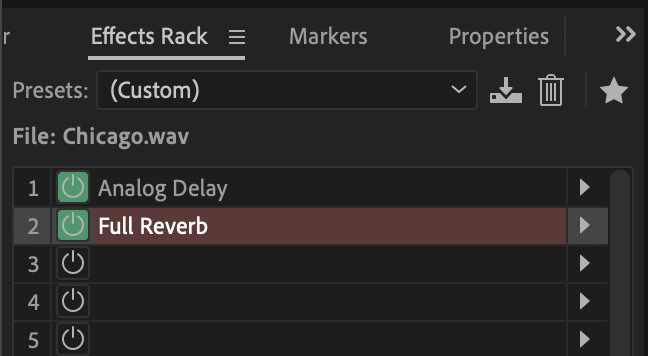
Click on the arrow to add or change effects.
After creating an effect, double click on the effect to edit its settings
To disable/enable a single effect, click on the power button next to the effect’s name.
Remember that the rack order matters.
Adjust the Mix slider to adjust the Dry/Wet proportions.
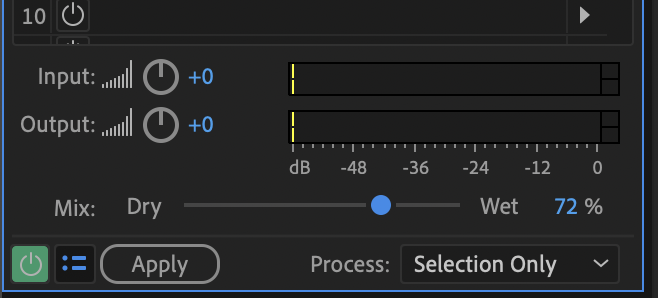
If you’re happy with the effects rack, click on the Apply button to finalize your choices.
Remember, these effects can be applied via the Effects menu, bypassing the effects rack. Also, series of effects can be saved as a preset to save you time later.