
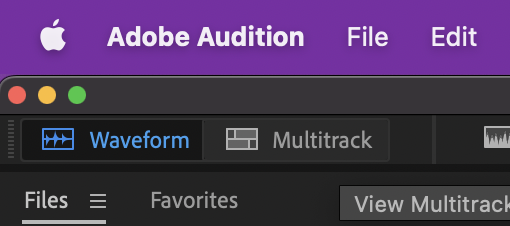
Multitrack view is a fantastic way to work on several types of creative project – music mixing, multitrack recording, detailed soundscapes, and more. In this chapter we’ll be combining sound effects into nuanced sound scapes. So let’s start with a tour of Multitrack view by opening Audition and pressing Multitrack in the top left corner.
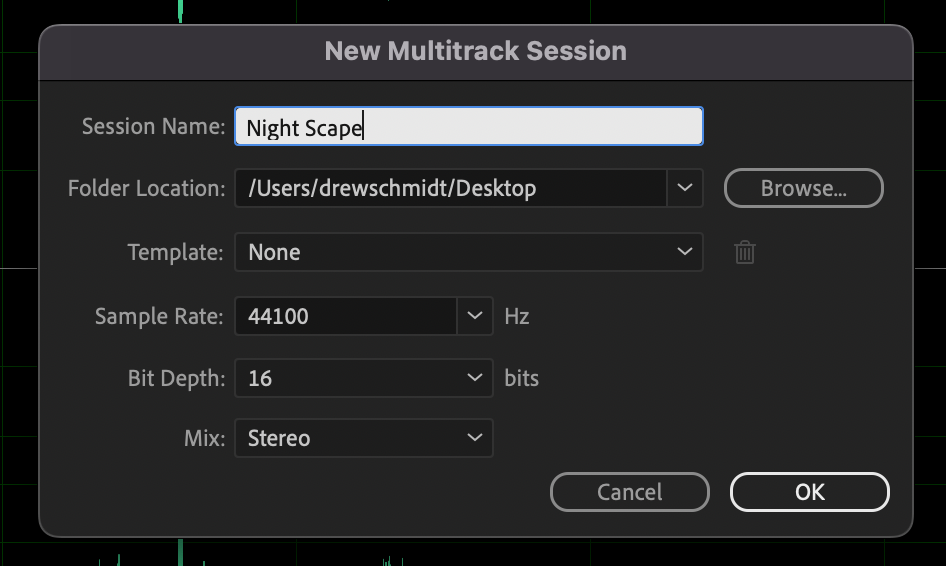
Immediately you’ll be asked to create a new Multitrack file, which is called a Session. We’ll be making a night time sound scape, so name this session “Night Scape” with the following settings.
Once opened, import the course files into Audition. If you don’t already have them, you can download the ZIP file here.
Alright! Let’s show you what makes Multitrack view special.

This is largely the same. The only difference is that a few of the tools underneath the menus (most notably the Multitrack menu) are no longer grayed out and are now clickable.

Again, the shortcut bar is mostly the same, except now you can use a few tools that weren’t available before (and some Waveform view tools are now grayed out). New ones are ..
Again, you’re able to switch sessions on the fly, are given a navigator, and graph everything in time. Here’s where Multitrack view becomes magical …
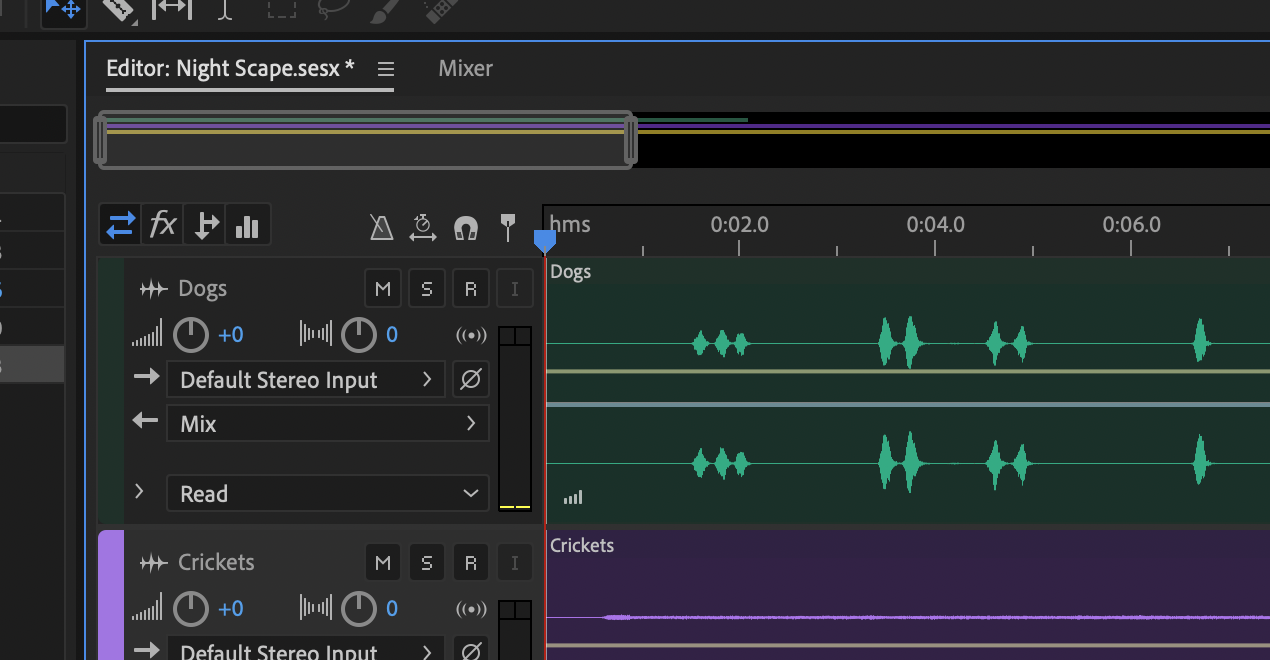
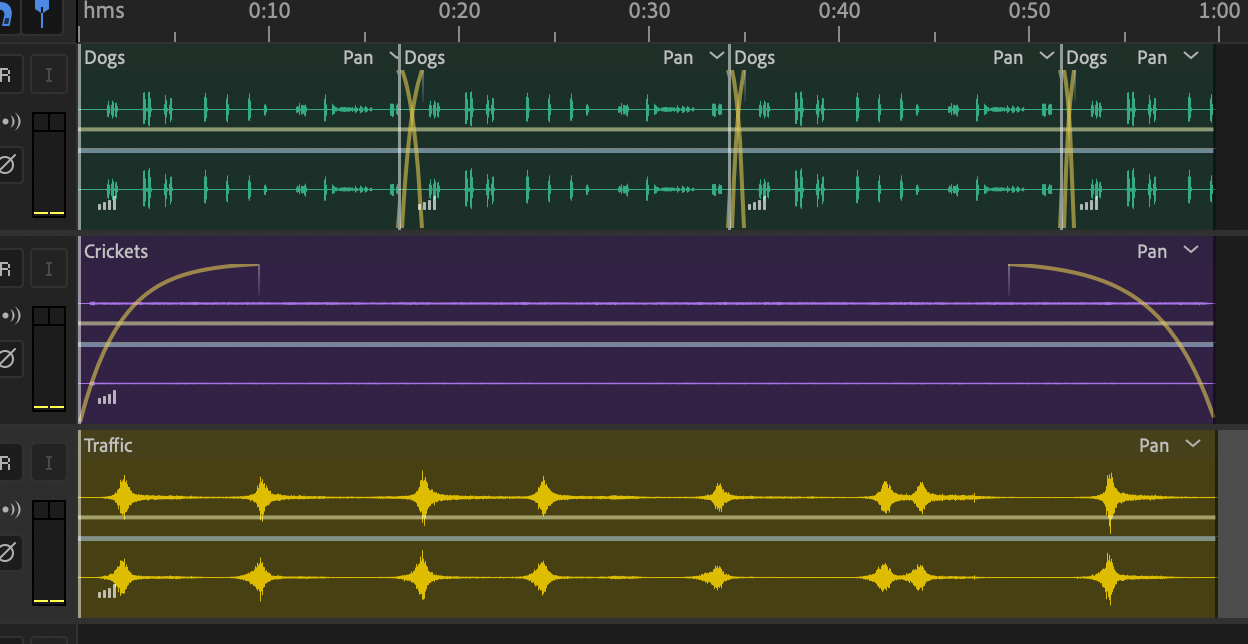
Rather than displaying one single waveform, Multitrack allows you to drop multiple waveforms, which we call “blocks” into multiple different tracks. Each track is then mixed and sent out the master track (much like having many faders on a sound board).
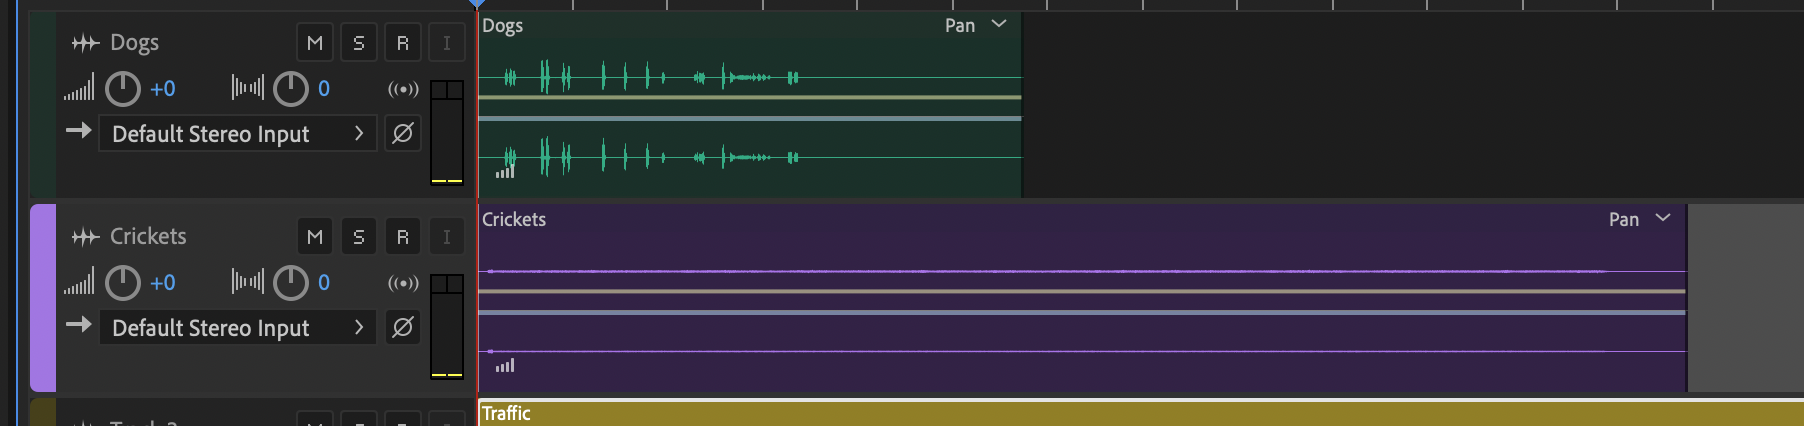
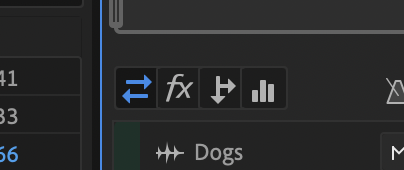
Inputs & Outputs / Fx / Sends / EQ
These four view toggles will allow you to adjust elements in your tracks
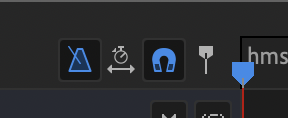
These are three simple toggles that will help you when adjusting your blocks
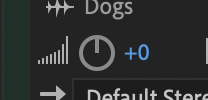
There are regular pieces of a track that you’ll always find and will commonly use. There are other parts, but these are the ones I want you to know about.
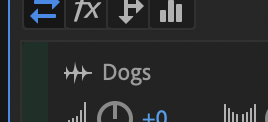
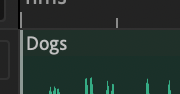
Each block represents an audio file. They can be dropped into a track or tracks multiple times because they’re simply references. This means adjusting the original audio file also adjusts the block!
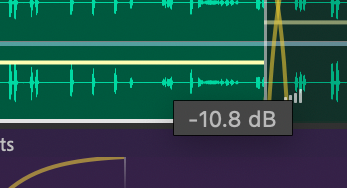
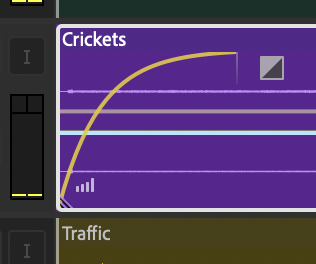
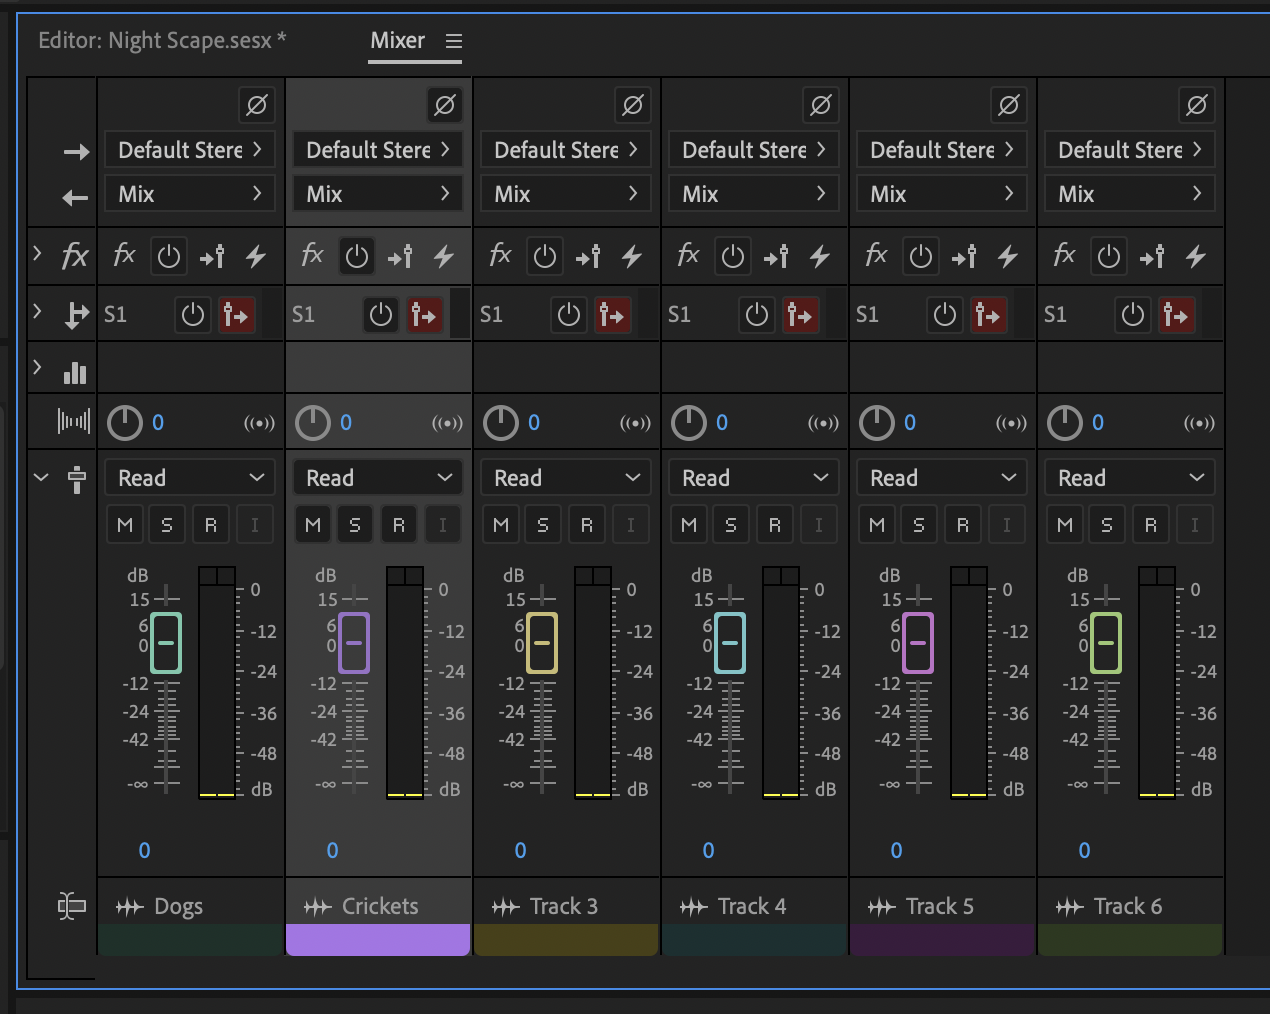
If you want to get a little more precise or visual when balancing track volumes, use the mixer panel. This is less useful when playing around with sound effects, but vital when creating music and mixing individual instruments.
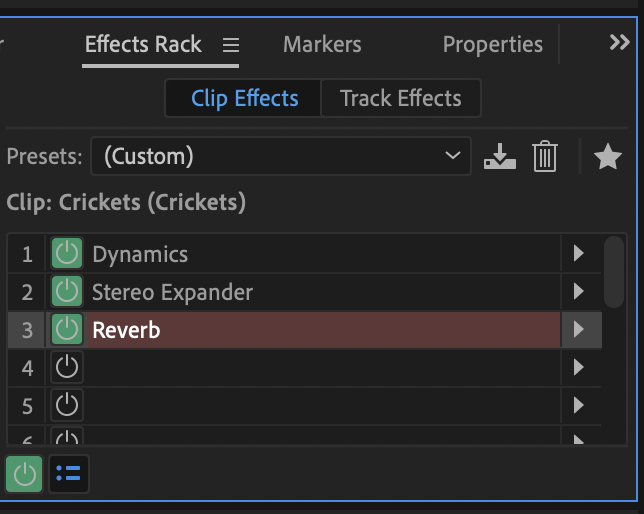
Many of the other panels are similar to Waveform view. You still want to be able to see your current time, play, stop, zoom, etc. One portion that we’ll use more often here is the Effects Rack (which can actually be found in the Waveform view as well). From here you can add all the same effects as before, but in a non-destructive way. This panel can either apply effects to an entire track, or a single block or clip.
Alright, let’s start playing and create a night sound-scape