

Noise Reduction
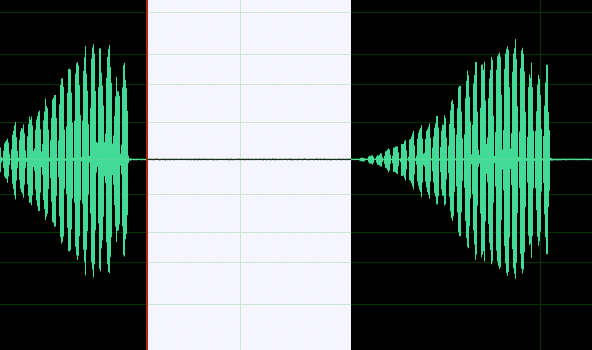
Because we haven’t had enough of the birds today, open the following file: “Cactus Wren.wav”. Listen to this file and note the annoying background noise. It’s very quiet, you might have to turn up your speakers to hear it. This is a very common sound in effects, especially when recorded outside. We call this white noise. Luckily, if we have a moment of pure white noise, we can remove that background. It is for this reason that movie makers and foley artists always start a session by recording white noise.
- So let’s get rid of it. Start by selecting a portion of “silence”. If you listen to this silence, it will be pure white noise. The longer the selection, the more successful the reduction will be.
- So now let’s tell Audition that this is what we want to remove, this is called “Capturing a Noise Profile” … Effects > Noise Reduction / Restoration > Capture Noise Print
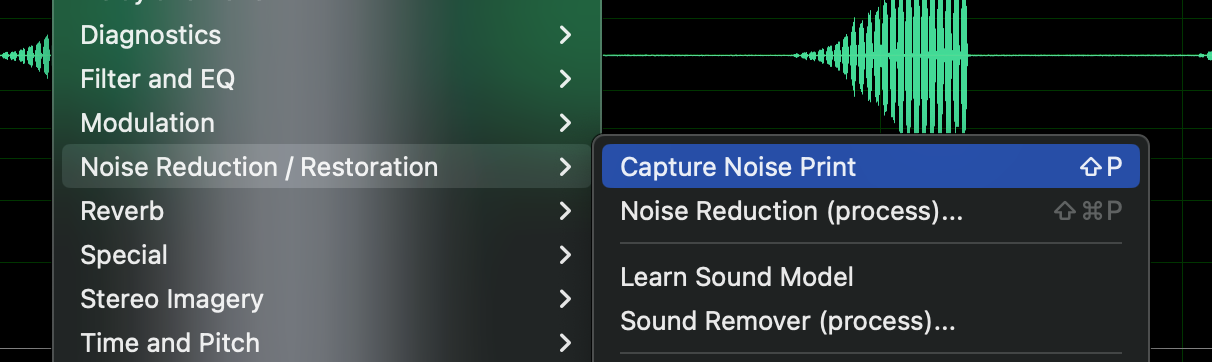
- You just copied the whitenoise and identified its “fingerprint” – no windows popped up, but you did it.
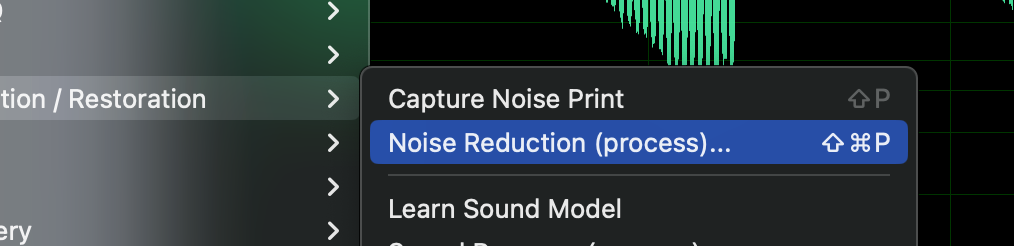
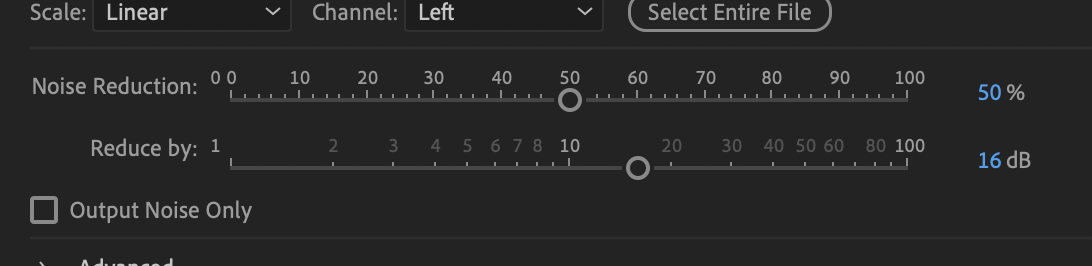
- Select the entire file and use the Noise Reduction tool … Effects > Noise Reduction / Restoration > Noise Reduction (Process)
- You can now see a graphical representation of the background noise.
If you knew you were going to need to use this white noise in many files, you could now press the Save button to store the profile you just capture.
Then you could use the Load From File button while in another file to get that profile back.
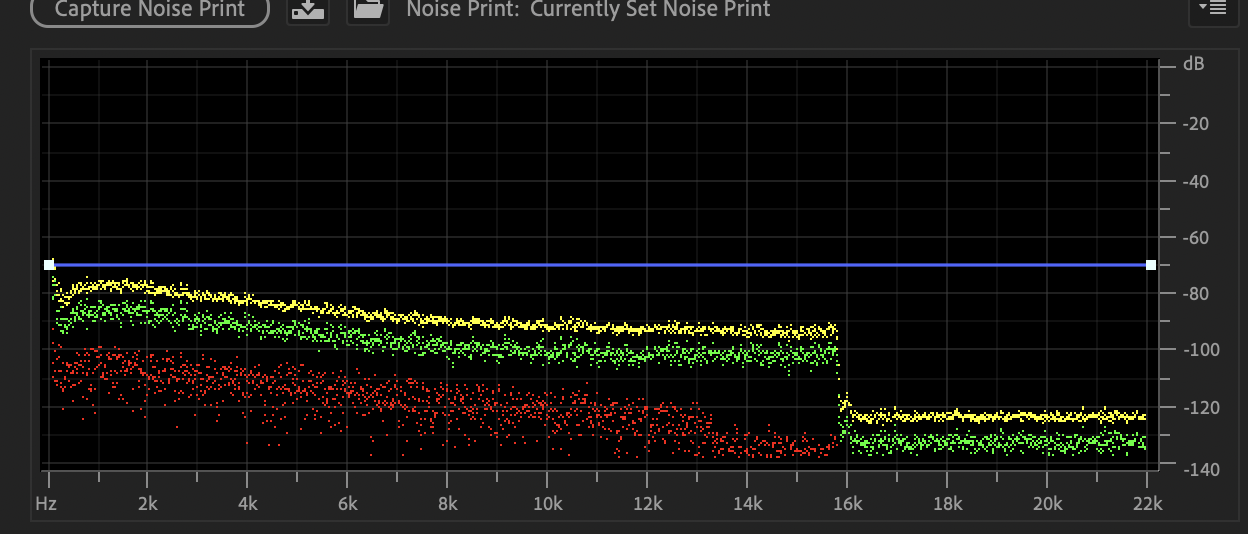
- Let’s lower the “Noise Reduction Level”. The setting is probably at 100% right now; however, often times a full noise reduction will cause the sound you want to keep to seem digitized, “computery”.
So let’s change that value to 80% and the “Reduce By” value to 20 dB. Then hit APPLY
Now you should not hear the background noise between bird chirps or behind the bird chirps.