

Multitrack View Recording
Recording in Multitrack View is the better option if you’re recording multiple options (you can mute different tracks), if you’re doing very long recordings or only have “one shot” to get it right (multitrack creates a wave file live so if Audition crashes, you don’t lose everything), or if you’re recording multiple sources at the same time (you can record each source onto an individual track).
The only drawback is that it takes a bit of extra effort to get everything working. There are more buttons. There are more toggles. There are more ways to mess things up. But if you’re slow and intentional, you should be fine.
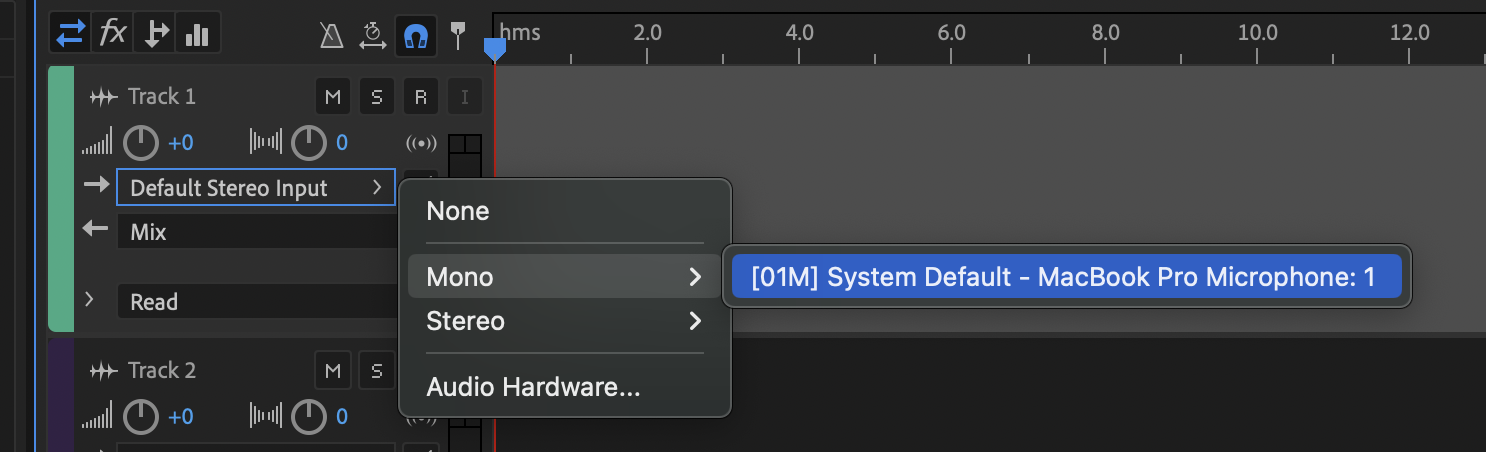
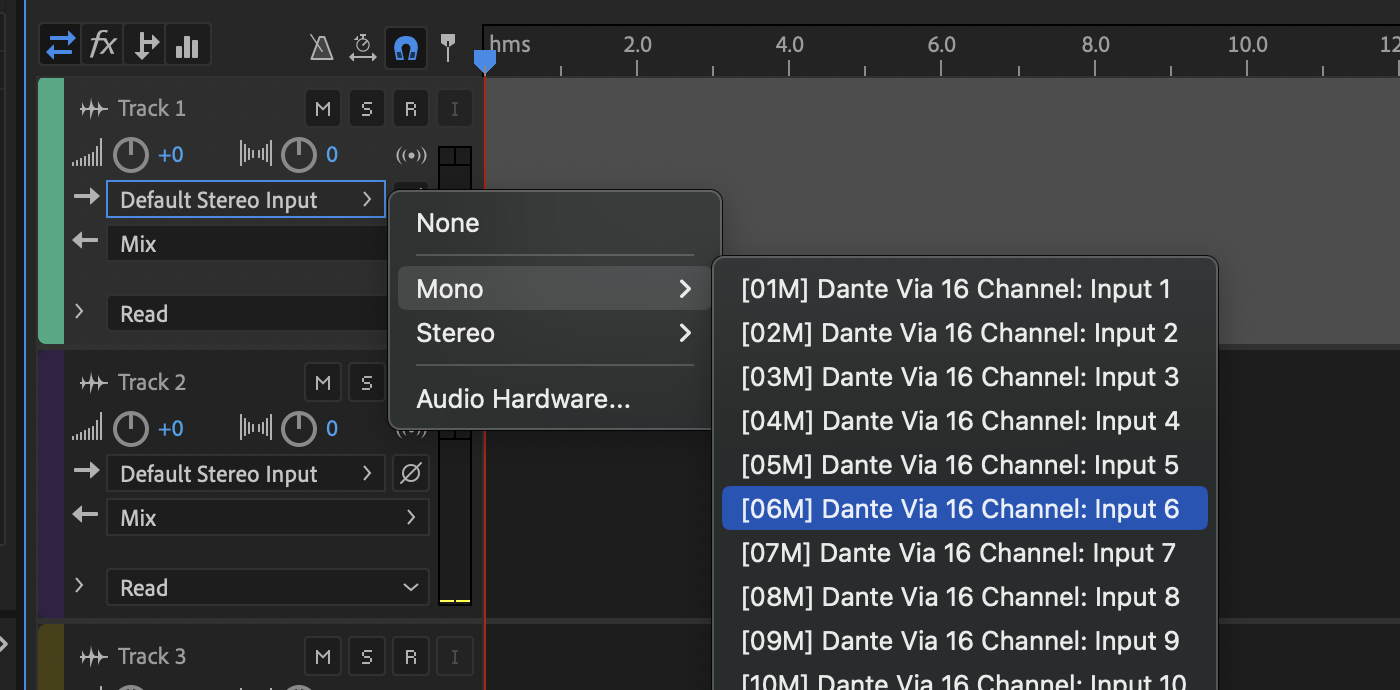
- Start by selecting an Input Source on the track you want to use for recording. Since my MacBook microphone is mono (there’s just one) you’ll only see one option. But my Dante Via 16 Card can record up to 16 different sources. A stereo device would then have two options. So which one to you pick? Well, did you plug your microphone into Channel 1 or Channel 2? Choose that one.
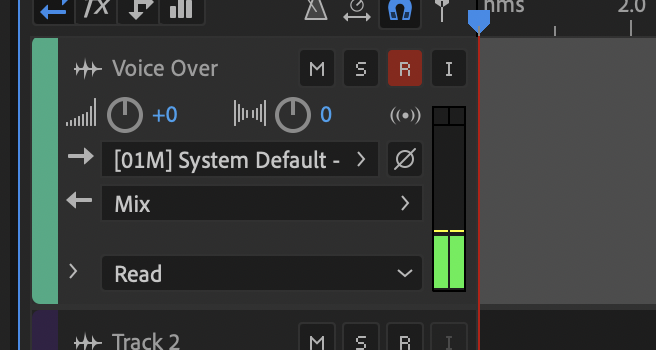
- Once you have your source selected, you’ll want to name your track something meaningful and press the [R] button to enable recording on this track. If your microphone is working properly, you should now see audio signal in the meter.
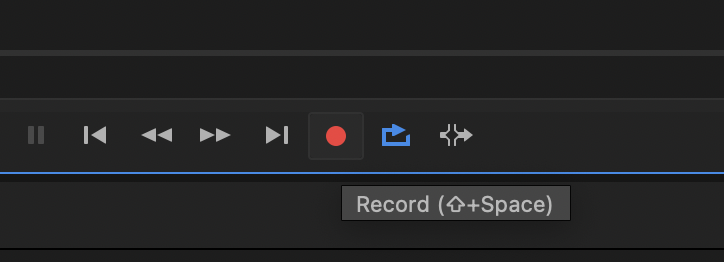
- When you’re ready, press the red record button [Shift + Space] and you’ll see a waveform begin to be created.
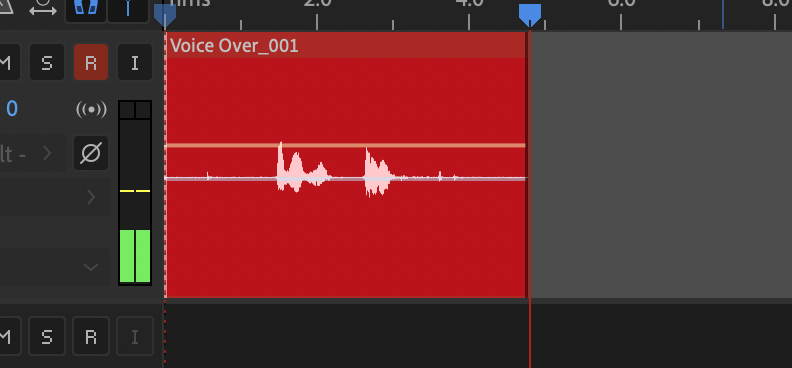
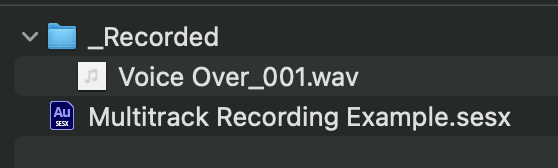
- You’ll also find a wave file created alongside your SESX file with the name of the track (which is why it’s important to name your tracks)
- Once again, try recording our narration …
The boy spoke in spurts as he gasped for air. “The wall … I found a … hole. It’s a big opening, sir.” The boy’s hands stretched to show the size. “Someone could crawl through it.”
- Once again, try recording our narration …