

Working with Focus and Beam
A powerful light board such as the EOS with embedded visualization makes working with moving lights much easier. Much easier. Oh my goodness, so so much easier.
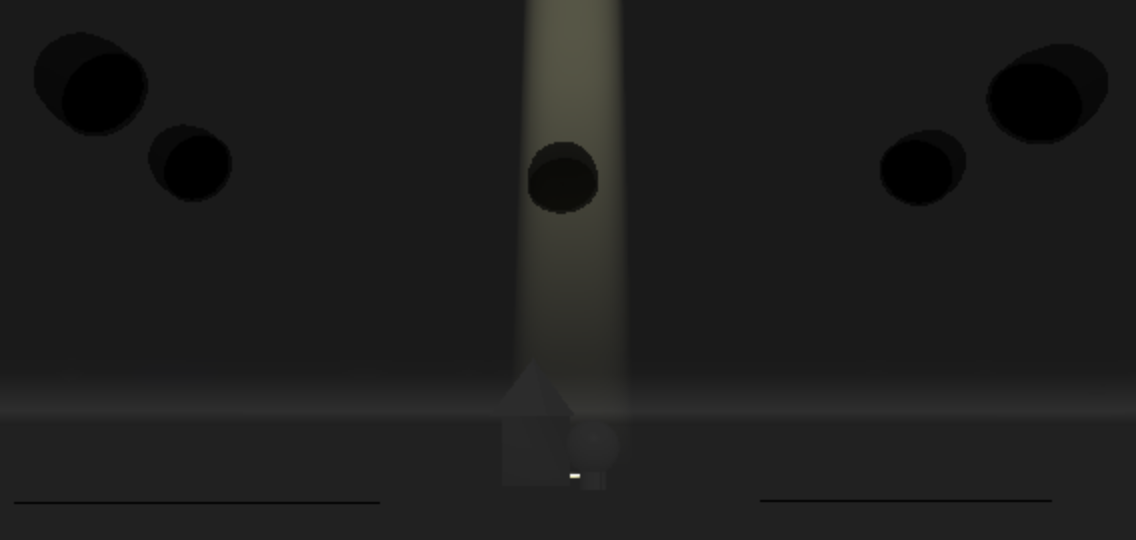
To show you exactly what I mean, start by taking channel 5 to full and displaying the ML Controls display. You’ll see here that the light is currently pointing on the floor behind our shapes, not even lighting up our objects.
Augment3d can easily adjust the focus of the light by clicking and holding your mouse on the spot where you want the light to point.
A quick caveat, this function doesn’t work until after your display is selected, which is signified by a yellow line around the window. If a different panel has focus, you simply need to click on the display, then you can click and hold on the visualization.
So try it out.
Select the Augment3d display.
Then try to click, hold, and drag (Or I like to say a “long click” then drag).
The light should follow your mouse around the space. If you were working in a real room with real lights with a visualization that matched real life, you would see the actual light move around just like on your computer.
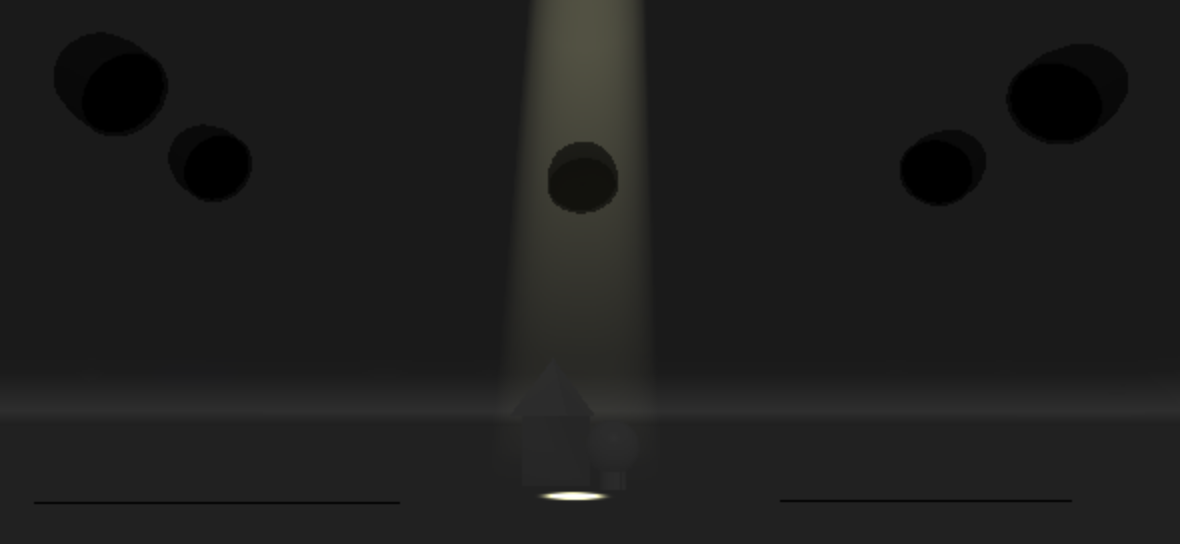
Go ahead and focus the light to land right in front of our shapes.
Now in the ML Controls display, scroll down to the Form category and adjust the Zoom parameter using the scroll wheel. This will make the beam smaller and larger. Below, for example, is a Zoom value of 37.
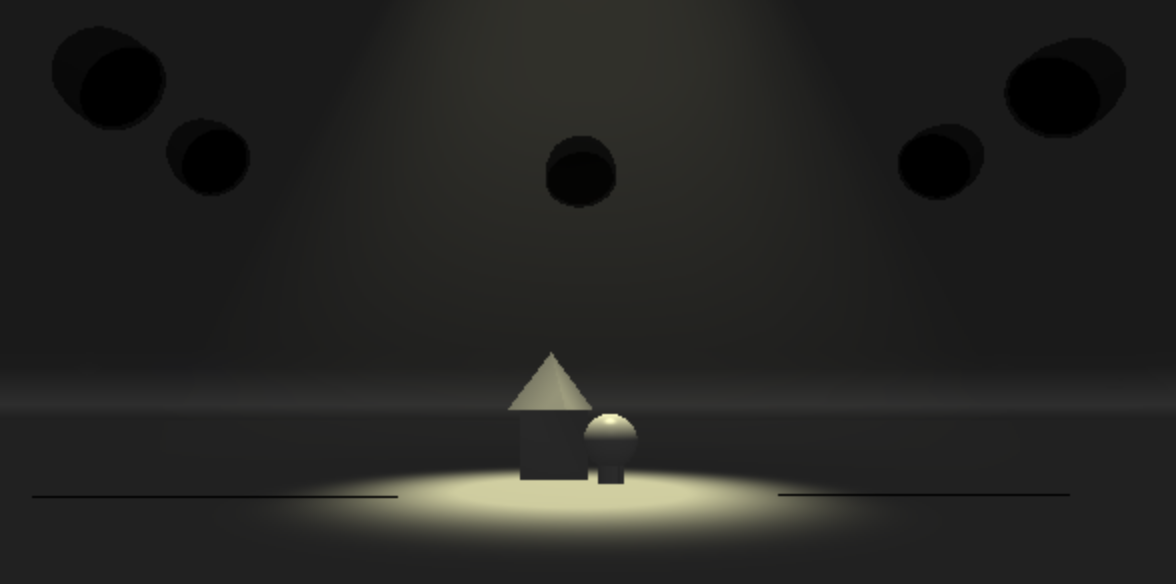
By the way, you could also manually type a value of 37 by pressing the Zoom button above the scroll wheel, typing the value, then pressing [Enter].
![]()
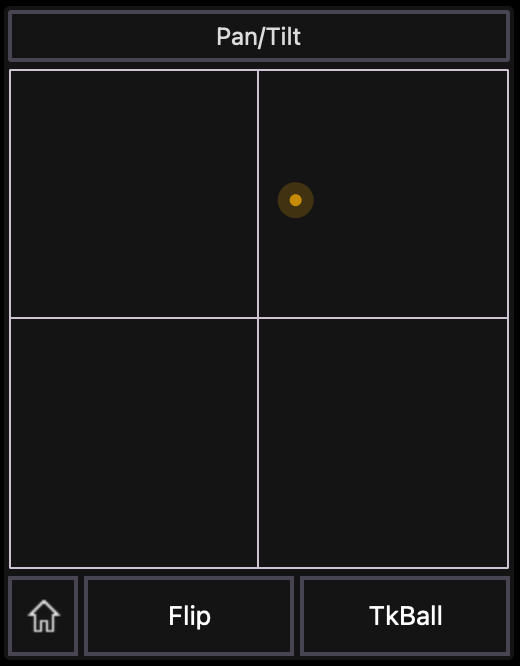
In the ML Controls, scroll back up to the Focus category. Here you’ll see a “cartesian coordinate” window (don’t worry, there’s no math here – the light board does that for you) and Pan and Tilt wheels. If you don’t have a visualizer, this would be the best way to control the focus of a moving light.
If you’re new to moving lights, I find that it helps to think about how a moving light moves by playing with the Pan and Tilt values. I always recommend starting with the Tilt value. If a light is pointing straight down, moving the light to the left or right will just spin the light and appear to do nothing. Tilting the light, even if it’s just a little, will help allow the pan to provide a sense of direction.
So scroll the tilt value up and down, making the light move forward and backward. Bring the light toward you, then scroll the pan value; making the light move to the left and to the right.
As you do this, you’ll notice the graph next to the two scroll wheels; that the little yellow dot is moving around with your light. An alternative way to control both pan and tilt at the same time is by grabbing the little yellow dot and dragging it around. Try it out!
As you’re doing this, you’ll probably find that it’s a little bit more natural to move the light to the location you intend for it to go. But you might also notice that the left / right movement is opposite when you’re north / south of the middle line. This happens because a clockwise or counterclockwise pan rotation means different directions when the light is tilted forward or backward.
Uhg. That’s confusing.
But this showcases a common problem. If a light pans or tilts in a direction that is opposite of what you expect (which usually happens when it’s hung facing the wrong direction), you can click on the [Invert Pan] or [Invert Tilt] buttons to switch directions. This also might be nice for you if you’re used to natural scrolling vs regular scrolling.

One more technique in adjusting the light’s beam, which is found under the Form category. We’ve already played around zooming a light in and out; but we can also iris the beam or adjust it’s sharpness (but only if the fixture has that ability).
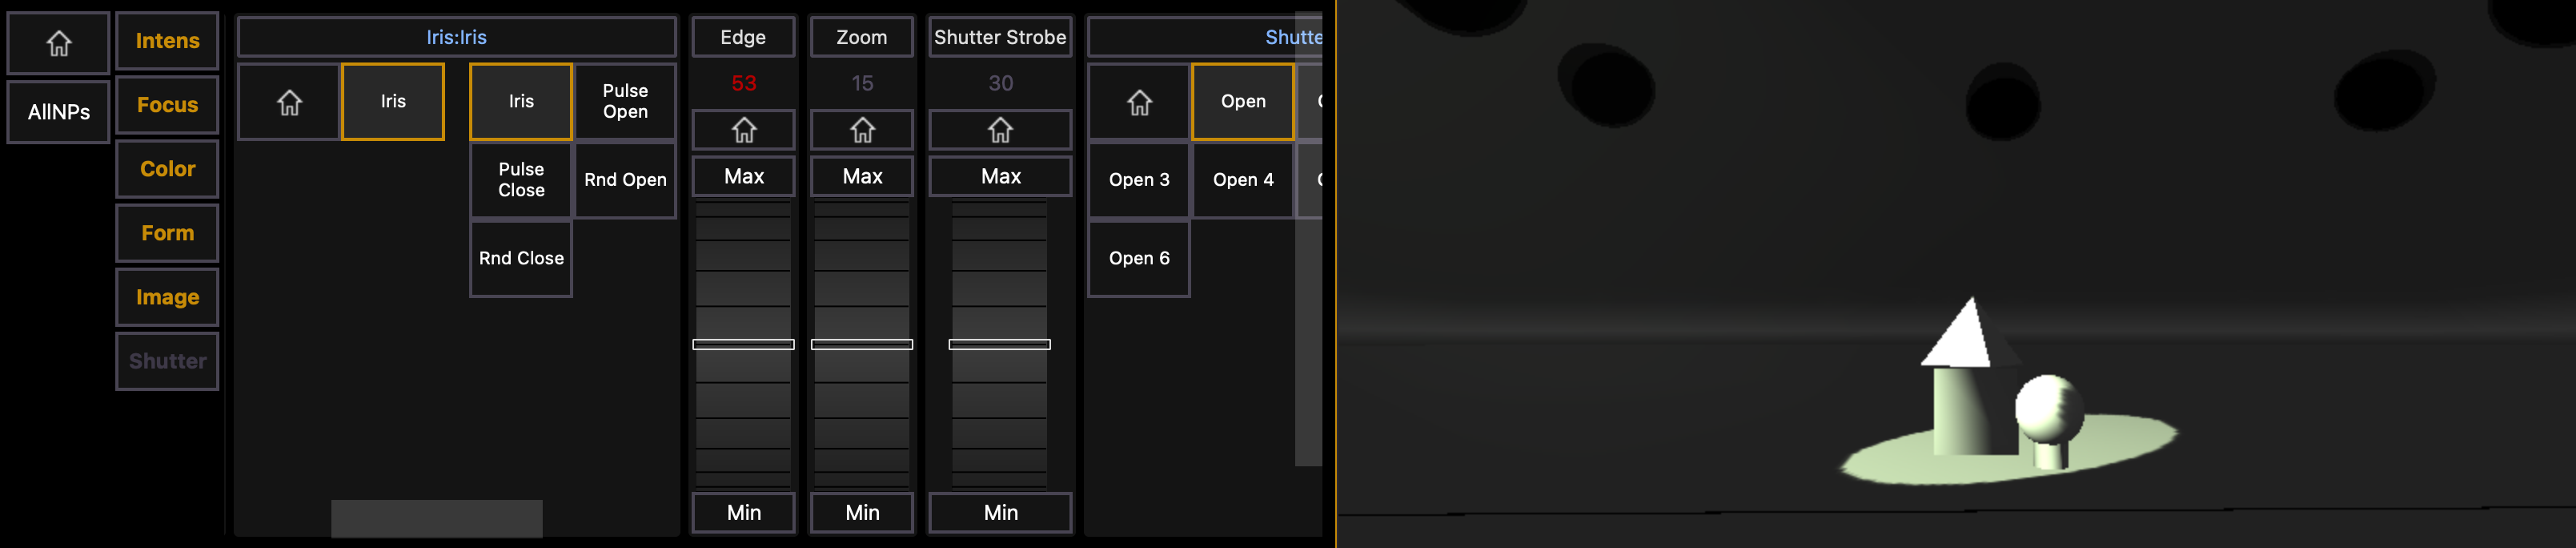
Let’s start by sneaking out channel 4 then bringing channel 1 to full. This is a different type of light. If you scroll down to the Form category you’ll see a few extra options in addition to zoom. The first is Iris. This is like a round shutter that blocks the light, rather than actually zooming like a camera lens. Play around a little and then set the value to 49 (again, you can press the Iris button to type in a specific value rather than scrolling).

Finally, some moving lights, often called “profile” lights, can sharpen or soften their edges; much like a conventional ellipsoidal. In EOS, this parameter is called Edge. Adjust channel 1’s edge until the beam looks nice and sharp. For me, that’s a value of 53.
Pretty great huh?
It gets better.
Go to the next lesson.