

FOLLOW ALONG
Kudos! Another chapter – finished and complete. Some of these lessons might seem a bit out of reach, like you might not regularly utilize them; likely because they take a fair amount of work to setup prior. But good news, in this Follow Along I’ve done much of that for you!
So start by downloading this appended version of our lessons; Worksheet #3-Follow.
So come along for the ride. We’ll make a few cues with a lot of lights really quickly … and that’s the whole point. Quality artistry in an efficient manner.
Again, I’m going to use designer language. I’ll give you the keystrokes that are new near the beginning, but want to primarily speak in artistic language – same as you.
Together, we’re going to use a fleshed out light plot to create looks for a dance. Which song are they dancing to? I don’t know, you choose! But the one in my head demands the following …
- Blackout
- An opening look of mystery and wonder
- A fleshed out look that lights up an ensemble
- An increase in intensity
- A bridge in which we focus down to a single spot
- A final chorus in which we “1-up” our previous look
- A restore to our original look of mystery
Ready?
Here we go.
Cue 1 – Blackout
Start by opening Worksheet 3-Follow. This worksheet doesn’t contain any cues created in previous lessons, does include all of the groups and effects you’ve been using, and also includes a few presets to utilize with our moving lights.
Once the worksheet is open, we’re going to start in blackout; so go to cue 0. Then take up channel 1001 to Full – making our very front figure visible. But you can’t see him. Because we’re in a blackout. Get yourself some night vision goggles.
Go ahead and record this as Cue 1.
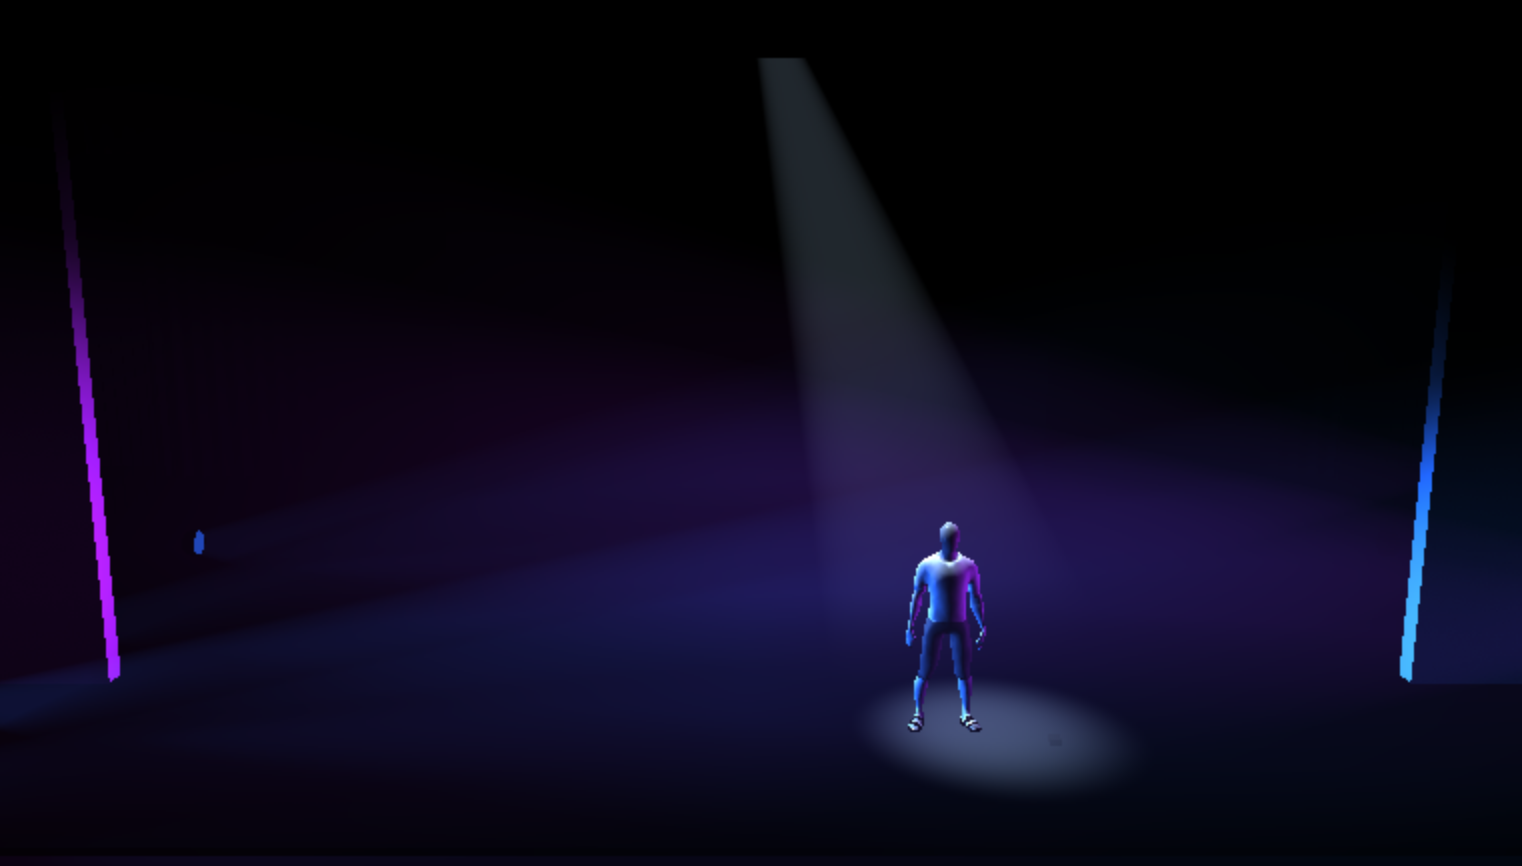
Cue 2 – Opening Look
Sometimes it helps to go a bit too far, then come back; partly to see what a light is able to do and partly … just to see what’s actually on stage.
In dance, we live and die by booms – lights coming from the extreme sides. This helps highlight the line of the dancer. So I like to always start with the booms. And if you ever feel lost or a cue looks crummy – get rid of everything but the booms and start over.
So, take Group 141 at Full. Hey look! There’s our dancer.
We want an image of mystery; so let’s change the color of the booms (which are actually LED lights) to a deep blue.
Next, let’s fill in the shadow a bit with Group 152 at 50 and give it a deep lavender.
Now that we’ve shifted color, the lavender is a bit dim. So let’s increase just the boom for our dancer – Channel 157 at 75.
And with that in mind, let’s lower Channels 141, 143, and 144 to 65. The best way to do that would be [Group] [141] [-] [142] [@] [65] [Enter].
Good. This is a great look to fill in color. But we want to make this guy POP. So let’s give him a top light. Normally here I would use Channel 61, since it’s directly above the dancer; but we’ll be using Group 51 and Group 61 in the next cue; so instead let’s use one of our three extra top movers – 721 seems good.
So take 721 at full, refocus the light to the dancer’s head (meaning it will need to be a little to the front and SL – considering the angle from which the light is coming). Then zoom the fixture out a bit and give it a cool white color – maybe R64?
Good; record this as Cue 2. I’ll also label mine “Opening Look”.
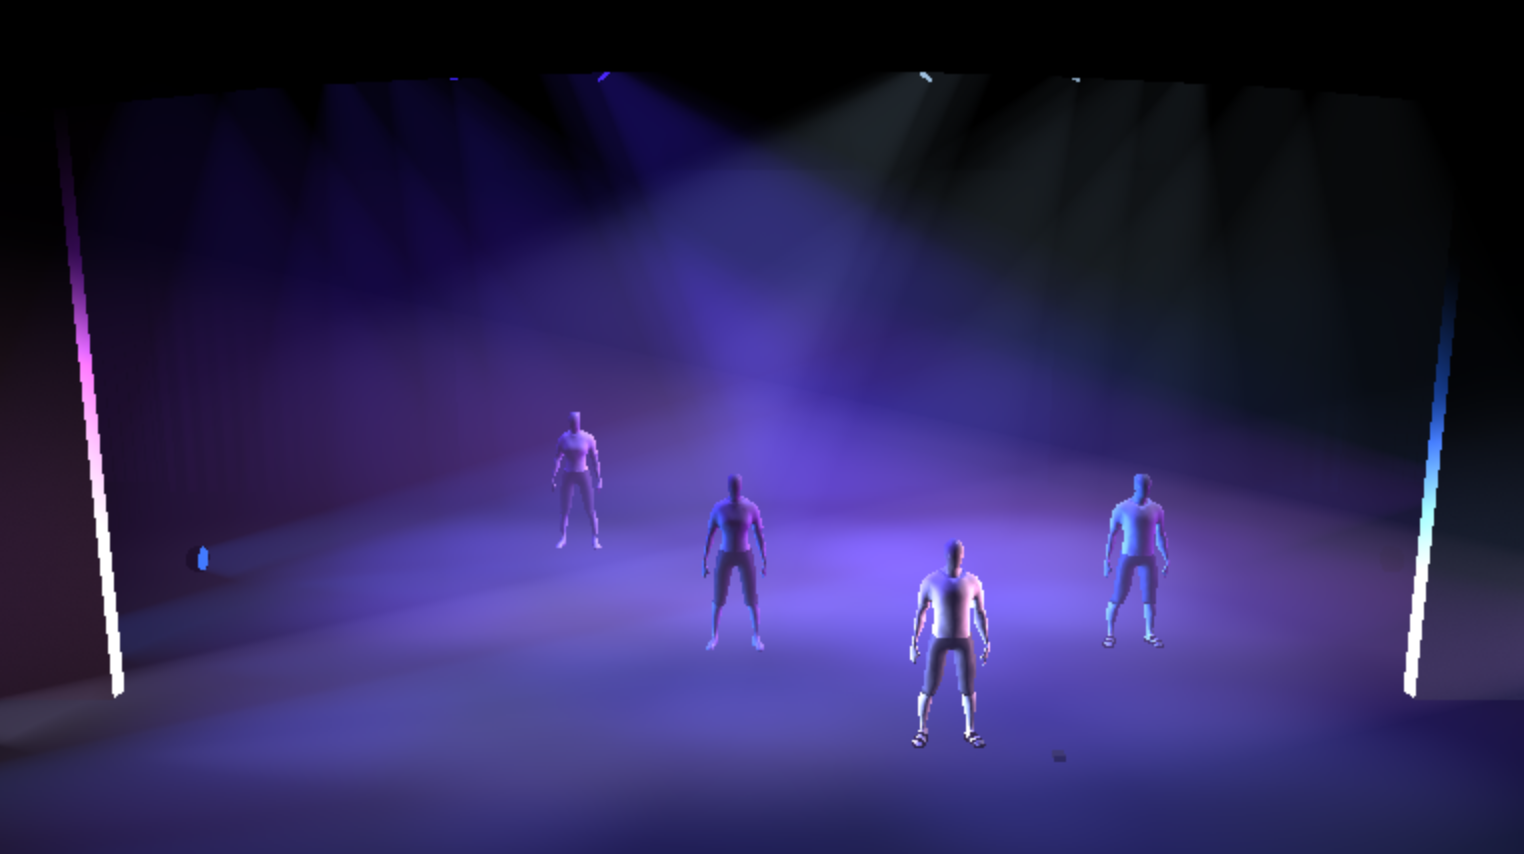
Cue 3 – Full Ensemble
Next the full ensemble will come on; so let’s start by taking up their channels – 1002 through 1004 at Full.
Since they actually come on early in this dance, before Cue 3 wants to go; I’m actually to help illustrate that by recording this little moment as Cue 2.1. You can too, if you feel like it.
Okay; let’s expand our opening look to the entire stage.
Expand the SR booms; Group 141 Recall From Channel 142 would be the most efficient way to do this.
Expand the SL booms; Group 152 Recall From Channel 157 would be the most efficient way to do this.
Now let’s be inspired by the singular downlight. The blue we’re about to use should compliment the booms from SR; so let’s use Group 61, which comes from SL – contrasting / opposite angles.
But first, let’s take out channel 721, our solo light.
Take Group 61 at Full and set the Group to Preset 10.Then set the color to R64 (or whatever color you used earlier). Now that this is all on; it’s a bit much, so let’s take it down to 75%.
Next, let’s match the lavender booms. Group 51 at full, preset 10. And I’m actually going to use a deep blue; such as R85.
Good. Let’s record this as Cue 3.
But since the lead dancer is still up front; let’s pop him out a little.
Take channel 142 and change the color to be a white blue.
Take channel 157 and change the color to be a white pink and boost the intensity to full.
Good, these front booms are now focusing our eye to the front dancer using less saturated versions of the same color.
This should now include the ensemble, but still focus the eye to the front dancer.
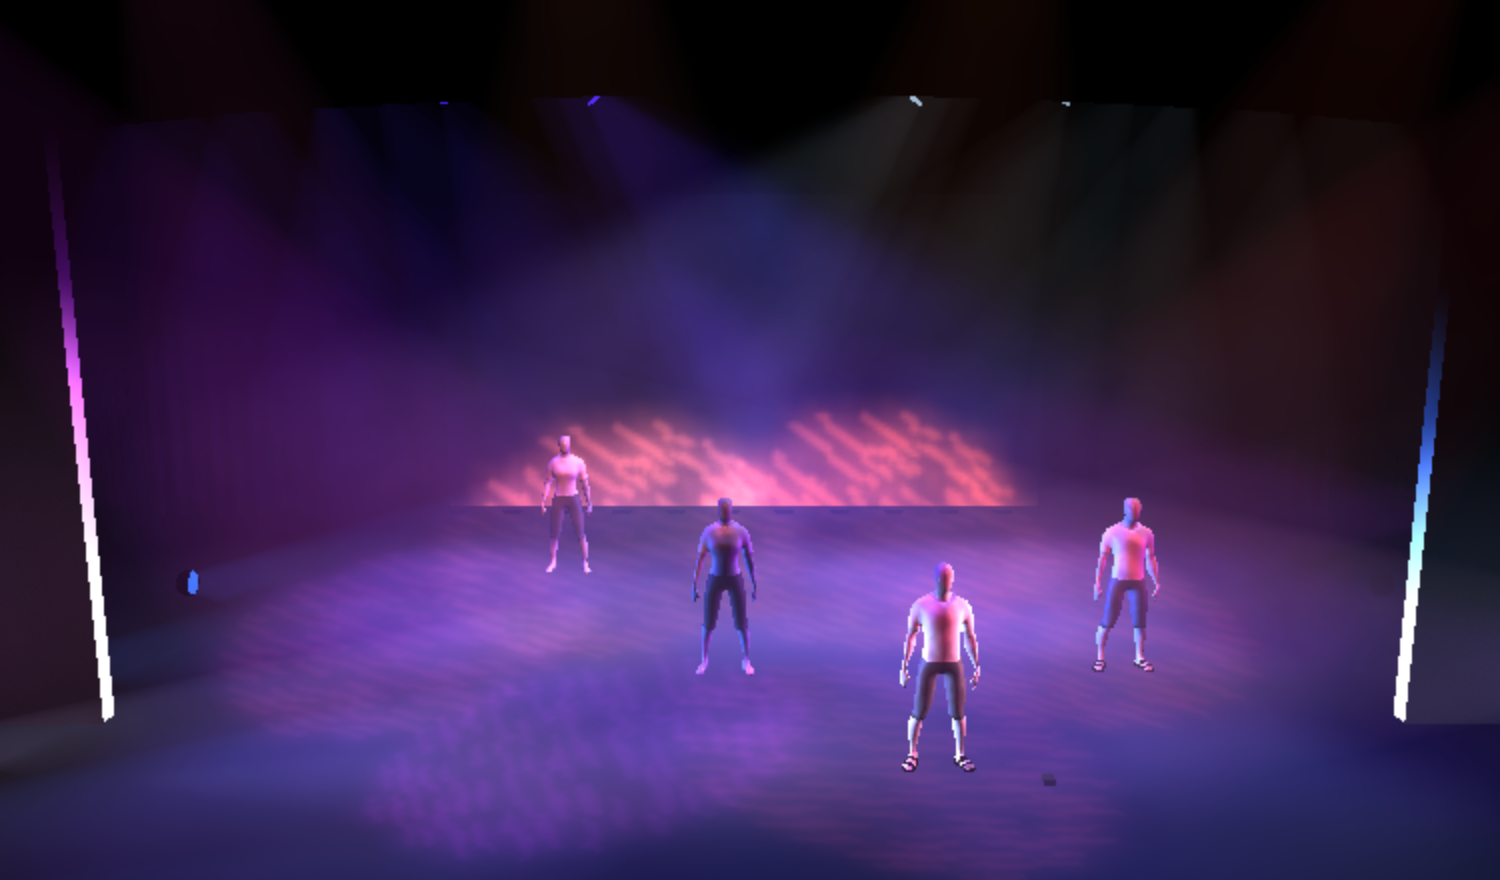
Cue 4 – Intensify
The song needs us to intensify the moment. Often times that means that we need to add brightness, increase the intensity of our fixtures – but an ever important question to ask in any story (including a dance) is … “What can I save until later? Until the climax?” Which is why it’s always so fundamentally important that you decide where you’re going before you start.
In this bit, our climax is Cue 7; and this cue needs to be just one step down from that look. So let’s add our movers into the mix; giving a bit of motion, but let’s save our Focus Effects until the climax.
So take Group 601 at full.
Set it to be Preset 101 (“Full Stage Gobo Wash with Spin”)
And add Preset 123 (“Rainbow Fade”)
I don’t really like the Rainbow Fade; so sneak group 601 to start over.
Group 601 at full, Preset 101, then Preset 121 (“Pink Amber Fade”).
Better. But I’m going to make a couple of adjustments. First, I’m going to lower the Edge on Group 601 in order to soften the sharpness of the gobos. Then I’m going to lower the tilt on channel 603 and 604 so that they’re more on stage and less on the back wall.
Good. Record this as Cue 4.
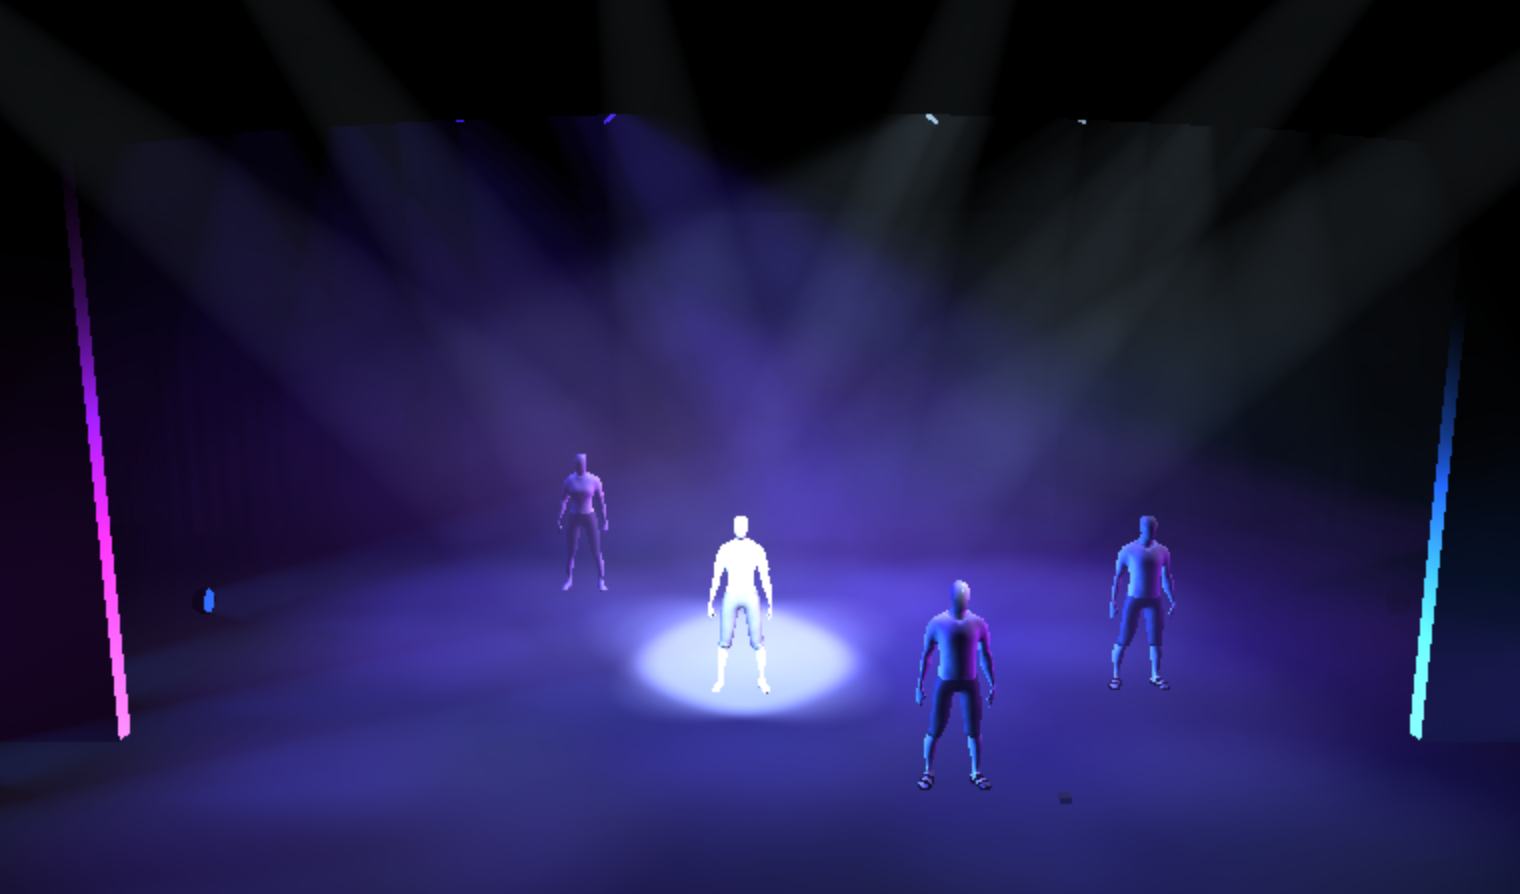
Cue 5 – Single Focus
Great. Now we’re going to focus for a moment on the center dancer. So take Group 601 and focus every light on the middle female.
We also want to get rid of Group 601’s effect, set the color to cool white, and get rid of the gobo. Can you do that? It’s a bit tricky. Quite a few steps. I’m not going to tell you how – let’s see if you can remember and figure it out.
Got it? Way to go!
Wait, wait, wait. Holy cow. That’s way too bright.
Let’s bring the intensity down to 65% and zoom the fixtures all the way down so that they’re super tight.
That’s great; but we still have a bit of focus on the front dancer; so let’s recall channel 142 from 141 and 157 from 156.
Much better. Now there’s a singular focus. The center dancer looks really “blown out” or overly bright here; but in real life to our real eyes (which can handle large dynamics) this moment will be quite striking. How do I know? Well – experience – which is a good reminder that at the end of the day a visualizer is a great tool, but it’s never quite as rich as the real thing. Meaning – don’t loose yourself polishing a virtual rendering – spend your time wisely.
Record this as Cue 5.
Cue 6 – Final Chorus
Alright. Let’ make a climax. Since this look is meant to be a “1-up” of Cue 4, I’m going to go back to that cue to start building; rather than the current cue.
So go to cue 4.
Of course we’ll want to add a little motion to our moving lights; but let us not get trapped inside spectacle and remember our basic principles of lighting. Let’s start by copying our focus on our front dancer and bringing it our back dancers.
So channel 142 copy to 143 and 144. And channel 157 copy to 158 and 159.
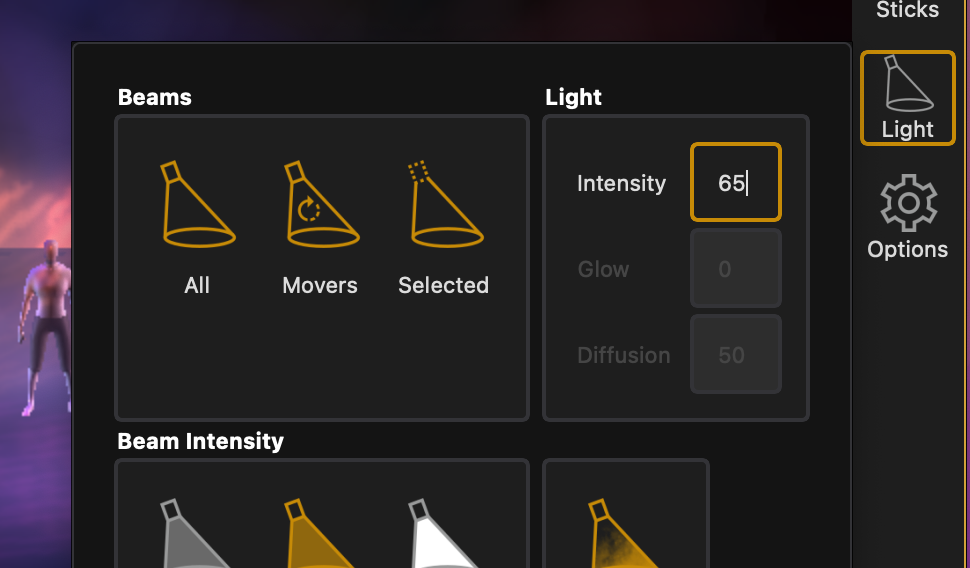
Again, in our visualizer, this is a little bright; but this will look good in real life. If you’re dealing with a large number of very bright looks and want to “tone it down”; remember you can always adjust the lighting settings in Augment3d. We’ve been working at the default of 75% intensity; but you could drop it to 65% here.
Alright. To one up what we’ve done before; let’s set Group 601 to Preset 122 (“Full Stage Cross”) which is meant to set us up for maximum movement. This will also alter the edge and zoom to be sharp again; which I’m okay with. Let’s just drop that edge slightly again.
Cool.
This time let’s actually use that rainbow fade, Preset 123.
And then let’s add a Focus Effect. 901 should be good; as it’ll wrap around the stage in a cyclical fashion.
This is a little much; so let’s tone down that effect. Remember, that’s done by clearing out your command line and pressing [Effect].
I’m going to turn down the Rate and Size of Effect 901 both to 75.
![]()
Good! Let’s record this as Cue 6.
Cue 7 – Restore to Mystery
Alright; so let’s return to our opening look; so go to Cue 2.1 (or Cue 2 and make all our figures visible).
But this is underwhelming at the end of the piece; so we need to restore a narrative thread from earlier. I think Cue 4’s movement works.
So let’s say [Group] [601] [Recall From] [Cue] [4] [Enter].
This will cause our movers to move in a way that is visible to the audience; but that’s okay, because they were all already moving. Not a big deal.
Good, now we’ve combined two ideas to make a new look.
Let’s record this as Cue 7.
Cue 8 – Blackout
Alright. Let’s finish in a Blackout.
In order to make sure we don’t have any unwanted movements from our lights; I’m going to take the intensities out and record; rather than going to cue 0.
So take Group 601 out, Group 140 out, Group 150 out, and Group 60 out.
All the lights should be off so record this as Cue 8.
The Most Important Part
Have I stressed saving yet?
SAVE!
Save early. Save often.
And we’re finished.
Again, just line case; here’s a link to my finished Worksheet 3 file.
SIDE NOTE: If you step through the cues and think some of the pacing is a little “yucky”; don’t worry, we’re going to polish up some of the timings in the next chapter.