

Beam, Intensity, and Color Palettes
The EOS System has three more sets of palettes that can be used in the system, Beam, Intensity, and Color. These are fairly straight forward as to what they do …
- Intensity Palettes – Remember the brightness of a light
- Beam Palettes – Remember the form and image settings of a light, meaning their zoom, edge, gobos, and animations.
- Color Palettes – Remember the hue and saturation of a light
Let’s step through these one by one.
Intensity Palettes are a feature I don’t think you’ll use terribly often, but it’s wise to know that they exist. These are accessed using the [Intensity Palette] button (or Alt+I on your keyboard) and can be recorded or updated just like Focus Palettes. I’ve used these in situations in which the sun is a variable – an outdoor Shakespeare festival might need all the Intensities for Act I super bright to compete with the sun during the months of June and July; but by the time we get to August, the sun goes down earlier. Here I might use Intensity Palettes so that we could quickly update the “Full Bright”, “Half Bright”, and “Quarter Bright” intensities and the whole show would be changed.
That’s pretty simple. Let’s skip ahead.
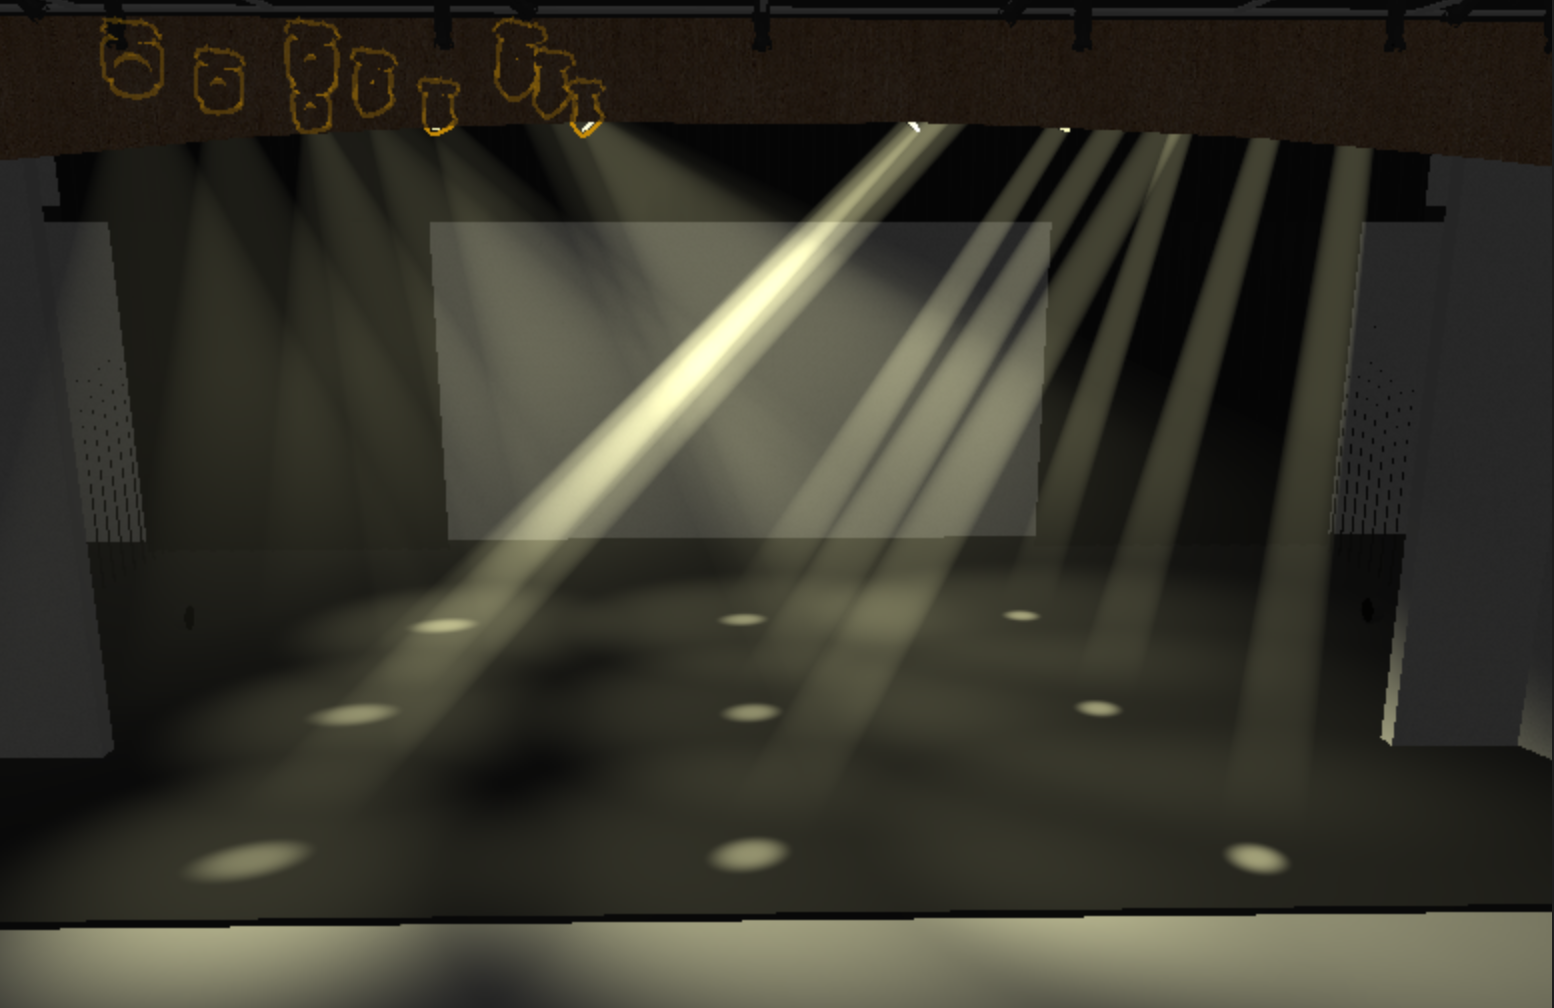
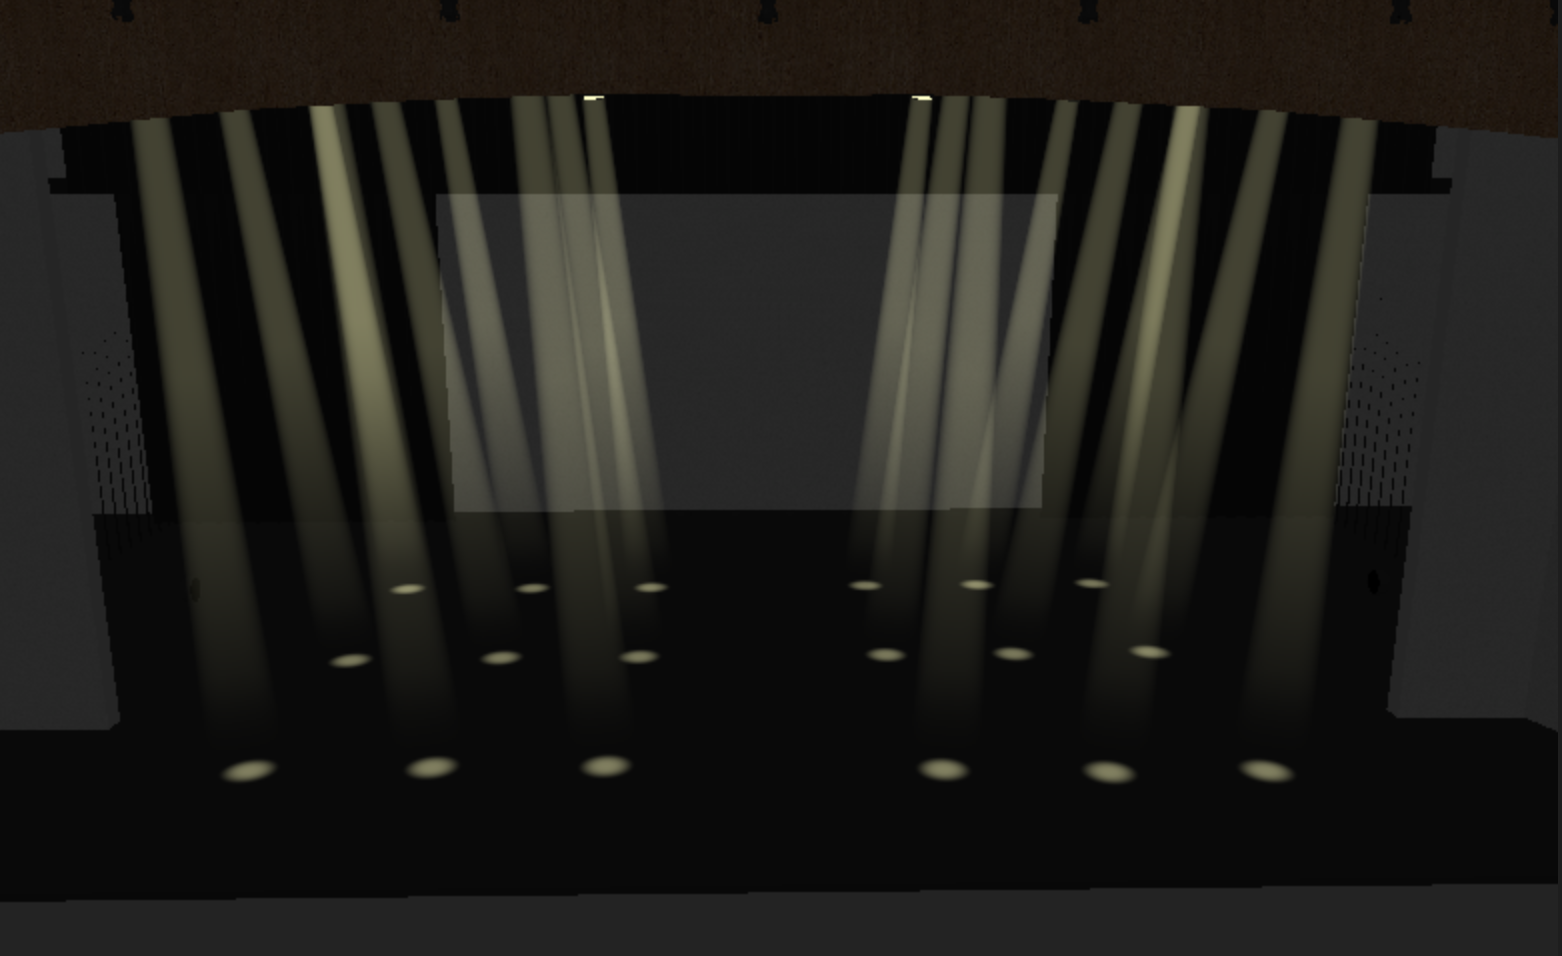
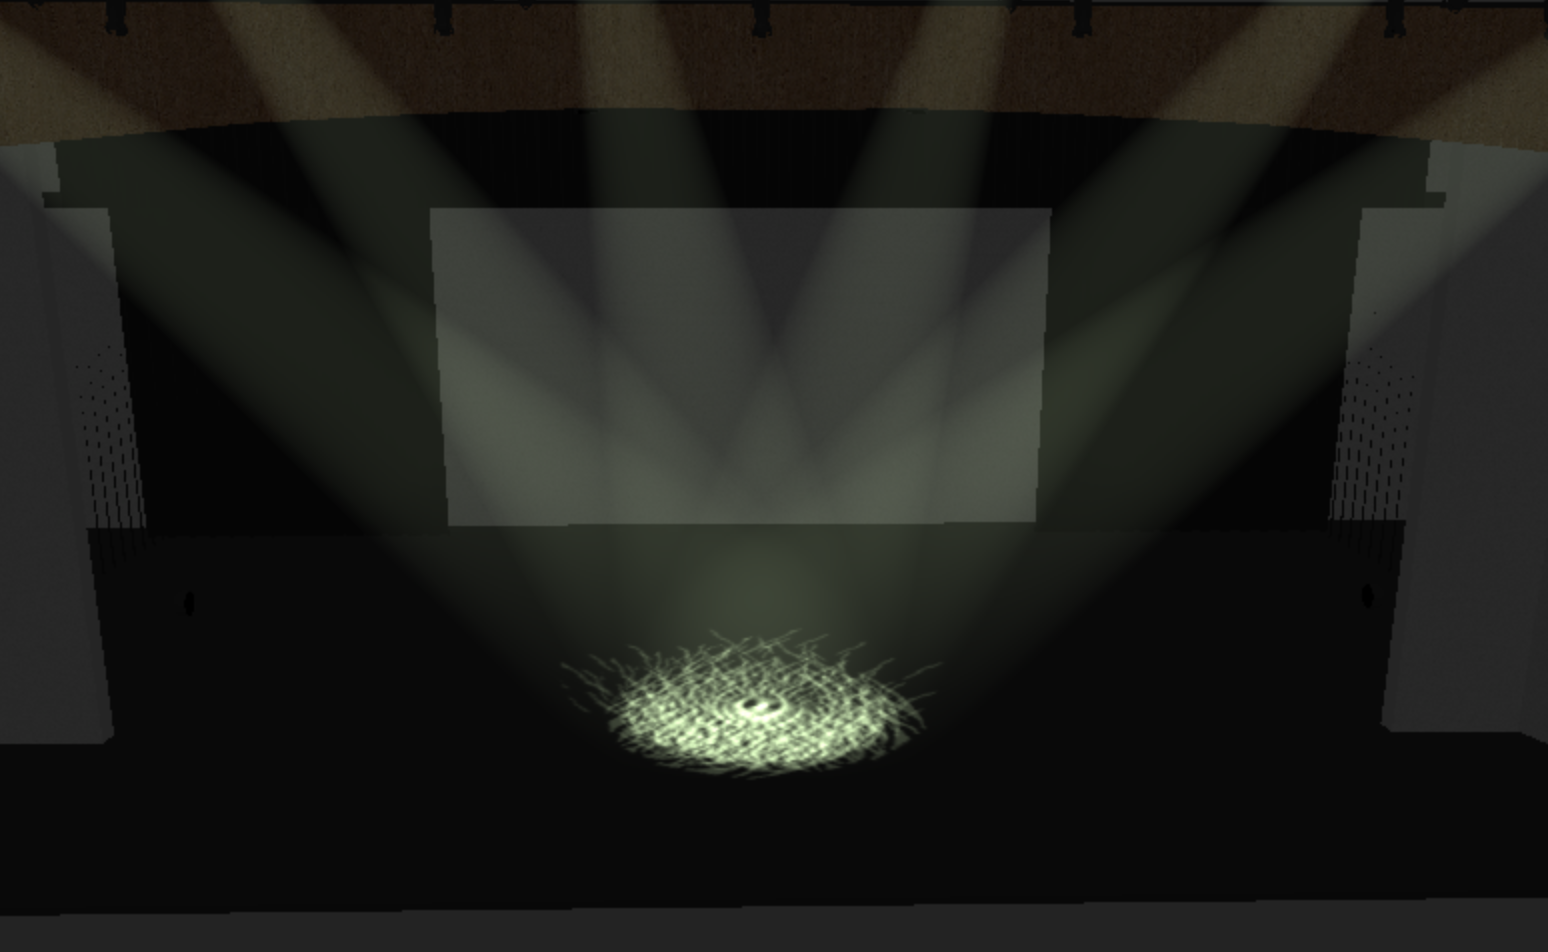
Beam Palettes are a bit more complicated. You can use one with the [Beam Palette] button (or Alt+B on your keyboard). Anything under the Form or Image sections of the EOS ML display are stored here. If you’re still in Cue 1 from the previous lesson, you’ll have Groups 51 and 61 at full and pointing in a cross light configuration. Grab Group 51 and set it to Beam Palette #3 – [Group] [51] [Beam Palette] [3] [Enter]. The zoom settings on these lights will now expand to make a nice wash rather than the small beams of Group 61.
Let’s use Beam Palettes to showcase a couple of features we haven’t discussed yet.
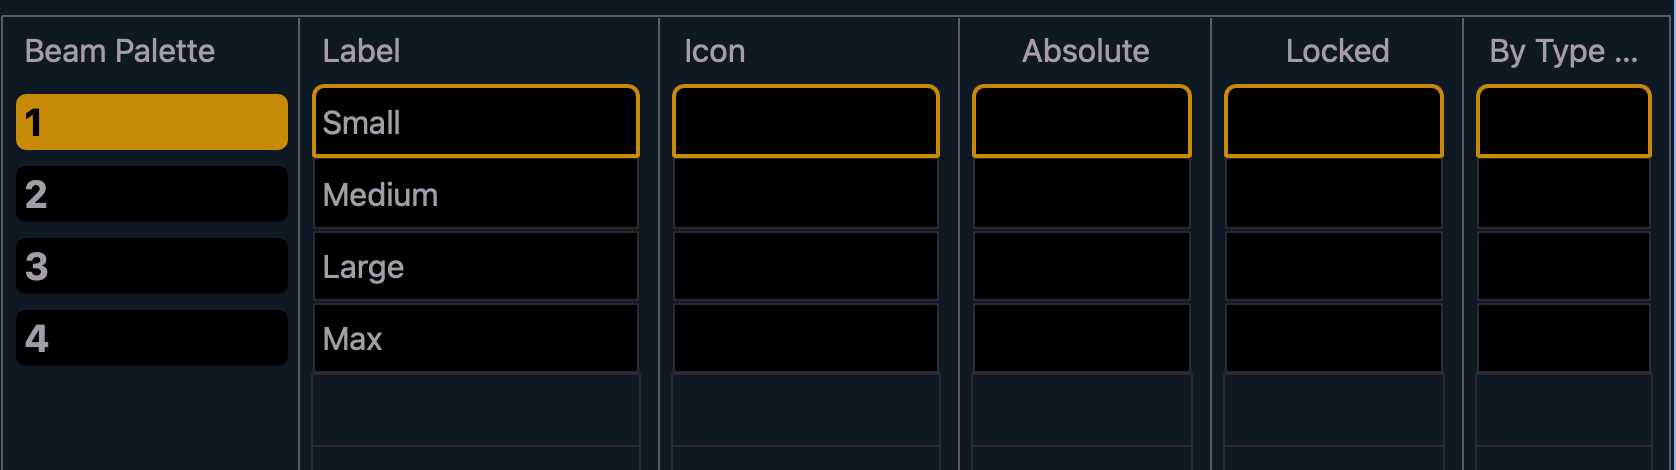
If you double tap the Beam Palette button – [Beam Palette] [Beam Palette], you’ll go into the Beam Palette list in Blind Mode. In the list you’ll see Palettes 1, 2, 3, and 4 – each without a label. Type [Beam Palette] [1] [Enter] to select Beam Palette 1. While in Blind Mode, Augment3d will show you a visualization of what your current item should look like, in this case, Beam Palette 1.
Preview Beam Palettes 2, 3, and 4 by typing [Beam Palette] [2] [Enter] … etc. You’ll see the changes between sizes of lights. Go ahead and label them appropriately by typing [Beam Palette] {#} [Label] {Your Name} [Enter]. Here’s what I did …
In this mode I could also create new palettes. So type [Beam Palette] [5] [Enter]. Let’s create a gobo look with channels 601 through 606; but if I were to start typing 601, EOS will assume I mean Beam Palette 601 – because I’m in the Beam Palette list display. To actually edit the Beam Palette, I can either hit the [Edit] soft key in the bottom right hand corner of the screen, or just go to the Blind Table display tab.

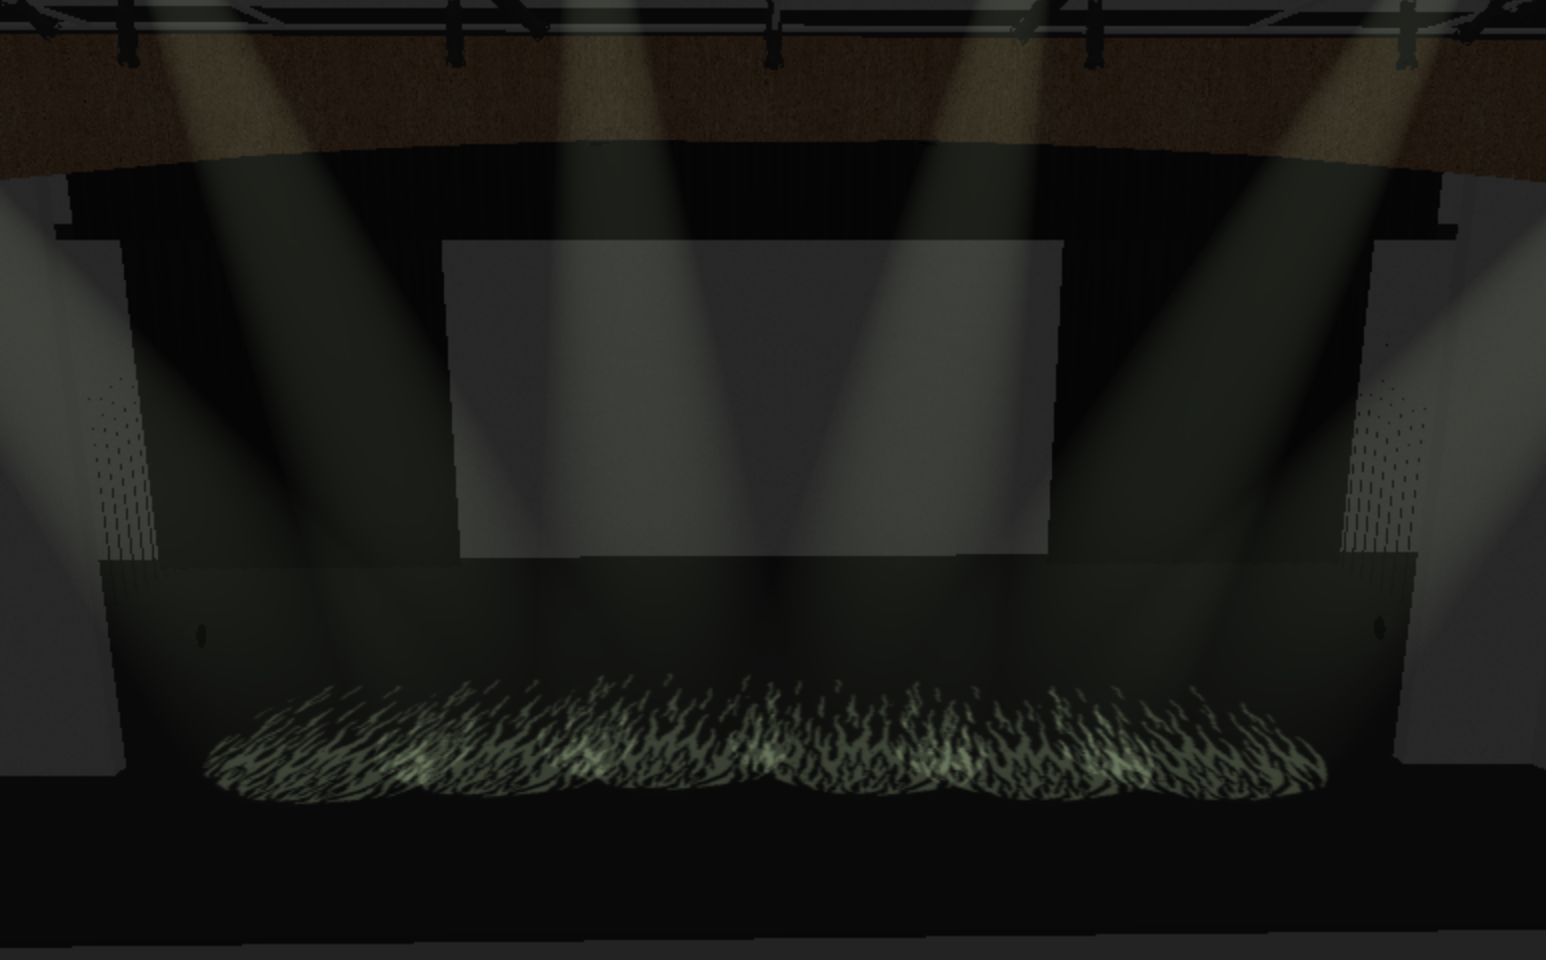
Now that we’re in the Blind Table display; select 601 through 606 by typing [601] [Thru] [606] [Enter]. We can’t set an intensity here, because this is a Beam Palette; but we’ll see the light once we’ve adjusted a parameter under the Focus or Image sections of the ML display. So scroll over and pick a gobo for our lights, adjust the edging, increase the zoom, and feel free to make any other fun rotation or animation adjustments you think are cool. Here’s mine.
Since we’re working in Blind Mode; all your adjustments are immediately saved, so no need to record or update. Now if you were to return to Live Mode, you could now access this Palette. So if I were to take Group 601 at Full and set the lights to Focus Palette 5; they would be on and focused center stage. Using the Beam Palette by pressing [Beam Palette] [5] [Enter] would now use the Form and Image settings we just made while retaining the intensity and focus settings we just set to the lights.
Color Palettes are a bit more common. They can be used with the [Color Palette] button (or Alt+C on your keyboard). They do exactly what you think they would do, retain all the Color section settings from the ML display.
With intelligent lights; color can actually be more difficult. It’s easy to change, but that’s not always a good thing. With 1,000,000+ options, sometimes people feel paralyzed by choice and waste so much time exploring the nuance of every single color for every single cue. As a designer, it’s better to think about what you want to do before even starting your work of programming. Choosing Color Palettes ahead of time is a great way to accomplish that. This could be colors that are common across the production, such as “Hot Musical Pink” – where all the lights share the same pink, or it could be a whole color scheme or look such as “Night Time Blue” – where different systems have different shades of blue, green, and purple.
Let’s talk about both options.
Let’s start with a single color. This would be common with a full stage wash, so let’s take Group 51 and 61 at Full, set it to Focus Palette 99, and Beam Palette 3. This creates a nice downlight wash … except there’s a giant dark spot in the middle … but that’s okay … we have 3 extra lights to cover that area. Group 60 uses Group 51, Group 60, and those 3 lights (Channels 721, 722, and 723).
So take Group 60 at Full, Focus Palette 99, and Beam Palette 3.
Much better.

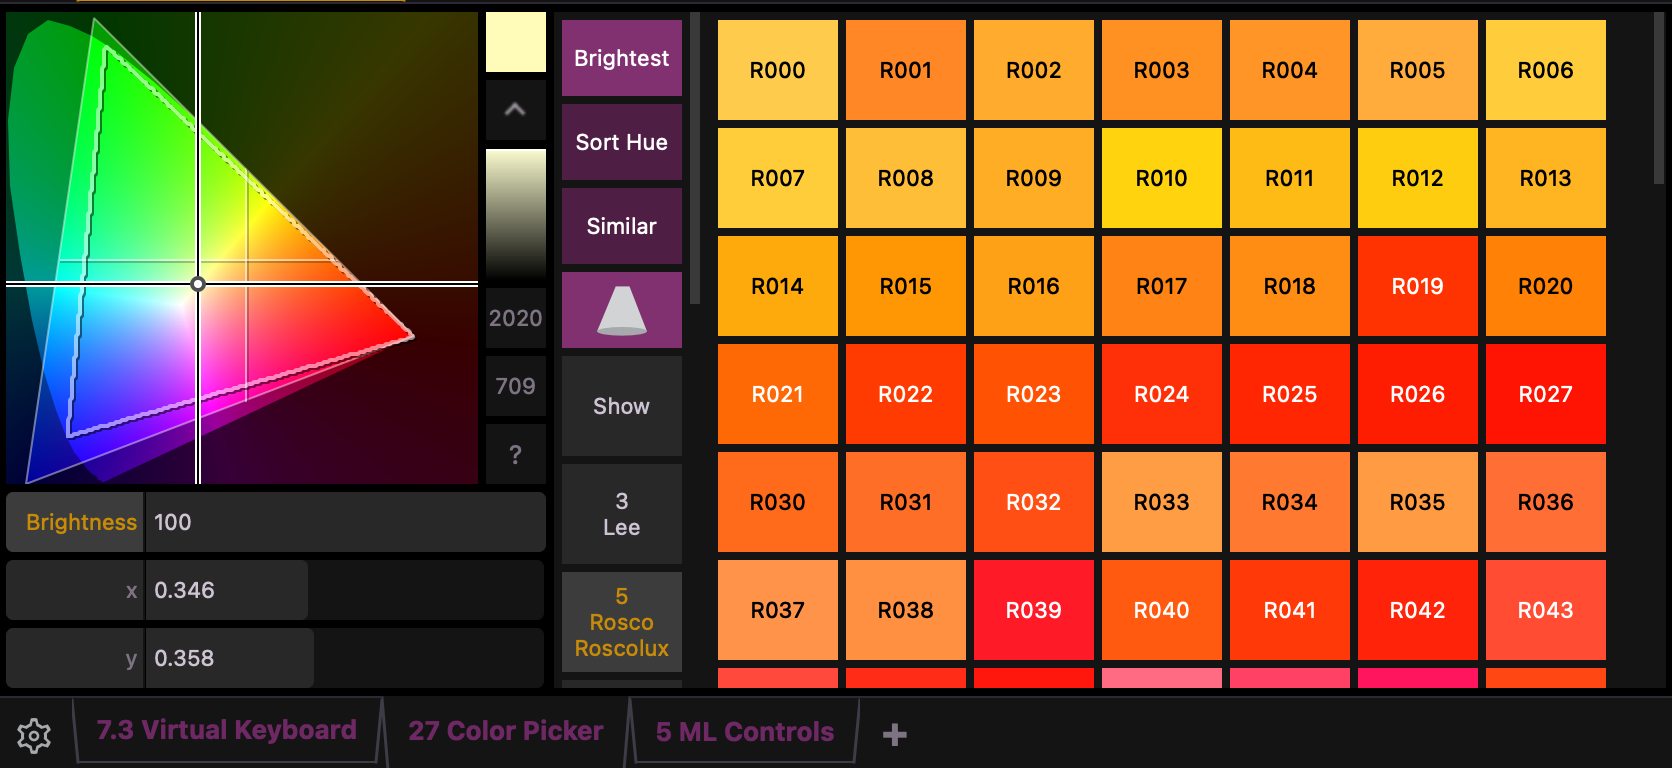
I can now use my color picker to change colors. Or, in the Color Picker tab, there’s a bunch of gel colors from various brands … these are actually built in Color Palettes. Picking R024 will be the same orange across the board – from one LED light to another and to a conventional light using that gel color (well … mostly … it’s not perfect). So rather than dragging the color picker around to find the same orange in every single cue, you can just select R024.
Why don’t you try it out and record this look as Cue 2. The channels even retain the gel color name. That’s awesome! But what if all the dancers came in with their costumes and you said, “Shoot, that’s too much red. I wish it was a bit more amber.” Well, we would have to make that adjustment to all the cues – because we can’t update R024.
So the better way would be to instead use a true Color Palette.
Let’s start by creating one. With Cue 2 still up and R024 selected; record this as Color Palette 1, or [Record] [Color Palette] [1] [Label] {Cabaret Red} [Enter]. Once again, you’ll notice that your color values in the Live Table display have adopted your new label.
Go ahead and re-record or update Cue 2.
Now let’s go into the Color Palette List by double tapping the button, [Color Palette] [Color Palette]. We can edit our color palette now by pressing [Color Palette] [1] [Enter] then pressing the [Edit] soft-key at the bottom right of the screen.
Now select Group 60 and change the color to be something a bit more amber, perhaps R021? This will automatically save your adjustment.
Now let’s come back to Live Mode. You’ll notice that the color is still the deeper red. Again, we don’t want actions in Blind Mode to adjust what’s happening on the Live stage; therefor, to adopt these changes you’ll need to either go back and then forward in your cue … or grab the group and re-set it to Color Palette 1.
Color Palettes can also hold more complex looks; they don’t have to contain just a single color.
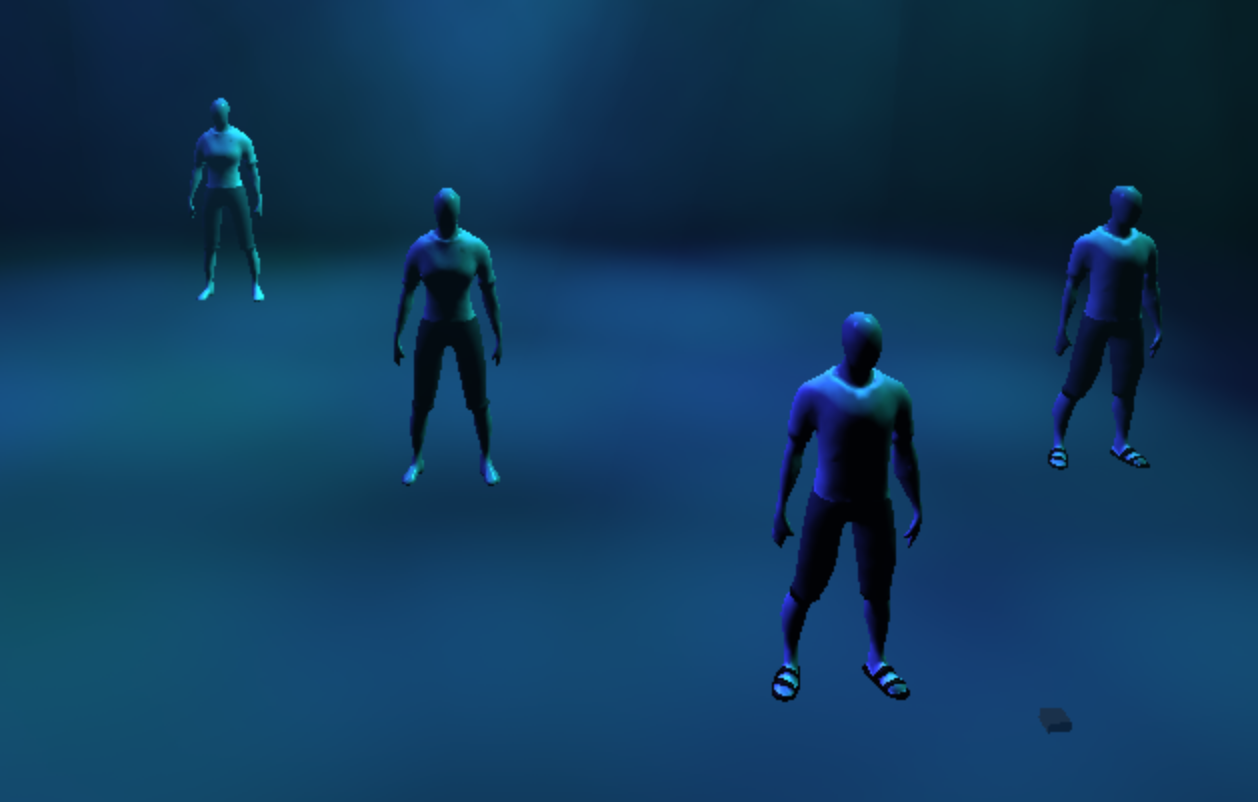
Let’s illustrate this by taking Group 60 out; then bringing Group 51 and 61 to full, Focus Palette 10, and Beam Palette 4. This will bring us back to two high side cross washes. We can now set the color of the lights coming from SR to be different than the color of the lights coming from SL. It would help a little if we have figures on stage to see the color contrast. Good news. We do. Take channels 1001 through 1004 at full. Wow! 4 people just appeared!
Record this as Cue 3.

Let’s create a night look. Grab Group 51 and set it to be a deep blue. Then grab Group 61 and set it to be an aqua blue. Record this as Color Palette 2 and give it a label of “Night Look”.
![]()
Great! Go ahead and update or re-record Cue 3.
Now your director has come in, looked at the cue, and wants to know why everyone is swimming in the ocean. Okay. We can tone down some of the aqua blue. Good news is that since you used the “Night Look” color palette for all your cues, you can just update the color palette and we’ll be good to go!
So let’s take Group 61 and set the color to be a more lavender blue; perhaps R056?
Now that we’ve made the adjustment and the director is happy; let’s update the Color Palette from Live Mode by pressing [Update] [Color Palette] [2] [Enter]. Now every cue that utilized this color scheme will be updated! You just saved so much time.