Live and Blind Modes
Here’s a quick lesson. One that might not be technically useful to you yet; but might help you if you accidentally find yourself in a place you didn’t mean to be.
Most light boards, including the EOS, have dual programming modes – Live and Blind. Live, meaning you can see the changes on stage. Blind, meaning you can’t see the changes on stage.
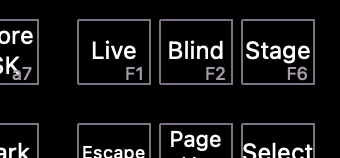
To switch between these two mode, use the [Live] and [Blind] buttons on your virtual keyboard, or press F1 or F2 on your computer keyboard.
Live is the mode you’ve been using so far and is visually signified by a black and yellow color scheme. This mode is intended for the crafting of cues, for looking at cues and making visual adjustments, and for playback. What you see on your computer screen is what you see on stage. Make a change in the Live Table and you’ll see the change on stage. Change cues and you’ll see the change everywhere in front of you.
Blind is a new mode and is visually signified by a dark and light blue color scheme. You’ll also notice the word BLIND in the top left corner (by the way, if you click on the word BLIND, you’ll exit Blind mode and return to Live mode).

This mode is intended for editing cues, for making adjustments that you don’t want to see on stage – which could be because you don’t want it to be a distraction, or because you need to adjust a cue that isn’t currently on stage.
You’re quite familiar with Live mode, so let’s play around with Blind mode.
Let’s start by going to Cue 2, [Go To Cue] [2] [Enter].
If you press the [Blind] button, you’ll see that we’ve entered into Cue 2, in Blind mode.
A very common reason you might enter into Blind mode is because you’re in a tech rehearsal, you were just looking at Cue 1 … but the rehearsal went to the next cue, but you still wanted to make an adjustment to the previous look. So we find ourselves in Cue 2, but wanted to adjust Cue 1. Rather than sending the entire stage back a cue, which would be distracting, we can simply go to Blind mode.
To change cues, we simply type [Cue] [#] [Enter], so here we’ll want to type [Cue] [1] [Enter].
You’ll see that we’ve switched cues; but if we had real lights and a real stage; we would still be in Cue 2.
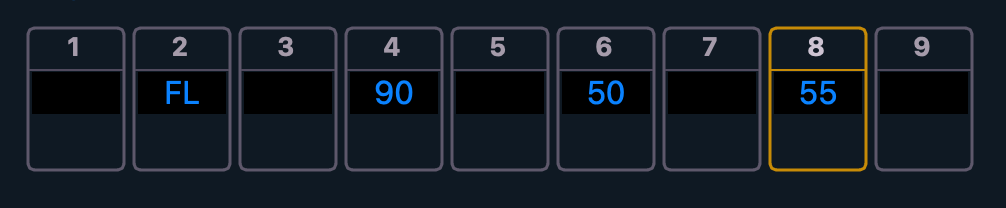
So let’s make our adjustment. Take Channel 8 to 55%. You’ll notice that the number did not turn to Red. This is because the adjustment was saved immediately. EOS assumes that if you’re in Blind mode, you really intend on keeping the adjustments you’re making. No need to record. No need to update. It’s all automatic.
If we were to return to Live, you’ll see first that we’re still in Cue 2; signified by the command line …

If you go backward a cue, you’ll also notice that Channel 8 is now at 55% in Cue 1; meaning our adjustment was saved.
Let’s go forward to Cue 2 again and return to Blind.
This time, in Cue 2, let’s adjust Channel 8 to be at Full.

Now if we return to to Live mode; you’ll notice that Channel 8 isn’t at full, that it’s still at 0%.

This is because we don’t want Blind adjustment to alter a Live look. To see our change, we need to go back to Cue 1 then forward to Cue 2.

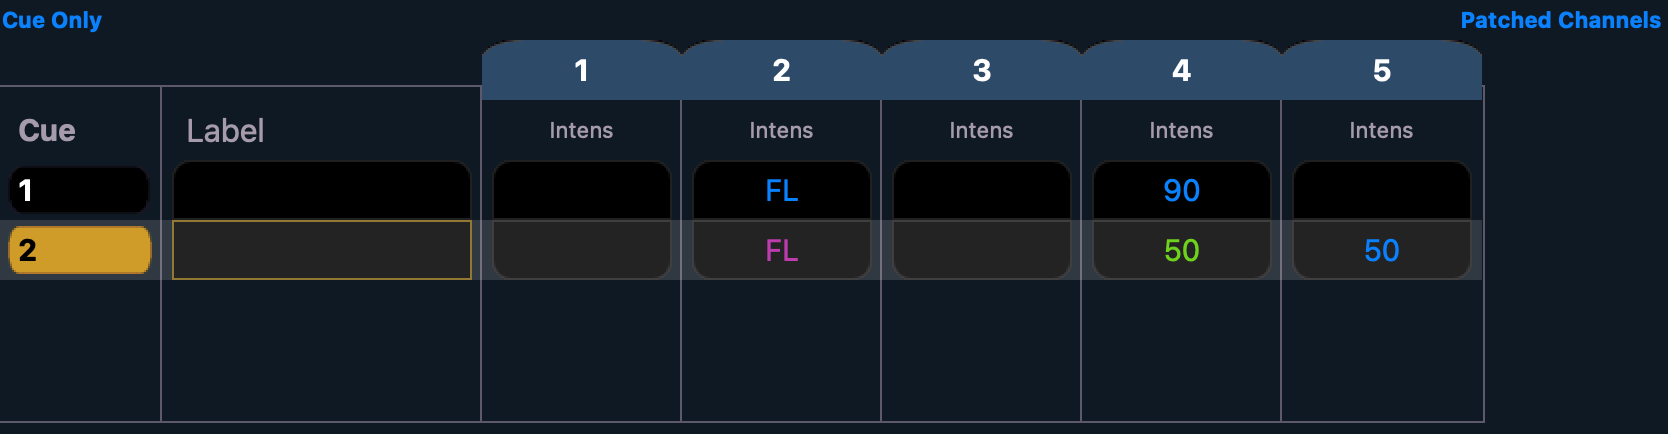
Here’s one more bit for you. If you’re the kind of person who loves spreadsheets, you can go to Blind and push the [Format] button which will cycle through various ways of seeing the lights; of them is a grid that compares cues and channels. This is a great way to get a broad view of all your channels over the course of your cues. This becomes exponentially more useful when you have hundreds of channels and hundreds of cues.