

Advanced Faders
We’ve already talked shortly about Faders in our lesson on Submasters. So you should know how to open the Faders display, how to assign a Submaster to a Fader, and how to Unassign a Fader. Now let’s add a few things …
Inhibitive Subs
If you pop open the Faders display; you’ll see that I’ve already created a handful of Submasters and assigned them to Faders.
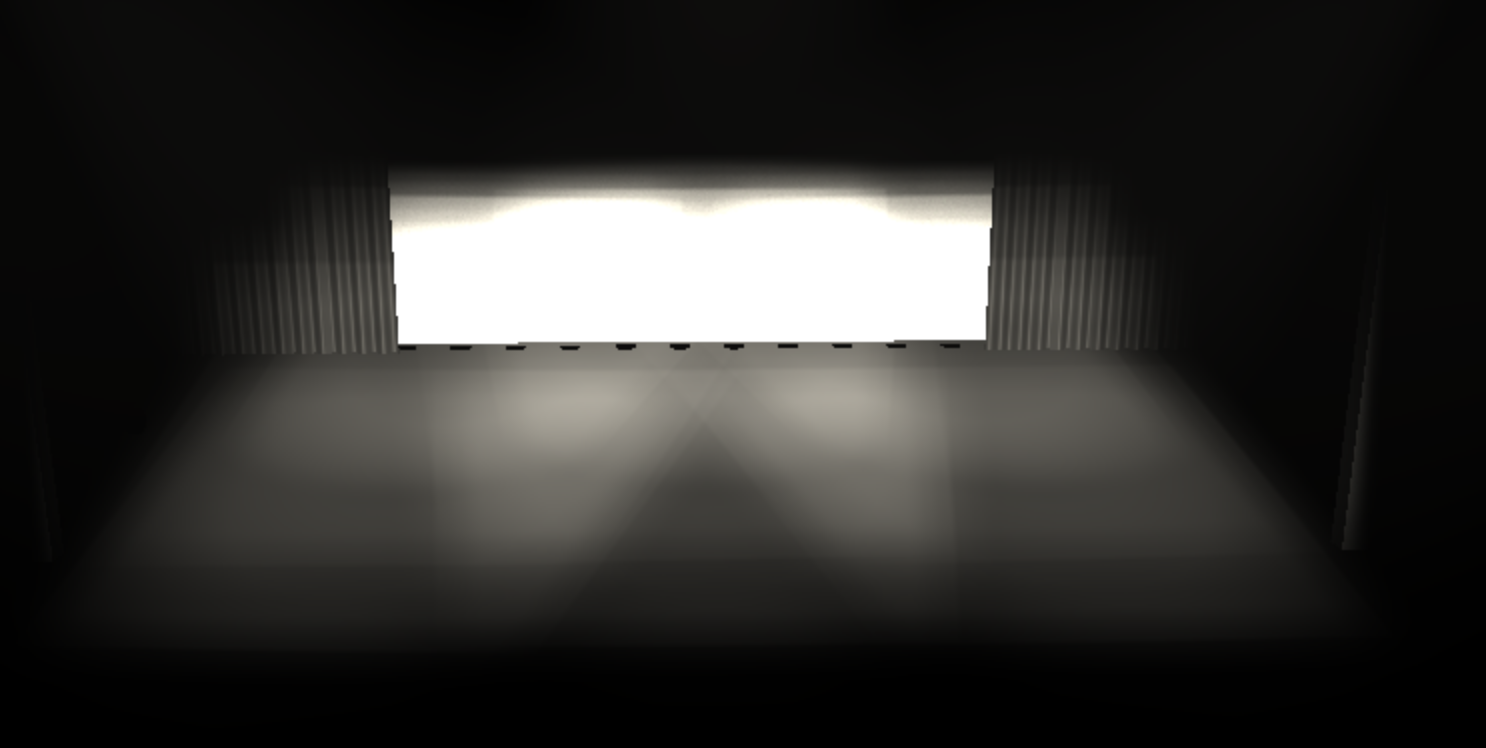
Submaster / Fader 1 is simply front lights. Drag it up. See? Boring.
Submaster / Fader 2 is a different color; because it’s set as an Inhibitive Submaster. This is like a reverse Sub – when it’s at full, the flood gates are open, go as bright as you want – when we pull it down, we’re asking the lights to be proportionally dimmer. It’s like asking my kids to use their inside voices during dinner; I know you can talk louder than everyone else, but right now, can ya not?
If you’re familiar with the concept of a Grandmaster fader on a light board; same thing, but for a selected portion of lights.
Editing Submaster 2, you can see that a selection of Channels are set to “IN”, or “Inhibit”. They’re not set to a level, they’re set to “Yes, do Inhibit”, everything else is “No, ignore that one, don’t touch it”.

Let’s try it out. Bring up Fader 1 to full, if you haven’t already. Now bring down Fader / Submaster 2 to 50% / half. You’ll see that the outside lights are dimmer.
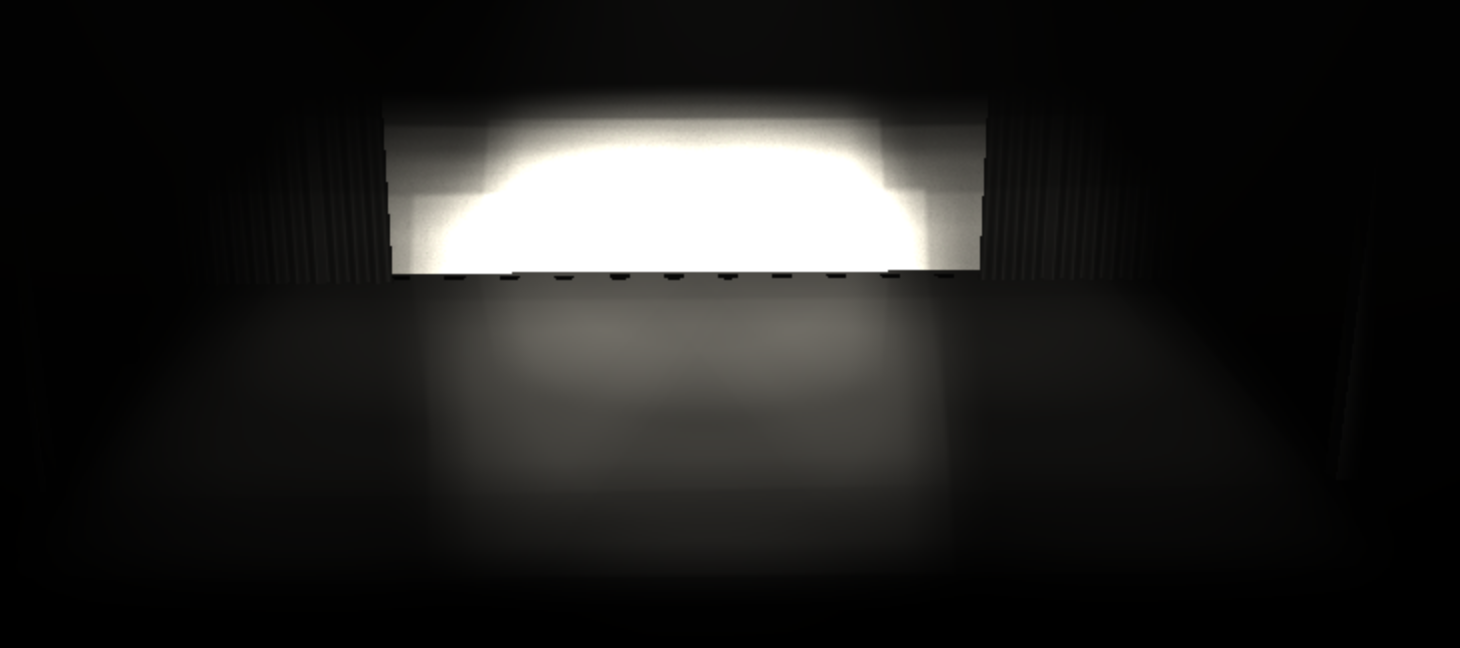
If you now play with Submaster / Fader 1, you’ll notice that the dimmer outside lights are actually proportionally dimmer.
Good. Take both out and let’s move on to the next item …
Effects
Go ahead and bring up Submaster / Fader 3. This is just our MAC700 moving lights on at full. Nothing special. But Submaster / Faders 4, 5, and 6 are set to be Effect faders; meaning the Submaster is set to Effect Mode. With these Faders assigned, we can increase the amount of an effect proportionally as well as stack multiple effects on top of one another. So try it out!
- Fader 4 – Focus Effect – Circle
- Fader 5 – Intensity Effect – Ramp Up
- Fader 6 – Color Effect – Rainbow Chase
Cue Lists
Finally. If you have multiple cue lists; they can be loaded into extra faders. Looking at the far right side of the Faders; you can see two green faders labeled “CL1” and “CL2” for Cue Lists 1 and 2.
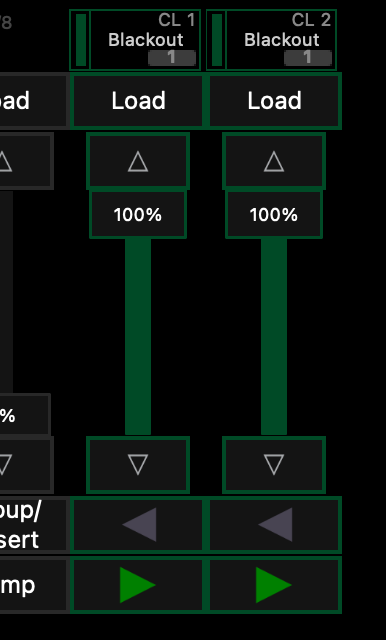
If you hit the GO buttons on them separately you’ll see that CL1 will control stage lights for our dance and CL2 will execute a long color fade on the back wall.
To assign a Cue List simply type [Cue] [#] [/] and then hit the appropriate [Load] button. Try assigning Cue List 2 to Fader 8; [Cue] [2] [/] [Load]. You can now see that CL2 is on Fader 8 and Fader 10 and they’ll act identically as well as follow one another.
We can even do this to the Main Playback Fader; but first we need to unload the current cue list by holding [Shift] and pressing the [Load] button. Now you can type [Cue] [2] [/] [Load] and your main GO button or your Spacebar will control Cue List 2 rather than Cue List 1.