

Auto Mark
One of the most advantageous things about an intelligent fixture is that it can often serve several purposes. A moving light, for example, can often replace the need to hang several single purpose special lights. However, that takes an amount of preparation and care to ensure that we don’t accidentally see the light move from one special location to another. Seeing this type of movement, seeing the “mechanics of the theatre” as we might say, ruins the illusion and takes us out of the moment. It’s a distraction and we end up thinking about the lights rather than what’s being lit.
The biggest technique to help ensure we don’t see unwanted shifts in the light is you. You are the one creating a cue list, so you are the one to make sure that there is at least one cue with the light off between the two cues in which they are on. If you were an actor on stage, I would say that you need at least a beat with no lines in order to go back stage for a costume change and become a new character.
Ahh. Let’s stop trying to explain this with words and just show it to you on the light board.
In your worksheet, make sure all your lights are off and start with a blank slate.
Follow along with these instructions …
- Channel 6
- At full
- Pick a pink color (i.e. R-100, G-3, B-98)
- Channel 1
- At full
- Pick an amber color (i.e. C-0, M-99, Y-67)
- Select the swirl gobo from Gobo 1
- Set the gobo to rotate at a speed of -15
- Adjust the zoom to a value of 18
- Adjust the edge to make the gobo sharp, which for me is actually just 0
- Adjust the pan and tilt so that the center of the swirl lands right in front of the shapes
If you’ve made all those adjustments, it should look a little like this …
If you have a look somewhat close to what I have, go ahead and record it to Cue 1.
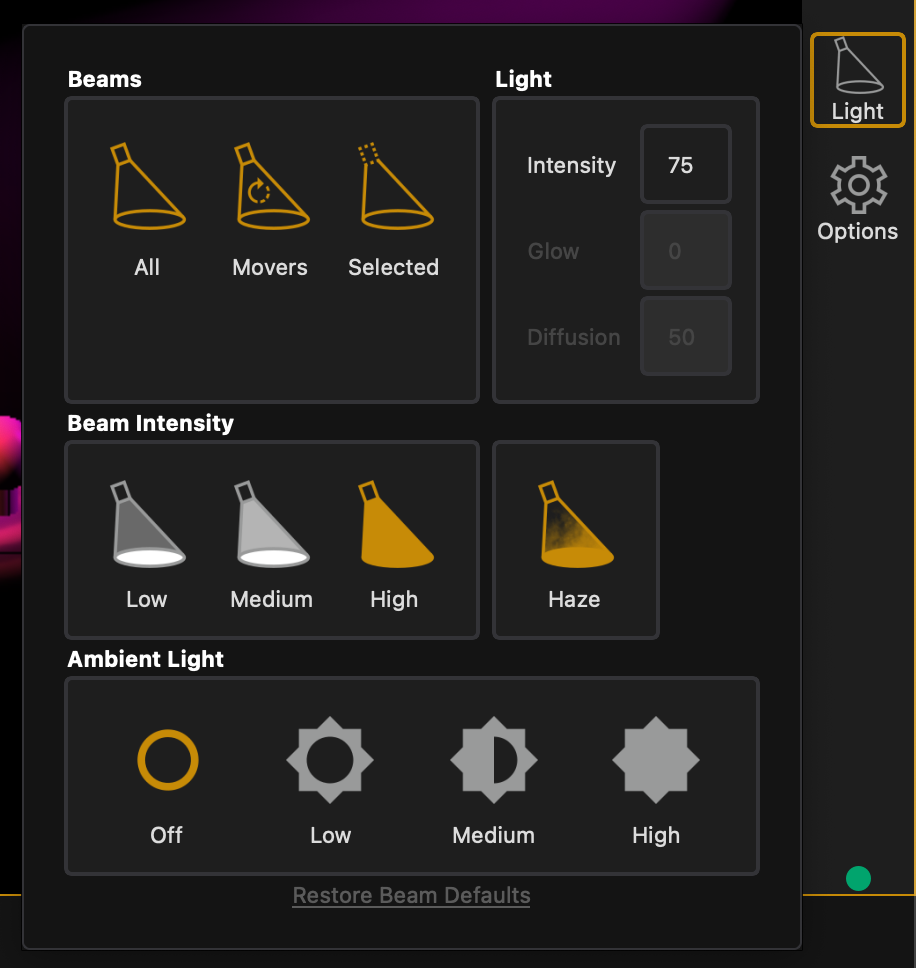
By the way, moving lights are more fun in the dark and with haze, so I adjusted my Augment3d lighting settings. You can feel free to do that too, if you would like.
Alright. Let’s make a second look, completely different, using the opposite set of lights. Go go back to Cue 0, [Go To Cue] [0] [Enter].
Follow along with these instructions …
- Channel 4
- At full
- Pick a deep blue (i.e. R-22, G-14, B-100)
- Channel 3
- At 65%
- Pick a pink color so that it pops off the blue (i.e. C-,M-,Y-)
- Select the rose gobo from the Gobo 2 category
- Make it nice and sharp
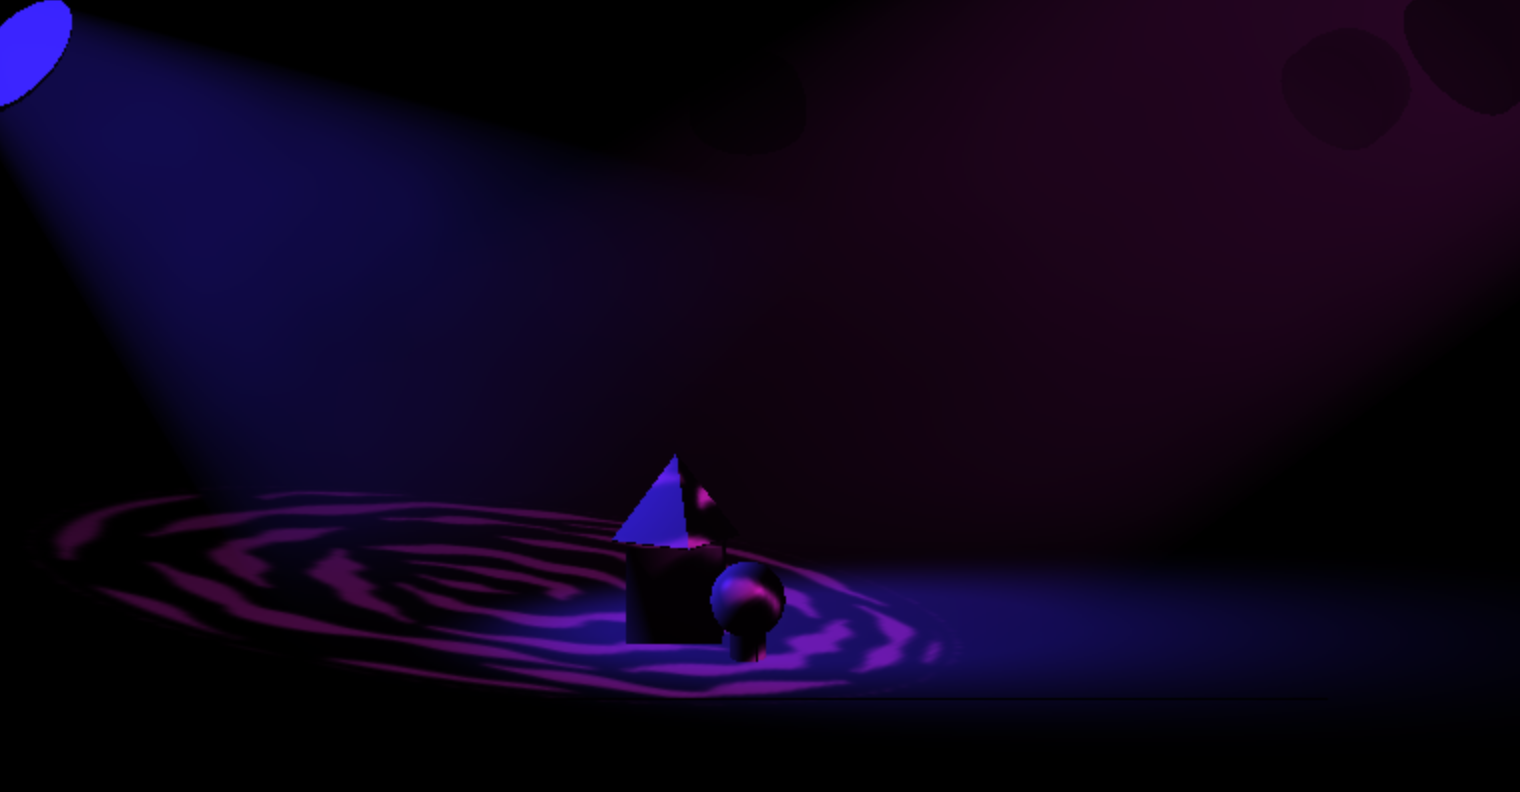
- Adjust the zoom and position so that the bottom of the rose lands a the edge of the shapes.
At the end, it should look something like this …
Good, let’s make one more look using all 4 lights. Use the following settings …
- Channel 4
- At full
- Pick a strong green color
- Channel 6
- At full
- Pick a cyan color
- Channel 1
- At full
- Pick a yellow color
- Select the Water gobo from the Gobo 1 section
- Position the light to fall in front of the shapes and not actually hit them at all
- Rotate the index of the gobo to align perpendicular with the stage
- Channel 3
- At full
- Pick a strong orange color
- Zoom the light to a value of about 30 (or larger than what you had before)
- Change the gobo to Crackle
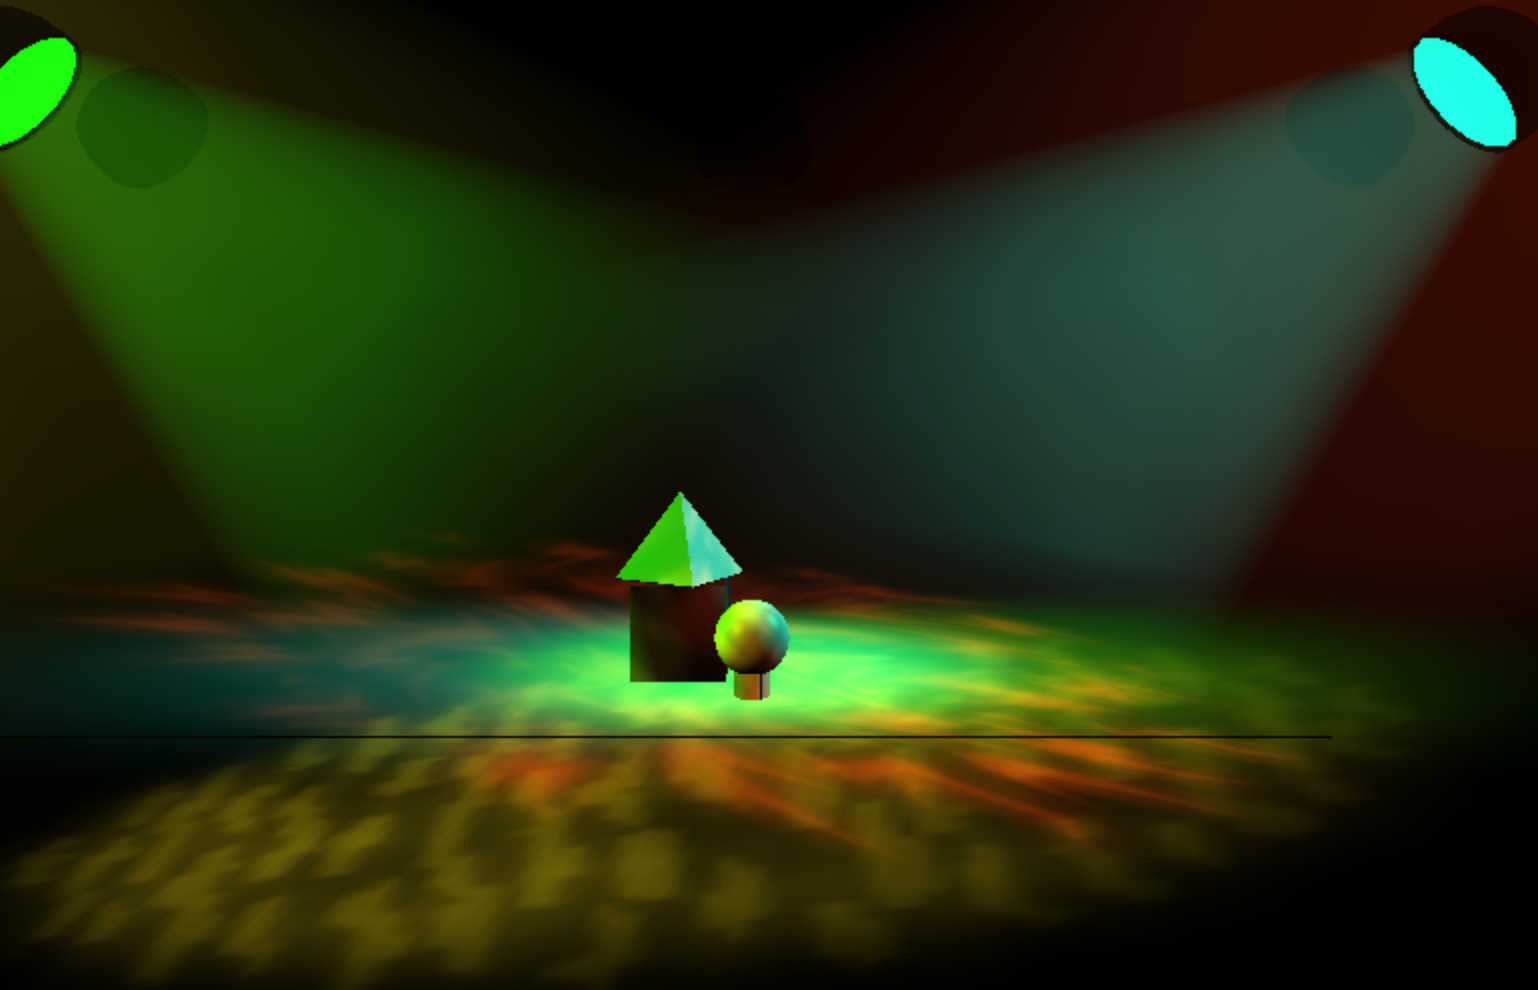
- Position the light to fall at the center of the shapes
And once you’re finished you should have something like this marvelous looking ugly hot mess of a cue.
Record this gross look as Cue 3. If you go back to Cue 1, then step through all three cues; you’ll see that Channels 1 and 6 transition nicely whereas Channels 3 and 4 move while on.
If you step slowly through the cues and stop at Cue 2; you’ll actually notice something new; that Channels 1 and 4 have a Green value of “Q3” or sometimes will have listed “MK”.

This stands for “Mark”; meaning EOS recognizes that the light is currently off, but will be on in the next cue, so it needs to get into place now. EOS has a feature that I’ve enabled for you called “Auto Mark”, meaning the system will automatically find these moments and mark these lights for you (some styles of lighting such as rock concerts or musicals might want to see the lights move, so sometimes you want to turn that feature off).
So in this example; the intensity recognizes that it’s currently off, so should tell the rest of the Cue to MARK. Which cue is it preparing for and what values need to shift? Well, the Green and the Blue values need to prepare for Q3.
Now let’s mess it up, and then fix it.
While in Cue 2, let’s try something different. Take channel 6 to 80% and give it a strong red light. Giving us a look like this. Go and and re-record Cue 2.

If we were to now step from Cue 1-3, you would see that Channel 6 shifts colors “Live”, or while the light is on. Sometimes that’s okay, but generally we don’t want to do that. So let’s say that was a bad idea. Go back to Cue 2, put the Channel 6 at 0%, and update the cue.
If we were to now step through Cues 1-3, we would see that the light no longer marks. We broke it! It might not be easy to perceive this in the visualizer itself; but it’s very clear when we watch the Live Table view.
Watch the following two animations. The first is what you should see now; the second is what we want to see.
(Side Note: In them, I’ve added a cue countdown section. You shouldn’t see this on your screen yet as we’ll cover timings in a different worksheet.)
In the first you’ll notice that the color values change at the same time as the intensity; meaning the color is shifting while the light is still on. In the second you’ll notice that the values hold until the transition to Cue 2 is complete, then they Mark to Q3 – and then therefore do not change as the light comes up for Cue 3.
Watch it a couple of times. It’ll help.
Still confused? Well, not a huge deal, let’s move on to how to fix the problem.
Perhaps the easiest way to fix this issue is in Blind. It’s certainly the easiest to see that it’s fixed. So press [Blind], then make sure we’re in Cue 2 by pressing [Cue] [2] [Enter].
In Blind mode, you’ll see that Channel 6’s intensity is marking, but not its colors.

What we want is for Channel 6 to have absolutely nothing to do in this interim cue. In the EOS board we can achieve this by giving it a value of “null” or “nothing”; which we can do by saying [@] [Enter].
Because we are dealing with just the Red, Green, and Blue values, let’s click on Channel 6’s Red, Green, and Blue values in the Blind Table display. You’ll see them pop up in the command line. Now give them a value of nothing by pressing [@] [Enter].

You’ll see that these values have now been set to mark for Q3 rather than transition to a specific value.

We could do the same thing for the entire light; but it takes two steps.
First we would press [6] [@] [Enter] which would copy the settings of the previous cue.

But then we would follow that up by taking the intensity out by pressing [6] [Out].
I know this concept can be somewhat confusing. This is really one that drives home when you find the problem and when you need the solution. And to be fair, it’s a concept that moves beyond thinking about the look on stage, but also thinking about the looks that were and will be. So if you’re a wee bit lost in the lesson, give yourself a bit of grace, remember that it exists, and come back to it when you see the unwanted movement of lights.
And until then, just remember the actors doing their costume quick-changes.
Good golly, go off stage to change your clothes!